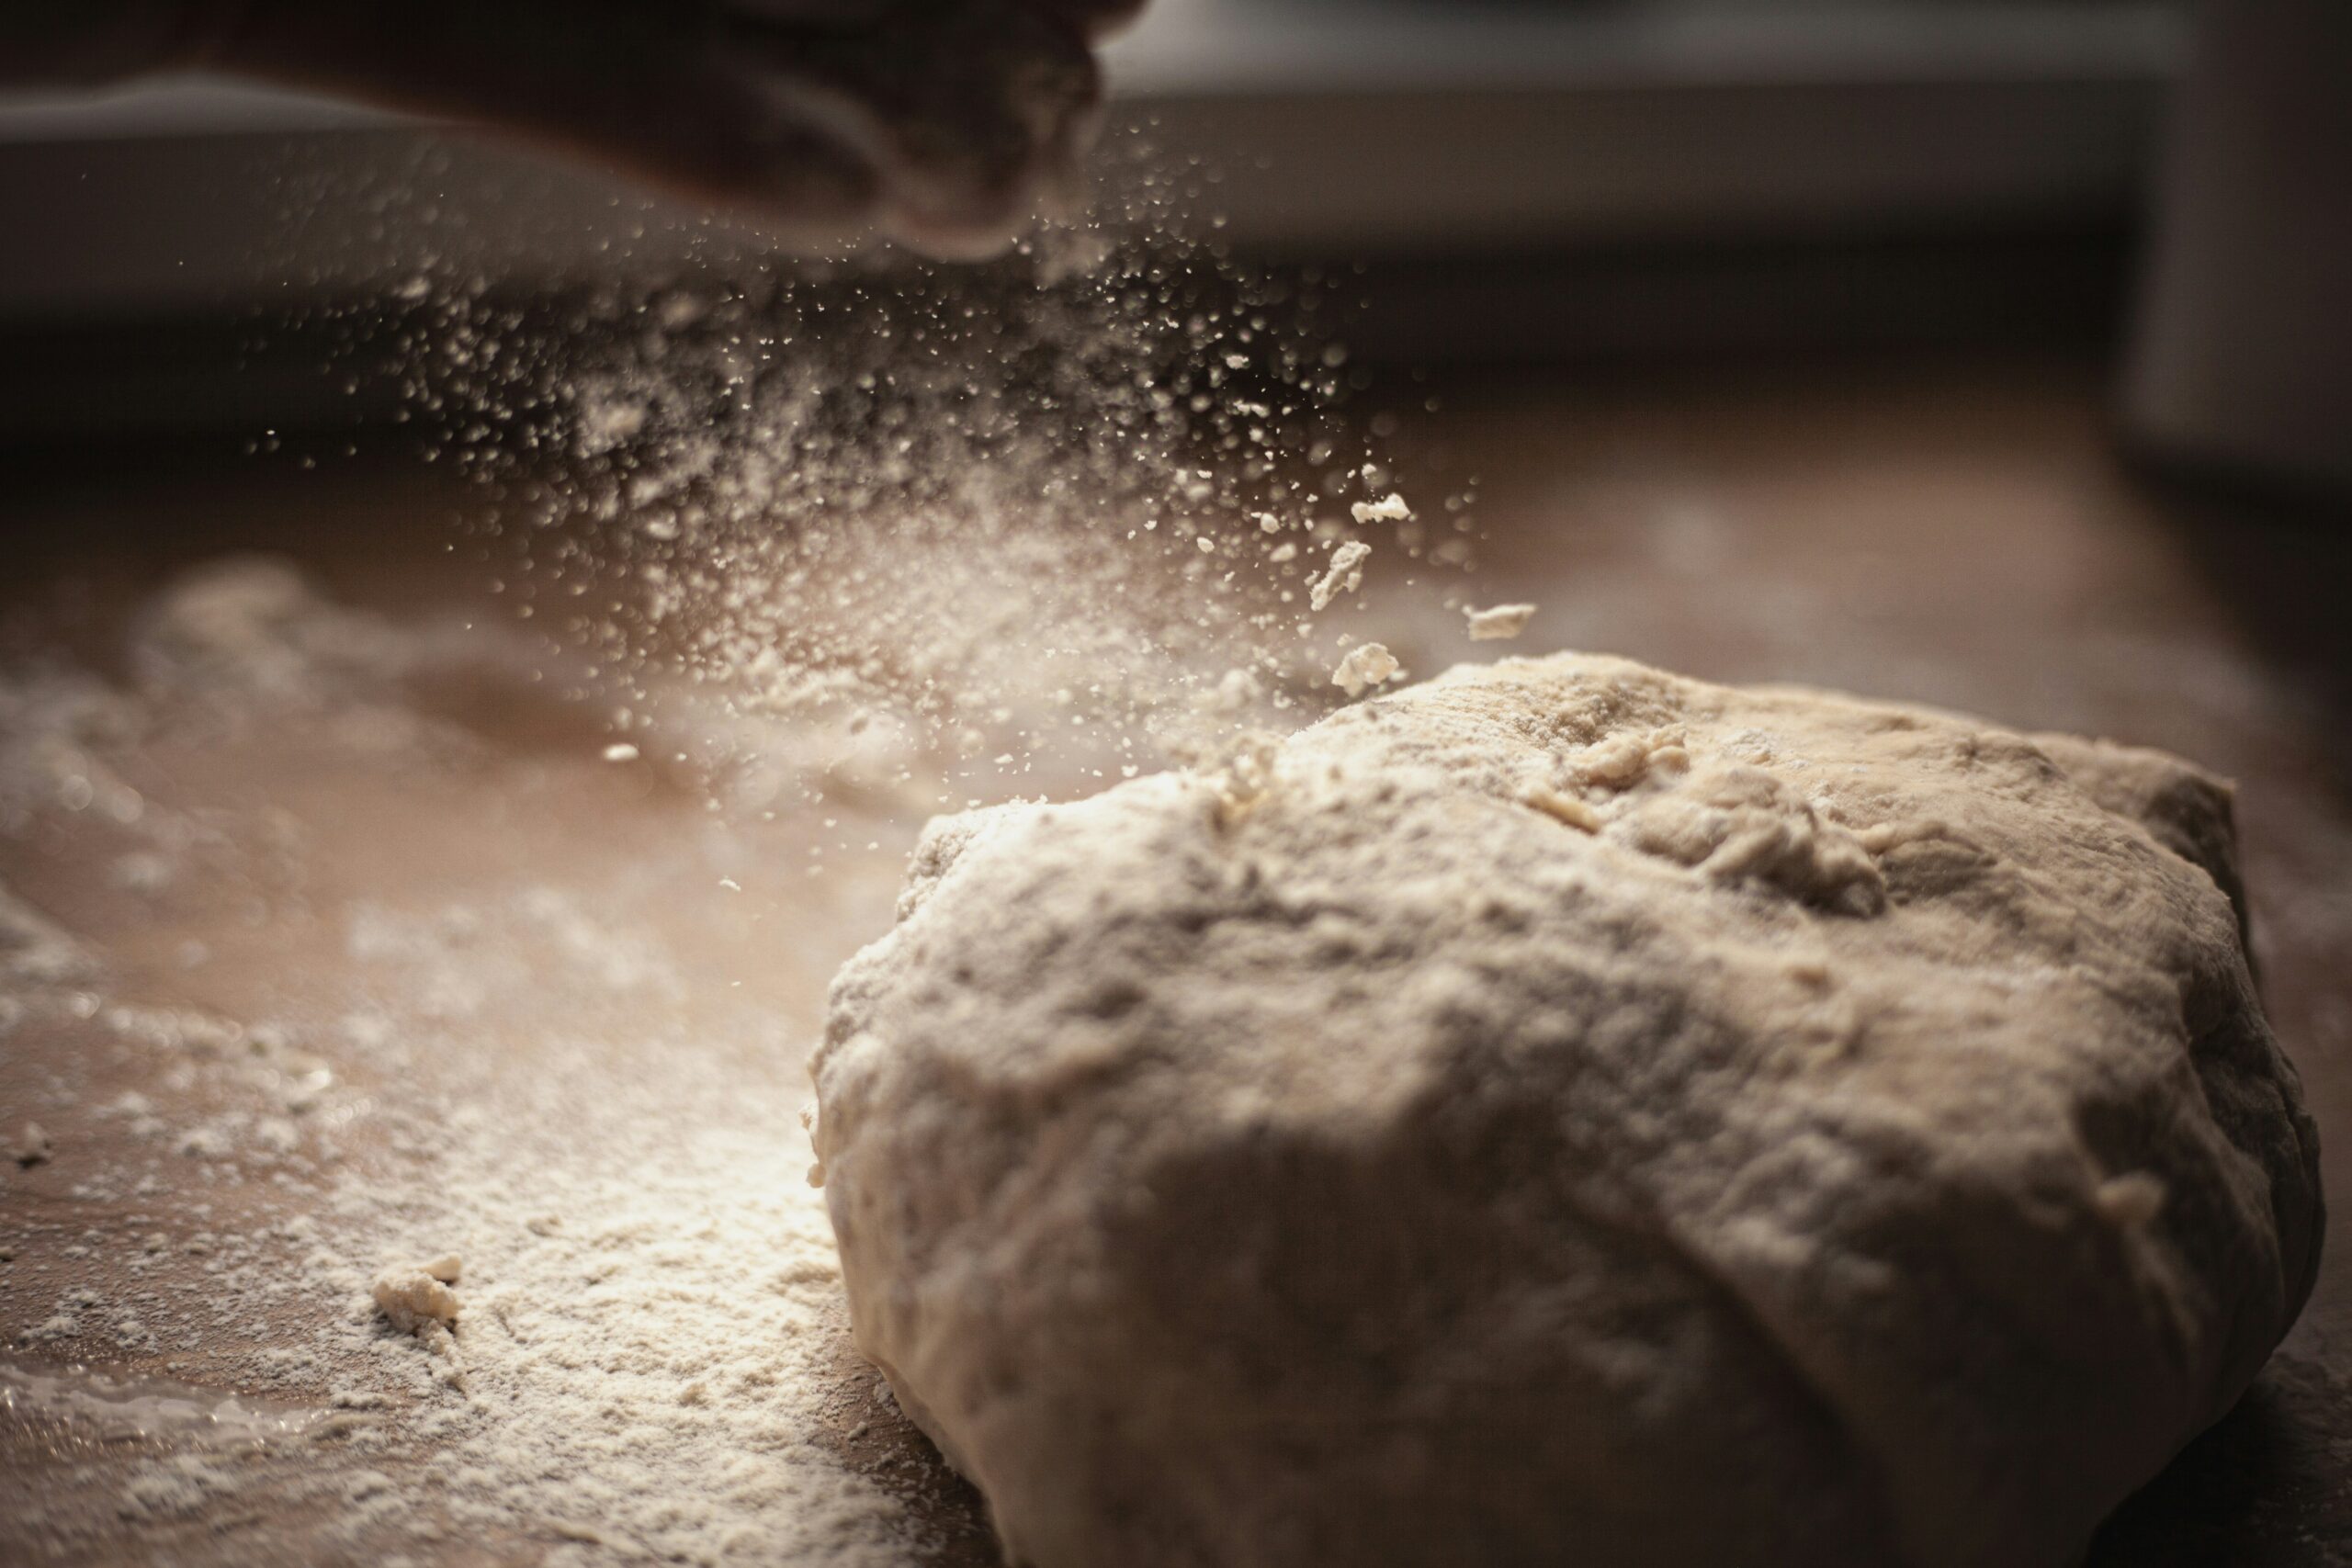
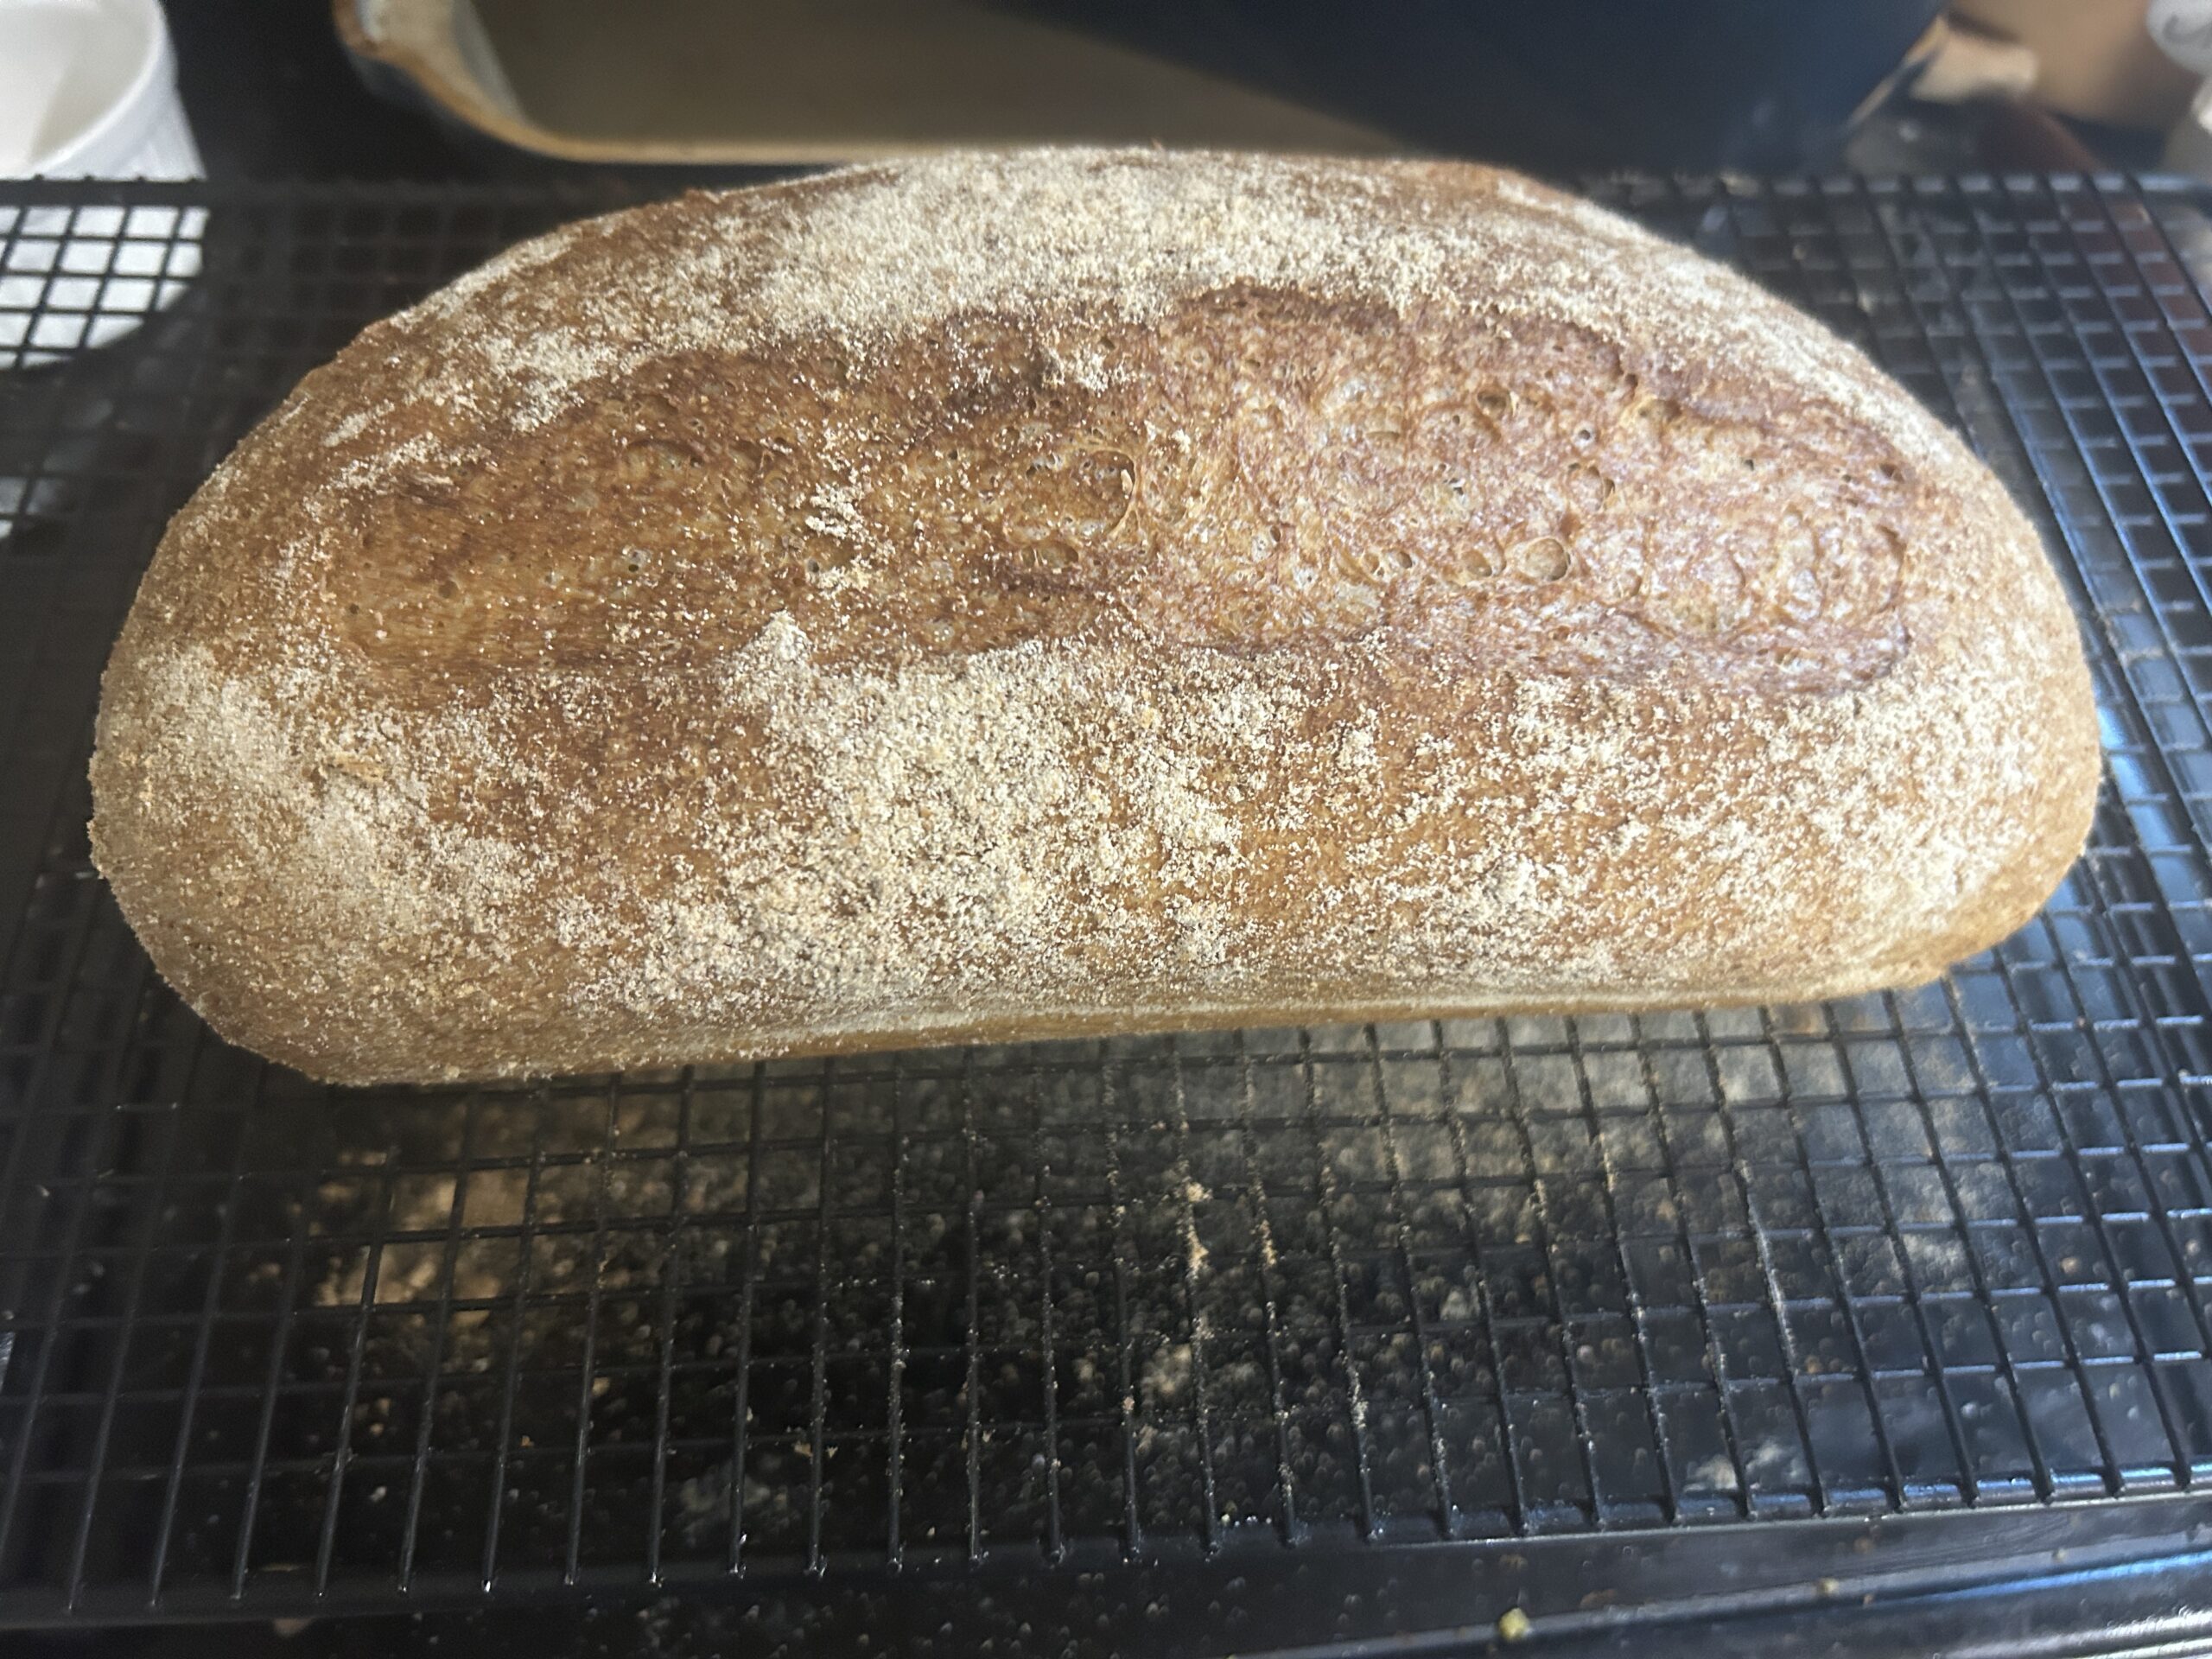
After the dough has been scaled is where we shape bread dough balls into a loaf, rolls, or whatever shape you like. The seam should always be on the bottom. The goals is to create a smooth dough surface with some tension so the bread rises in a controlled manner.
Once your dough is shaped, place it into a greased pan (or a pan with parchment so it doesn’t stick). Some pans have a silicone coating which may not require parchment or greasing so long as the coating is intact. Hand-wash these pans, and never use anything abrasive on them. No metal or hard plastic! I use a silicone spatula if my dough needs
some help getting out of the pan.
Connect with fellow bread enthusiasts in the “Milling Fresh Flour with Lovely Bell and Dr. Mel” community. Gain insights, troubleshooting tips, and personalized guidance for baking with freshly milled flour. Embrace the journey of artisanal bread making with support from a vibrant community dedicated to mastering the art of bread.
Once you’ve shaped your dough, it’s time for the proofing.


