Recipes
Recipe Bases
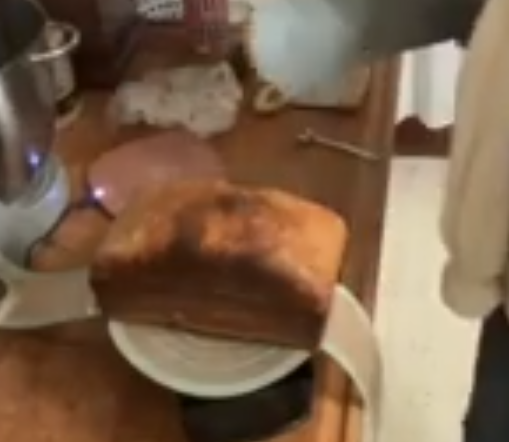
Beginner's Fresh Milled Bread Dough
A beginner-friendly fresh milled bread dough with increased hydration and a no-wait yudane method for soft, sliceable whole grain bread.
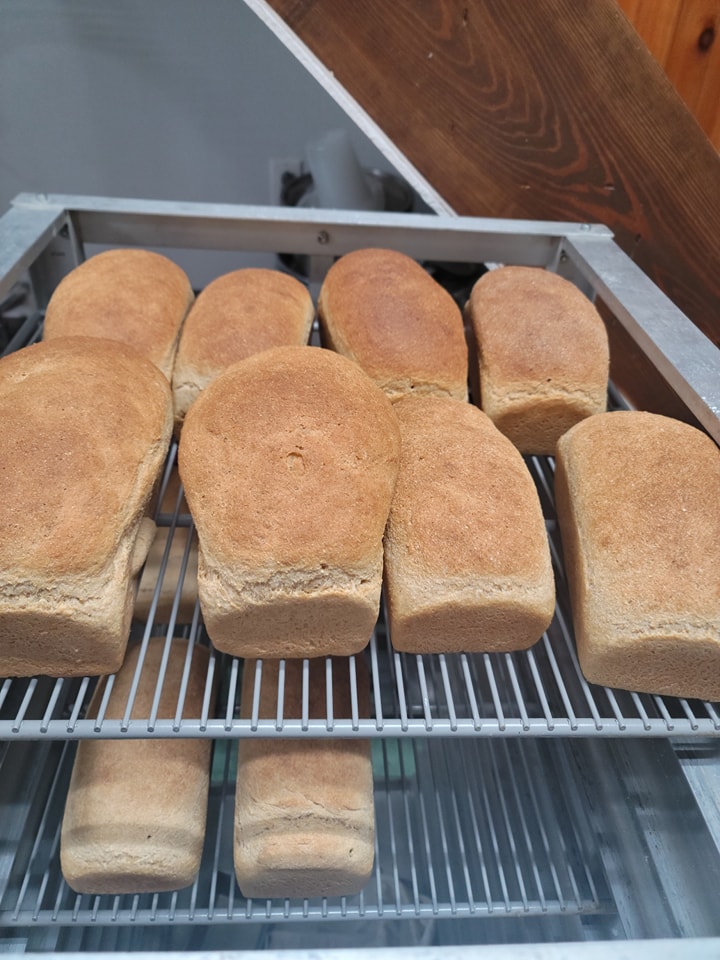
Italian Bread
Makes: 1 loaf / 16 slices Prep Time: 1 hour 55 minutes (mostly inactive) Bake Time: 50 minutes Total Time: 2 hours 45 minutes
Pasta by Hand
This recipe base is for pasta mixed and rolled by hand or with a roller and cutter machine, but it is too wet for an extruder, so don't try that or you'll regret it.
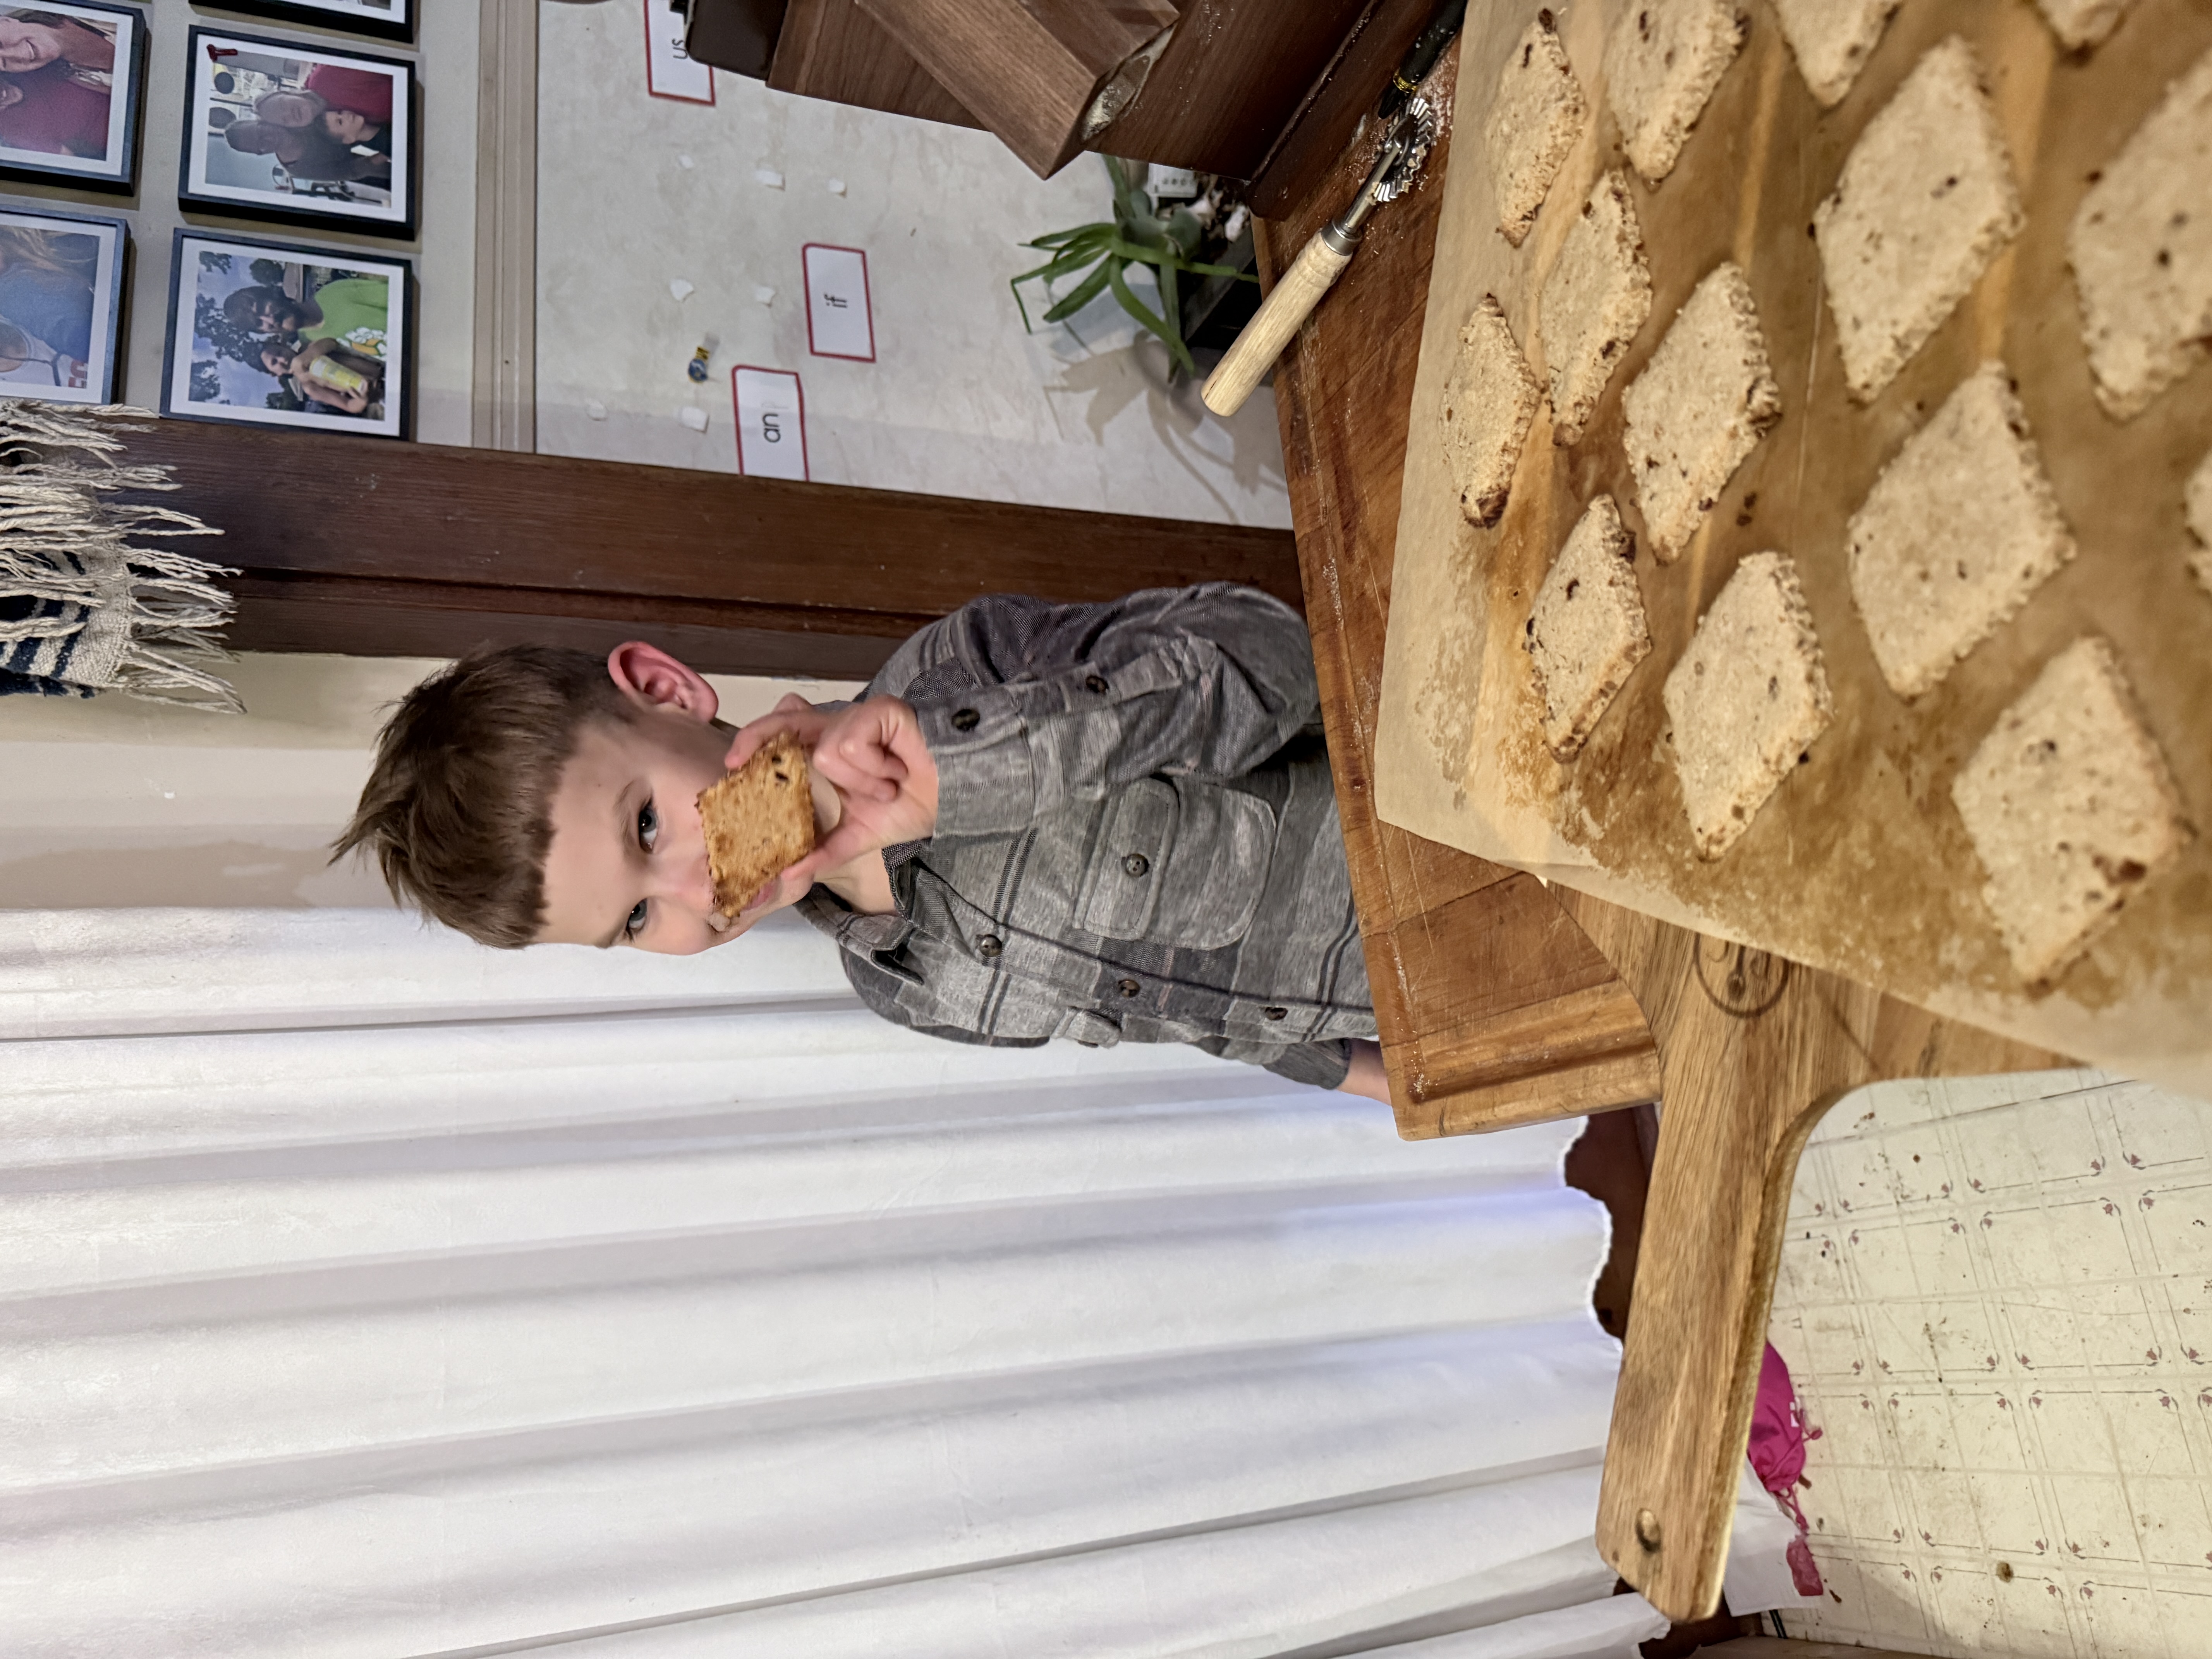
Pretzel Sticks
Crunchy, fresh milled whole grain pretzel sticks that taste amazing and stay crunchy!
Sourdough Italian Bread
This is my italian bread base converted for sourdough. I've made it with both liquid starter and stiff starter and they both turned out wonderful.
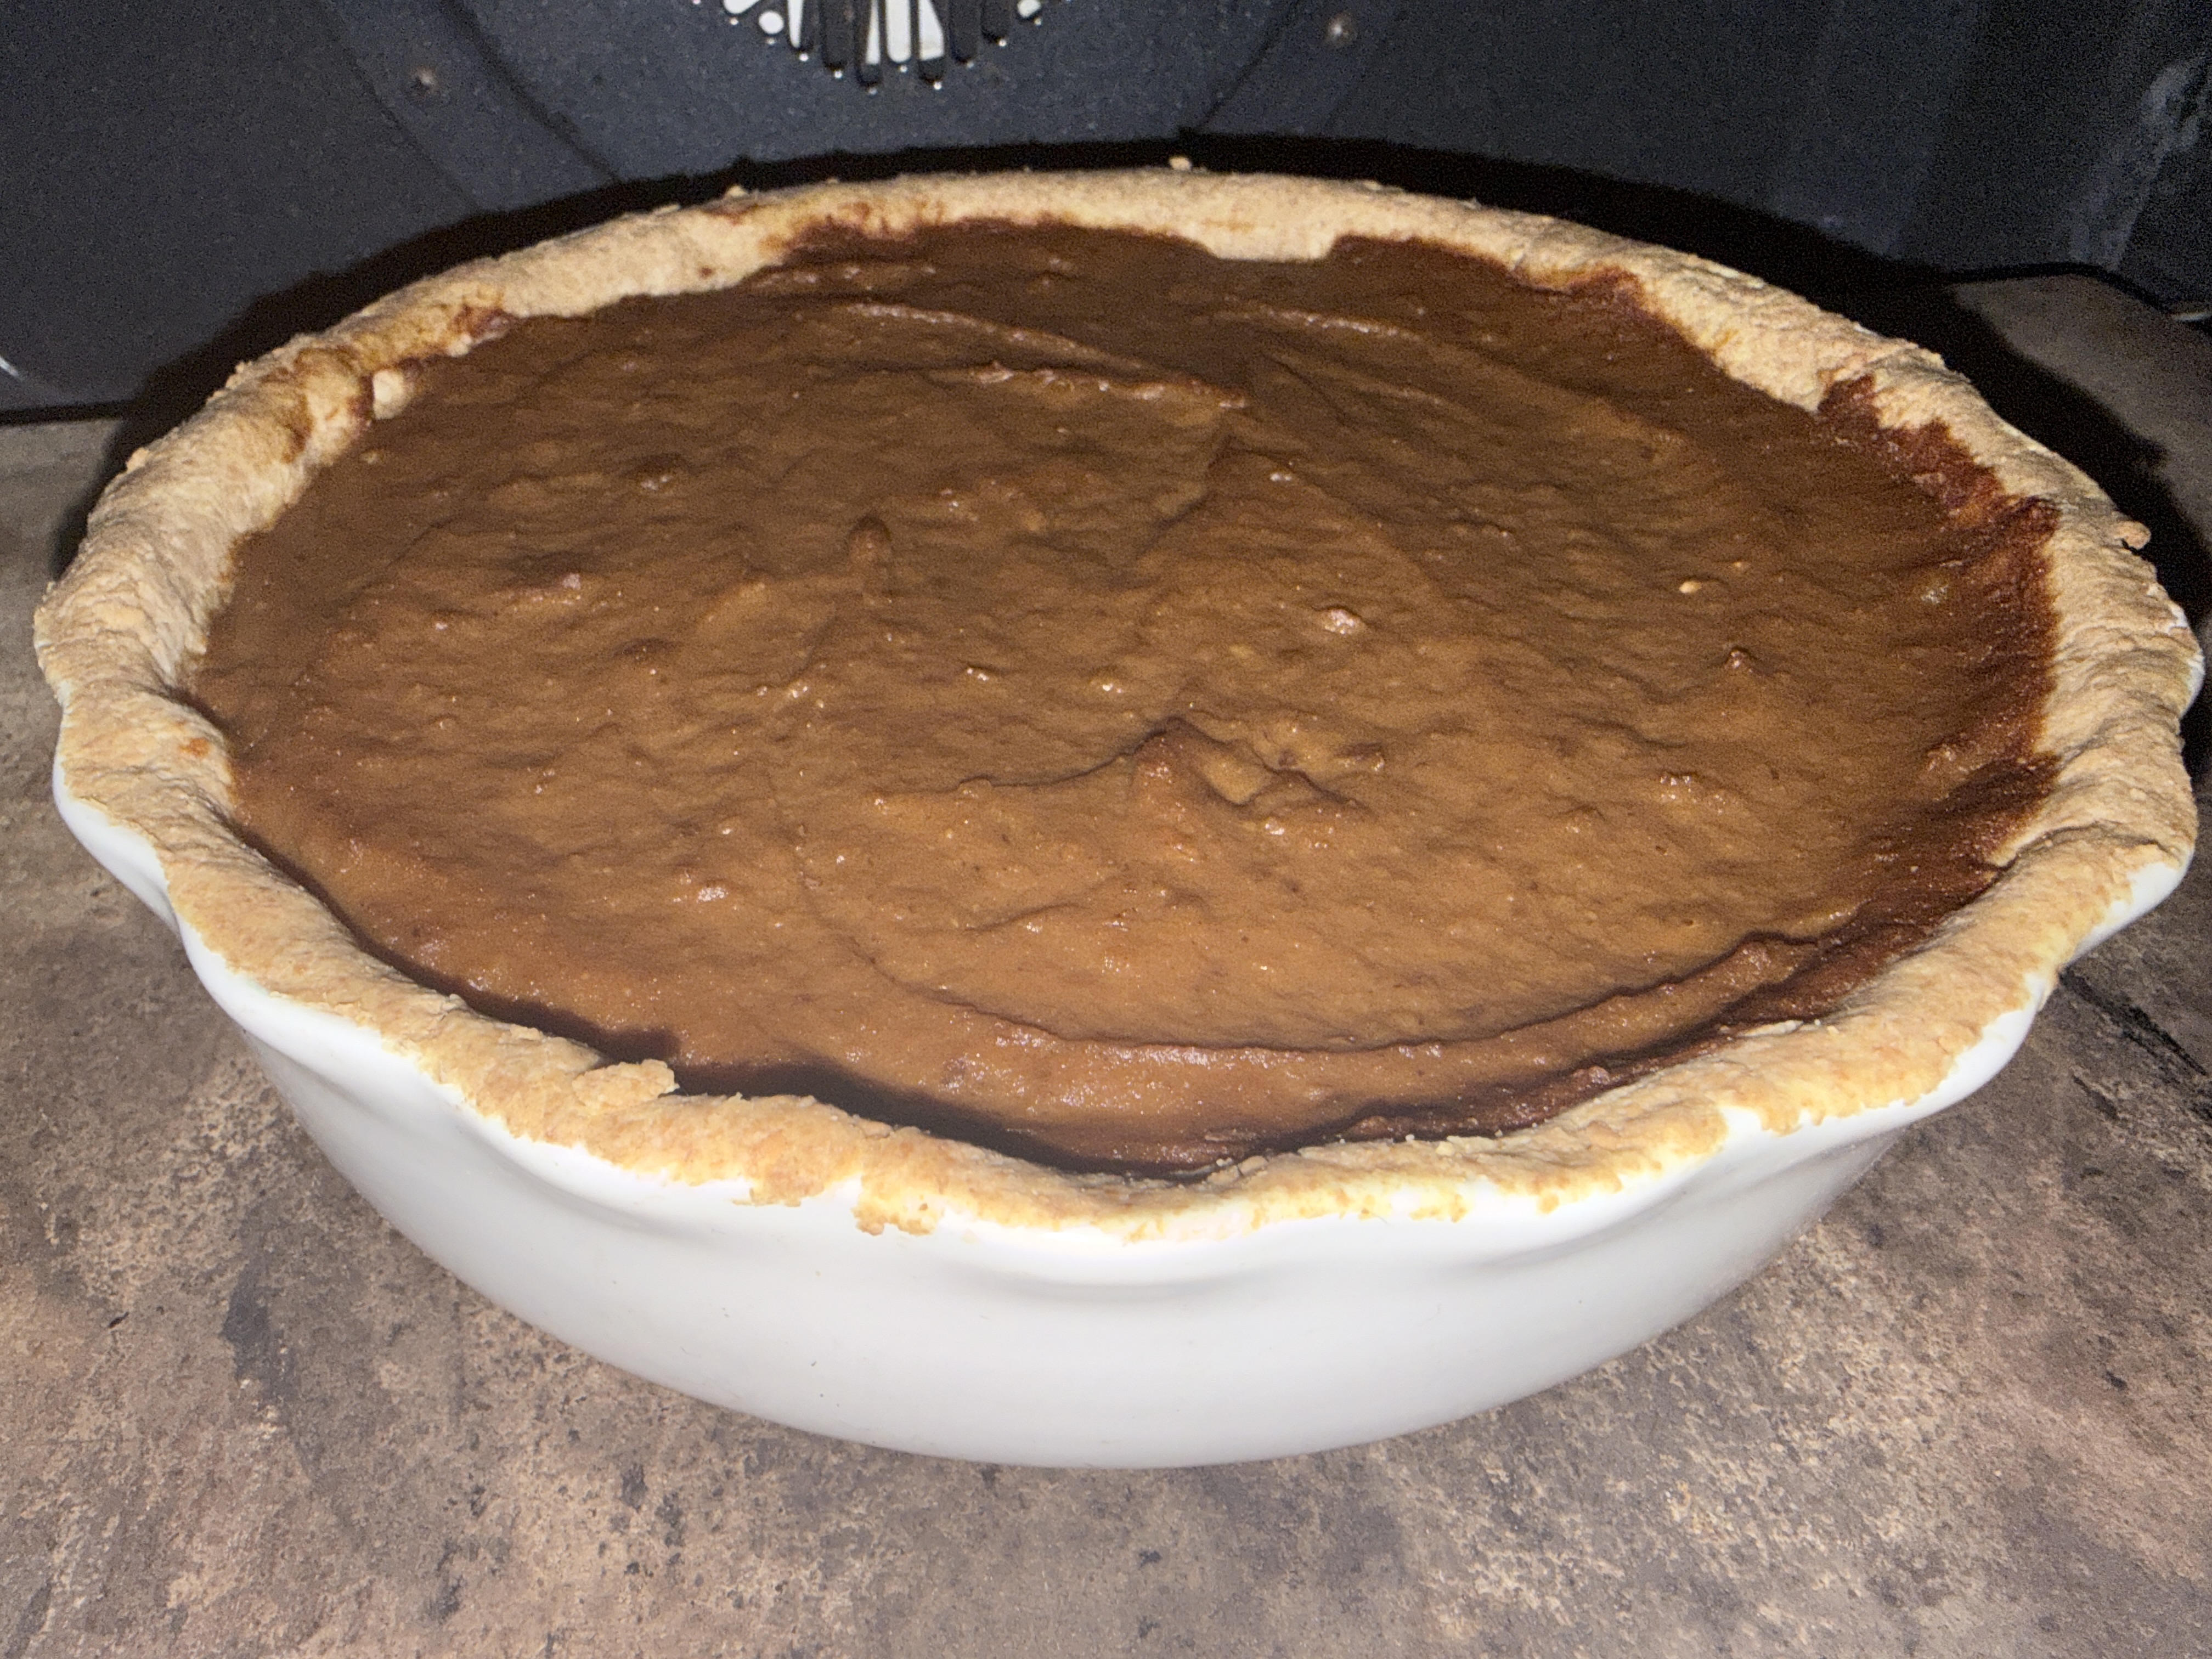
Sponge Cake
This base uses the creaming method