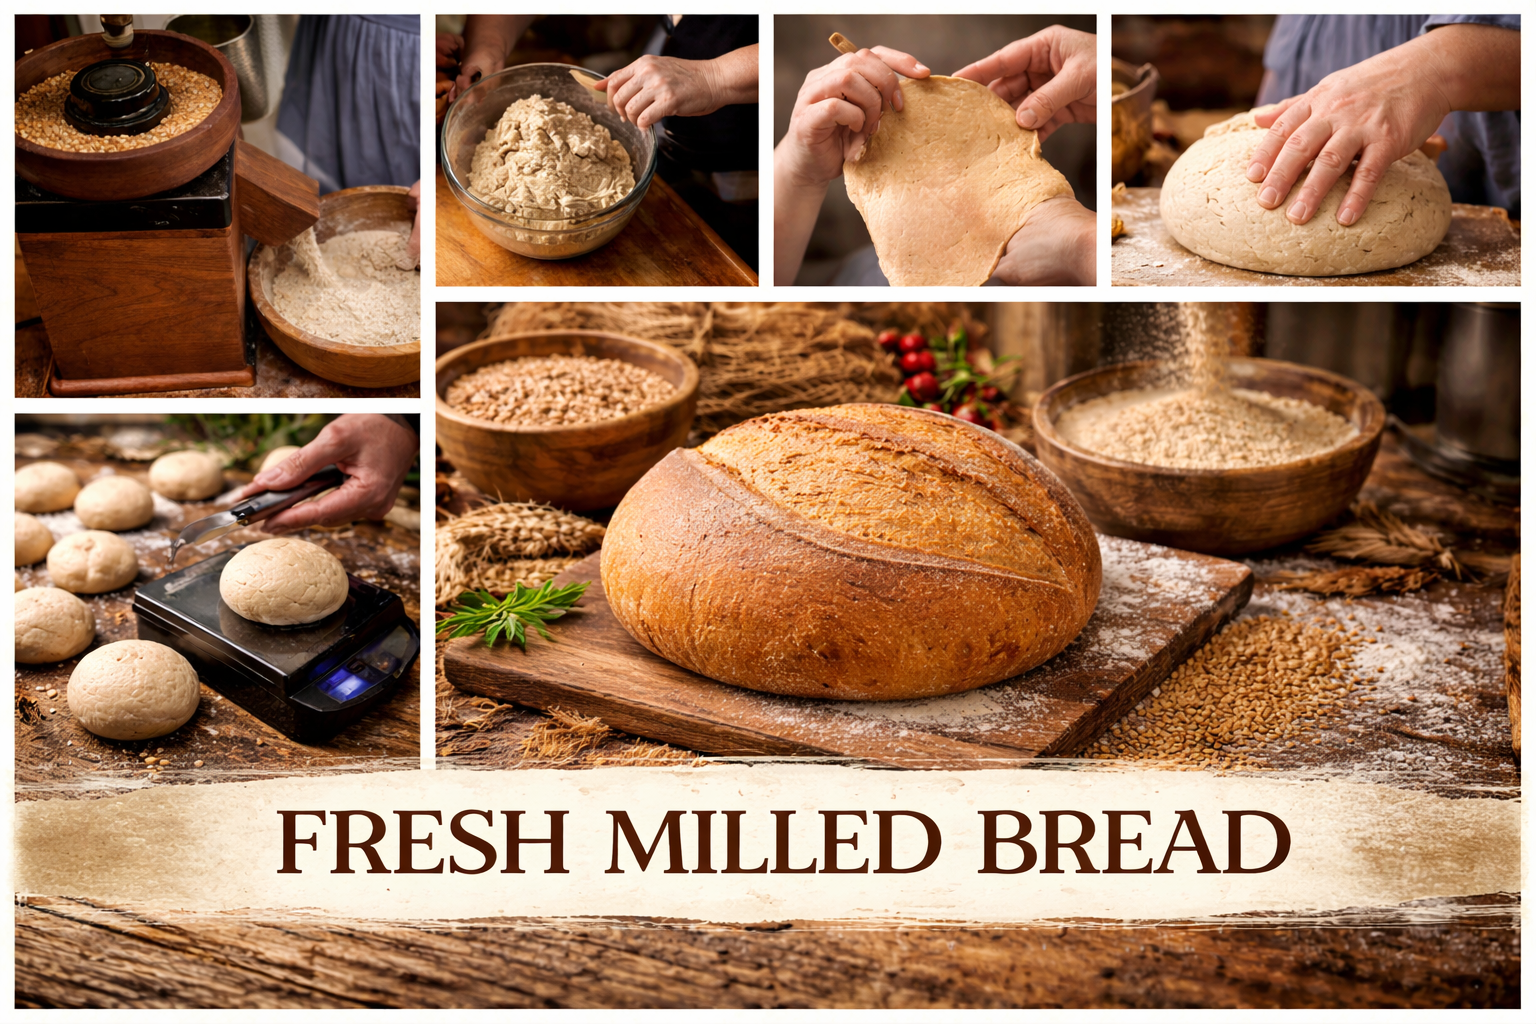
Techniques
Recipe Bases
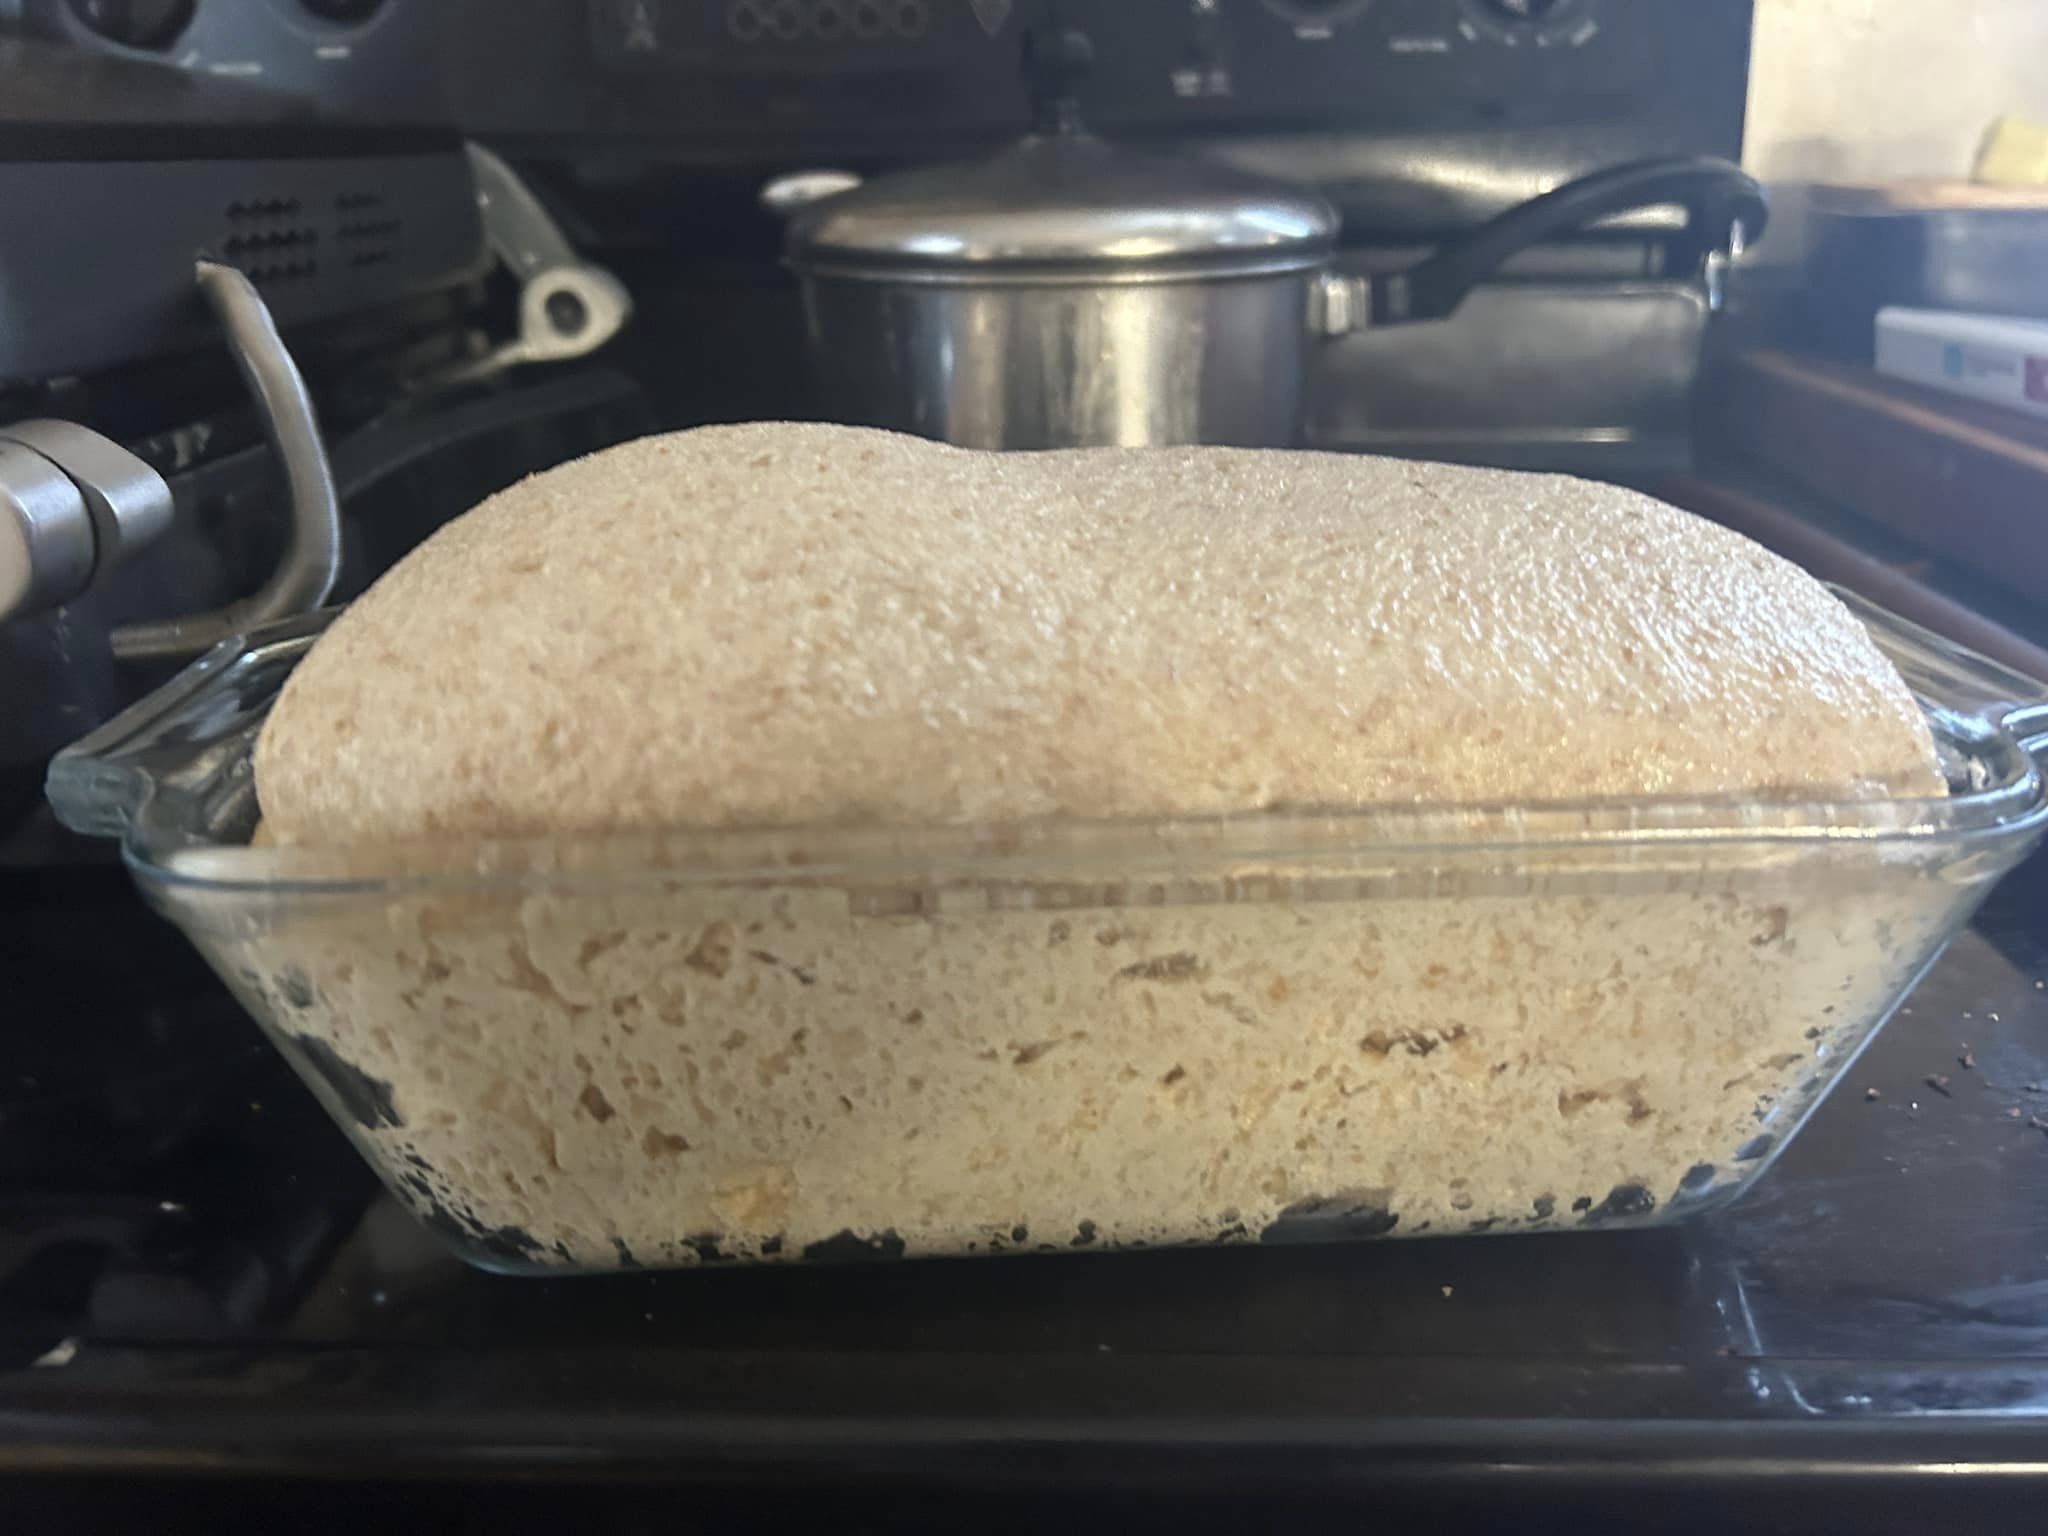
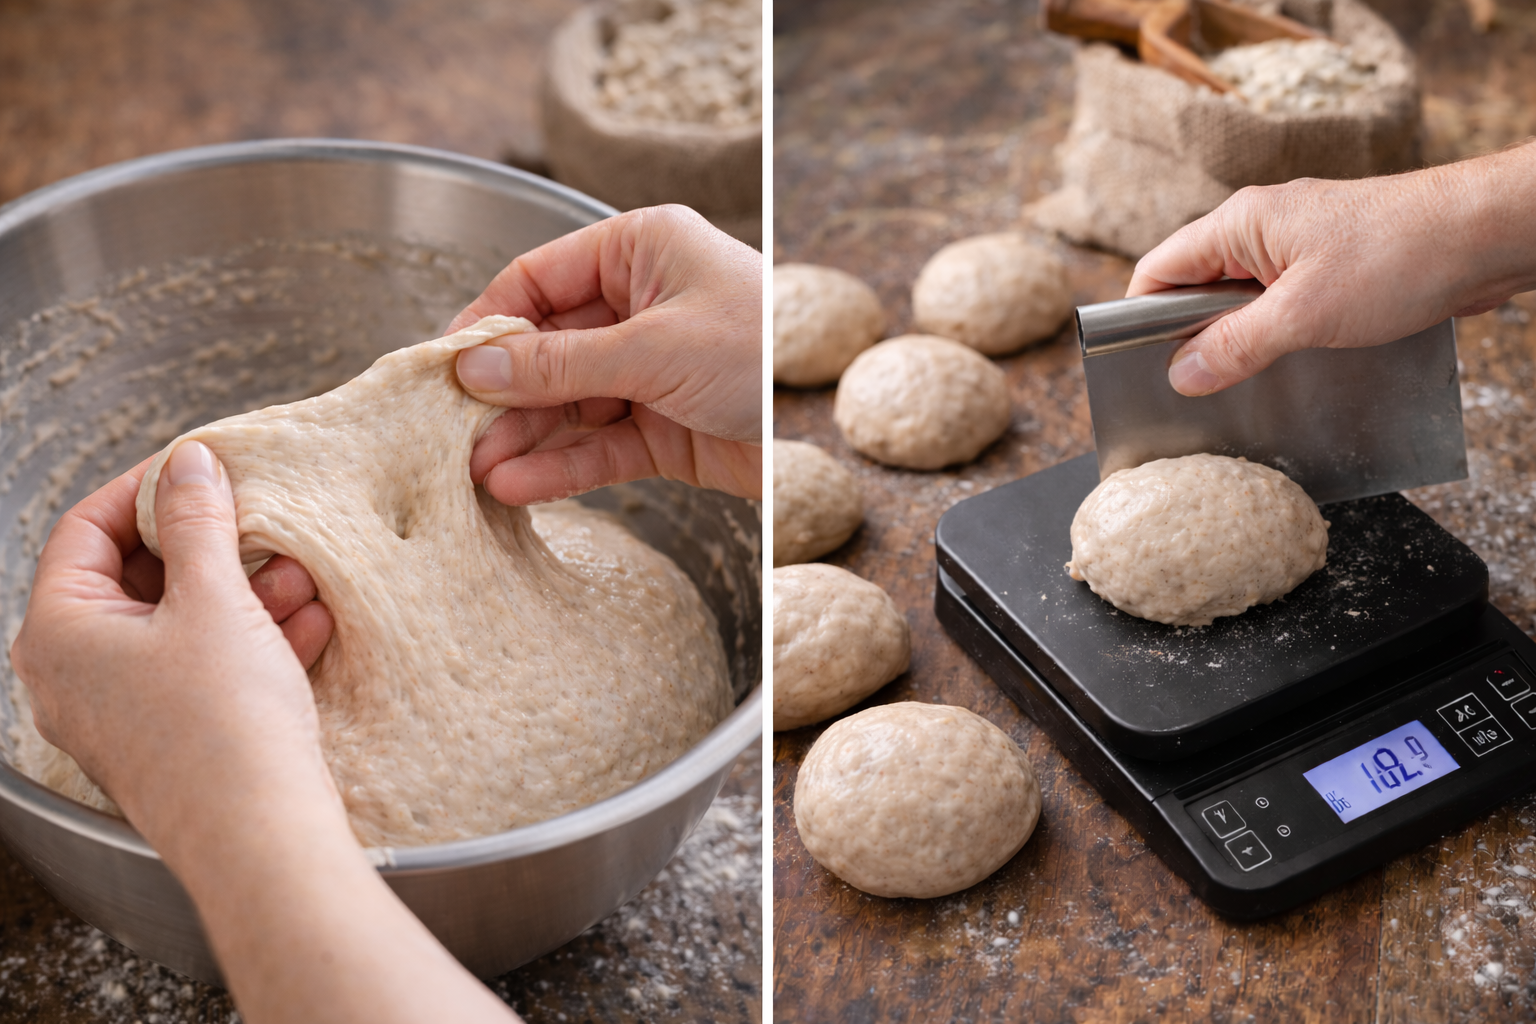
Beginner's Fresh Milled Bread Dough
A beginner-friendly fresh milled bread dough with increased hydration and a no-wait yudane method for soft, sliceable whole grain bread.
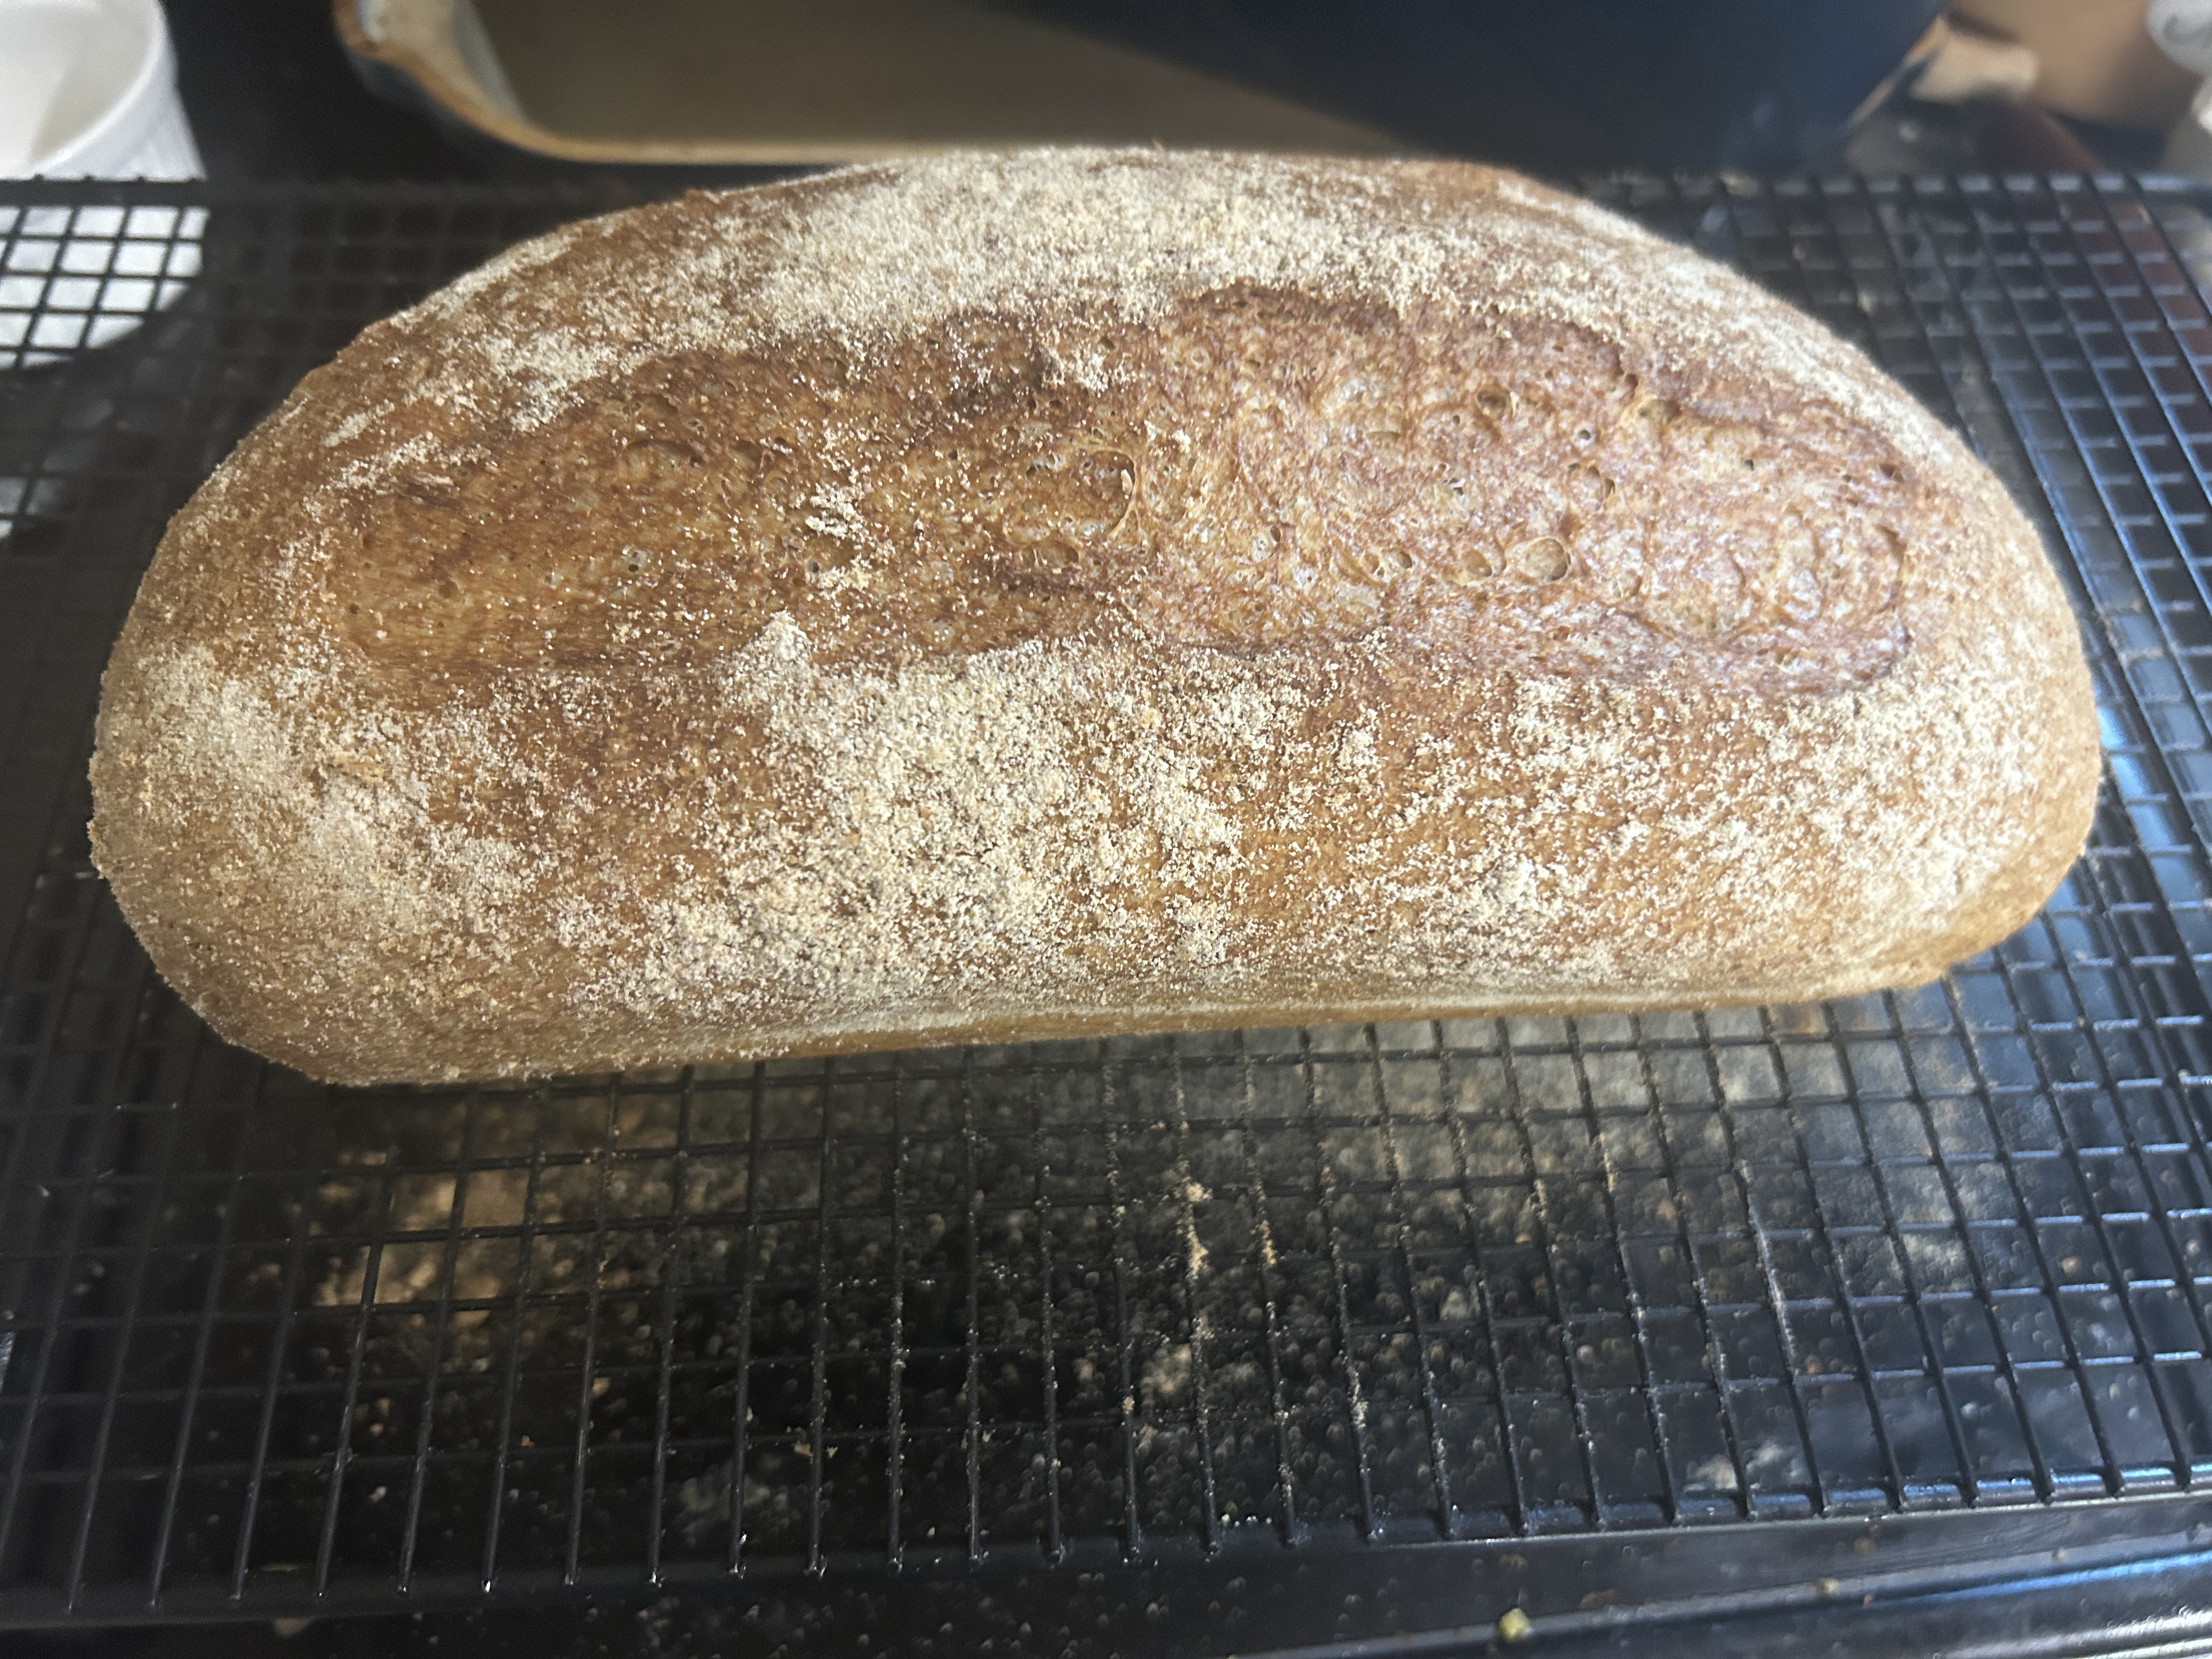
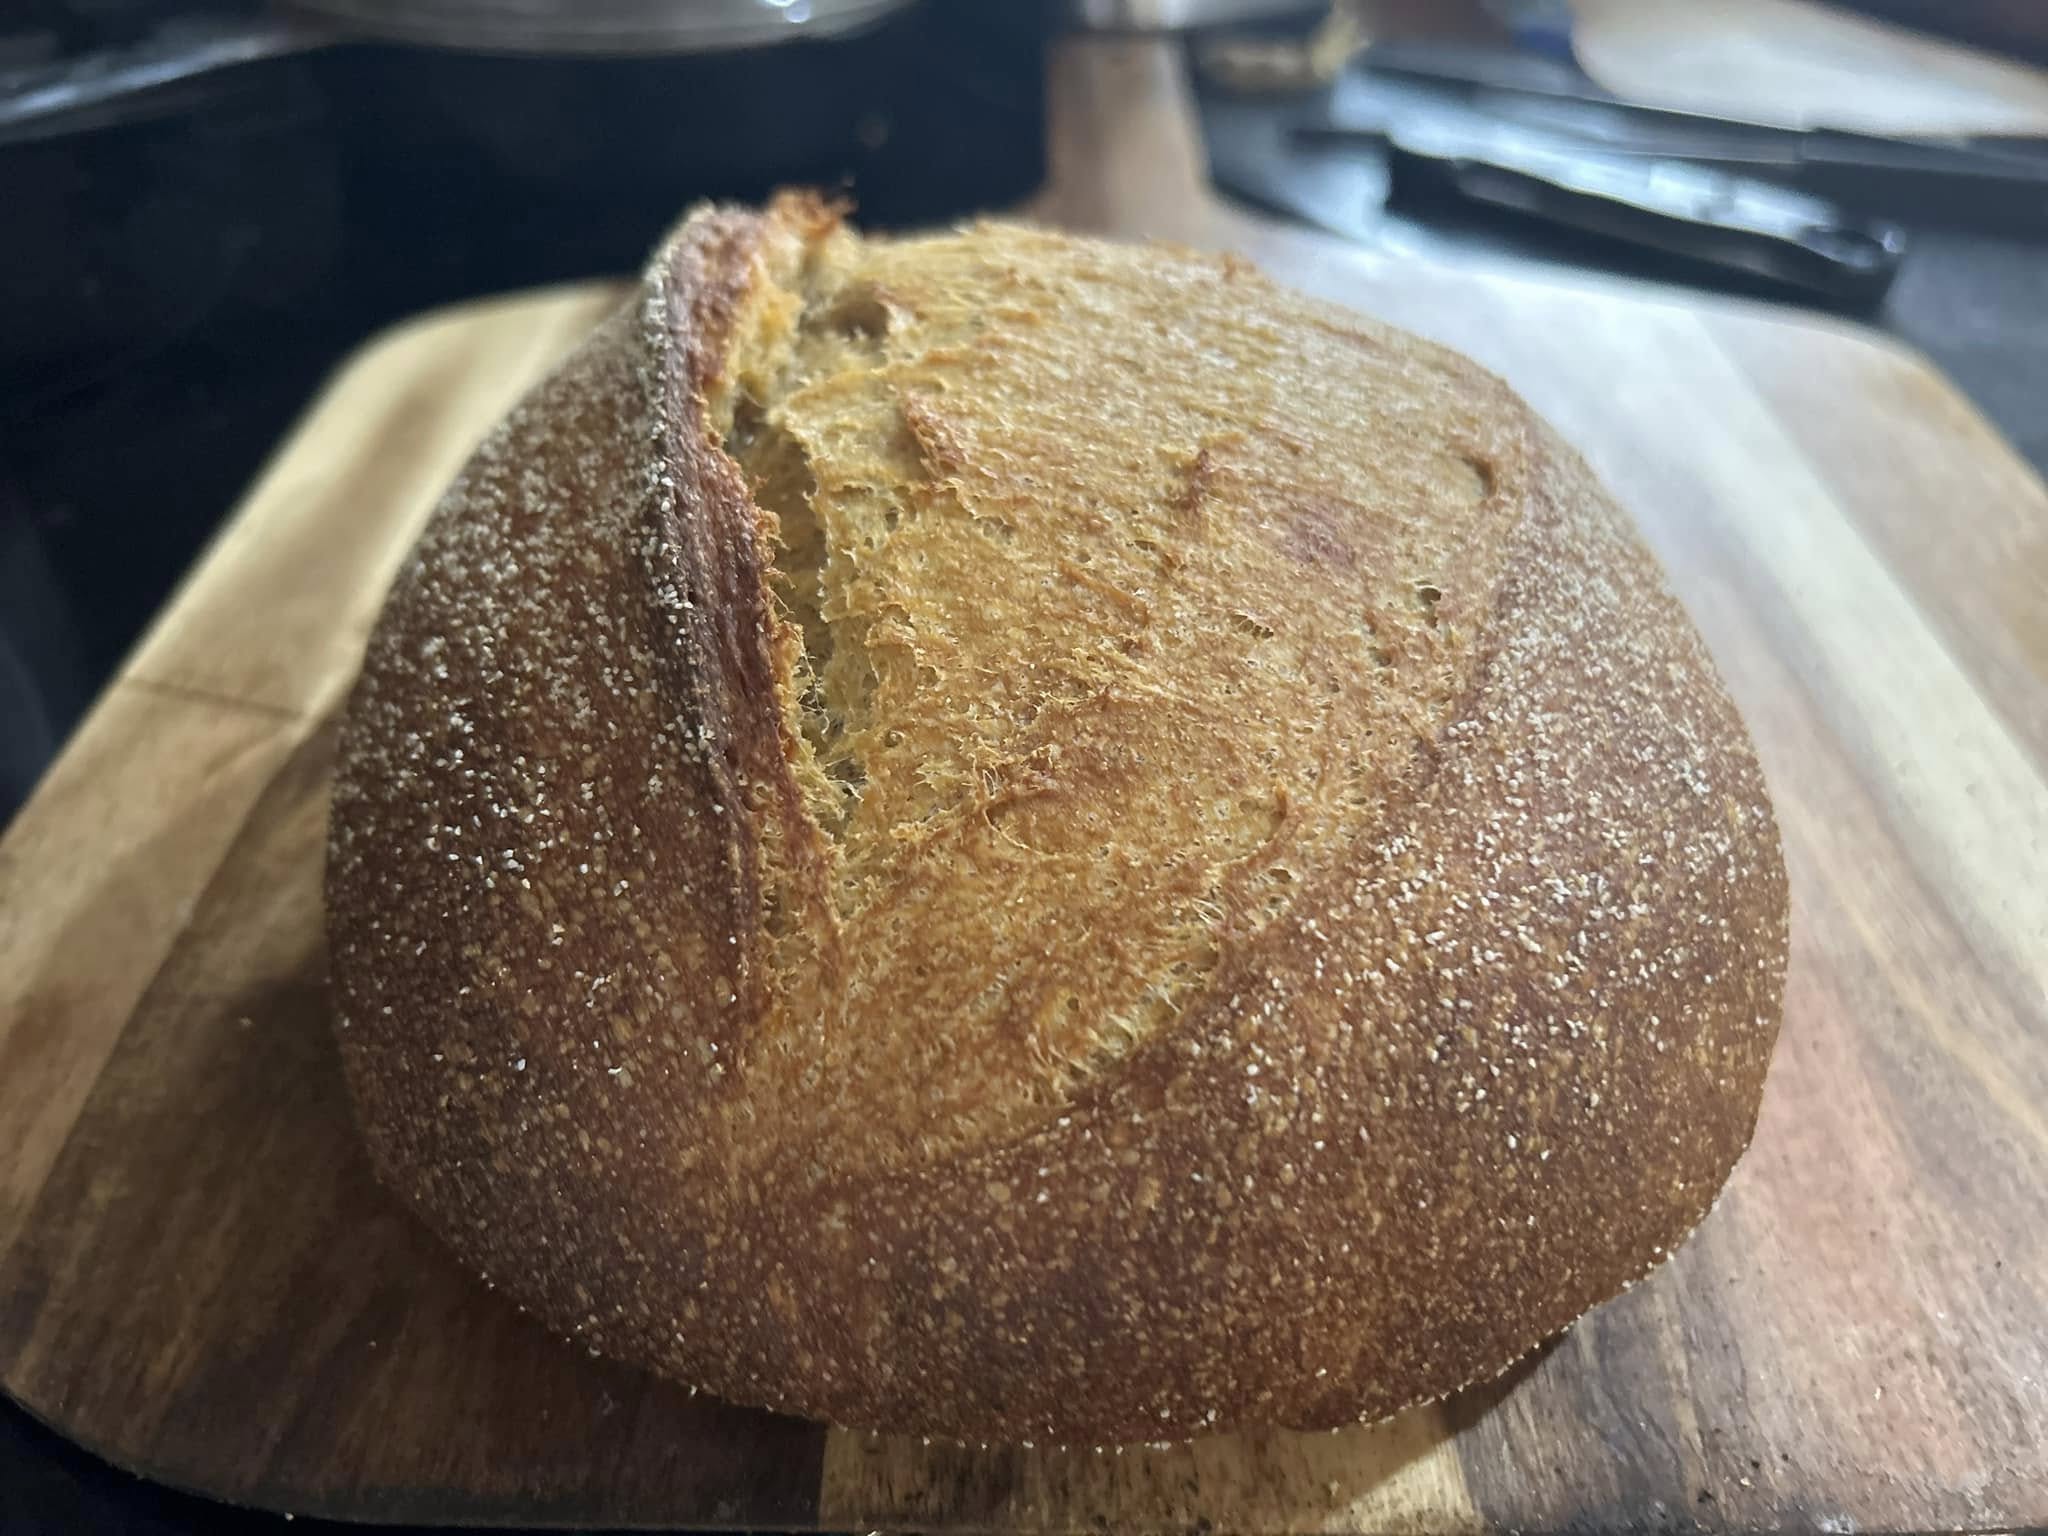
Italian Bread
Makes: 1 loaf / 16 slices Prep Time: 1 hour 55 minutes (mostly inactive) Bake Time: 50 minutes Total Time: 2 hours 45 minutes