While I munch on this most recent whole wheat, crusty Italian bread, I’m reflecting the secret to rustic Italian Bread without the additives. Over the last few weeks, I’ve made in tons of Italian bread:
My Other Italian Bread Recipes
- 100% Fresh Milled Italian Bread (no yudane)
- 100% Spelt Italian Bread (no yudane)
- High Hydration Italian Bread (freshly milled)
Vital Wheat Gluten
What these fresh milled, whole grain Italian bread loaves all have in common is the use of Vital Wheat Gluten. It’s an additive I had pretty much eliminated from my baking since I decided to use lower amounts of yudane to get my bread soft, soft, and strong. And I was happy with that!
A few close friends expressed a strong desire for artisan Italian bread made from freshly milled, whole wheat flour. They envisioned a loaf with a crispy exterior, a tender interior, and generously-sized holes. Not only that, they preferred it not to be baked in a Dutch oven. Local bakeries achieve similar results by incorporating high-gluten flour and dough enhancers. Therefore, I developed a whole wheat Italian bread recipe utilizing vital wheat gluten to mimic these qualities.
No Additives Challenge
Once I posted my recipes, folks asked the same questions I usually have:
Can I make authentic fresh-milled Italian bread without the vital wheat gluten, and how?
Those folks inspired me to keep trying with the Italian bread without additives. I’m THRILLED to show you it CAN be done, and it can be GREAT! I nearly neglected the impact of reducing yudane in my soft sandwich loaves, which enabled me to omit vital wheat gluten and lecithin, still maintaining softness and pliability. I’m not sure WHY it didn’t occur to me sooner to try it with this bread.
Thanks to some comments and support from my friend Monique at Lovely Belle Bakes, I was able to:
- use wire whips to incorporate more air into the Italian bread dough, getting excellent windowpane in minutes. This makes it great for KitchenAid and weaker mixer users
- incorporate a fridge rise
- change up the way I shape my Italian bread dough -her tips gave me encouragement to try again. Shaping open bakes (without a pan) has been a personal struggle.
This rustic Italian bread recipe is perfect in every way – the texture of the crumb, how it holds it’s height, and it’s chewy yet crunchy crust. This is a daily loaf winner! I hope you enjoy this whole wheat Italian bread recipe as much as my family and friends do.
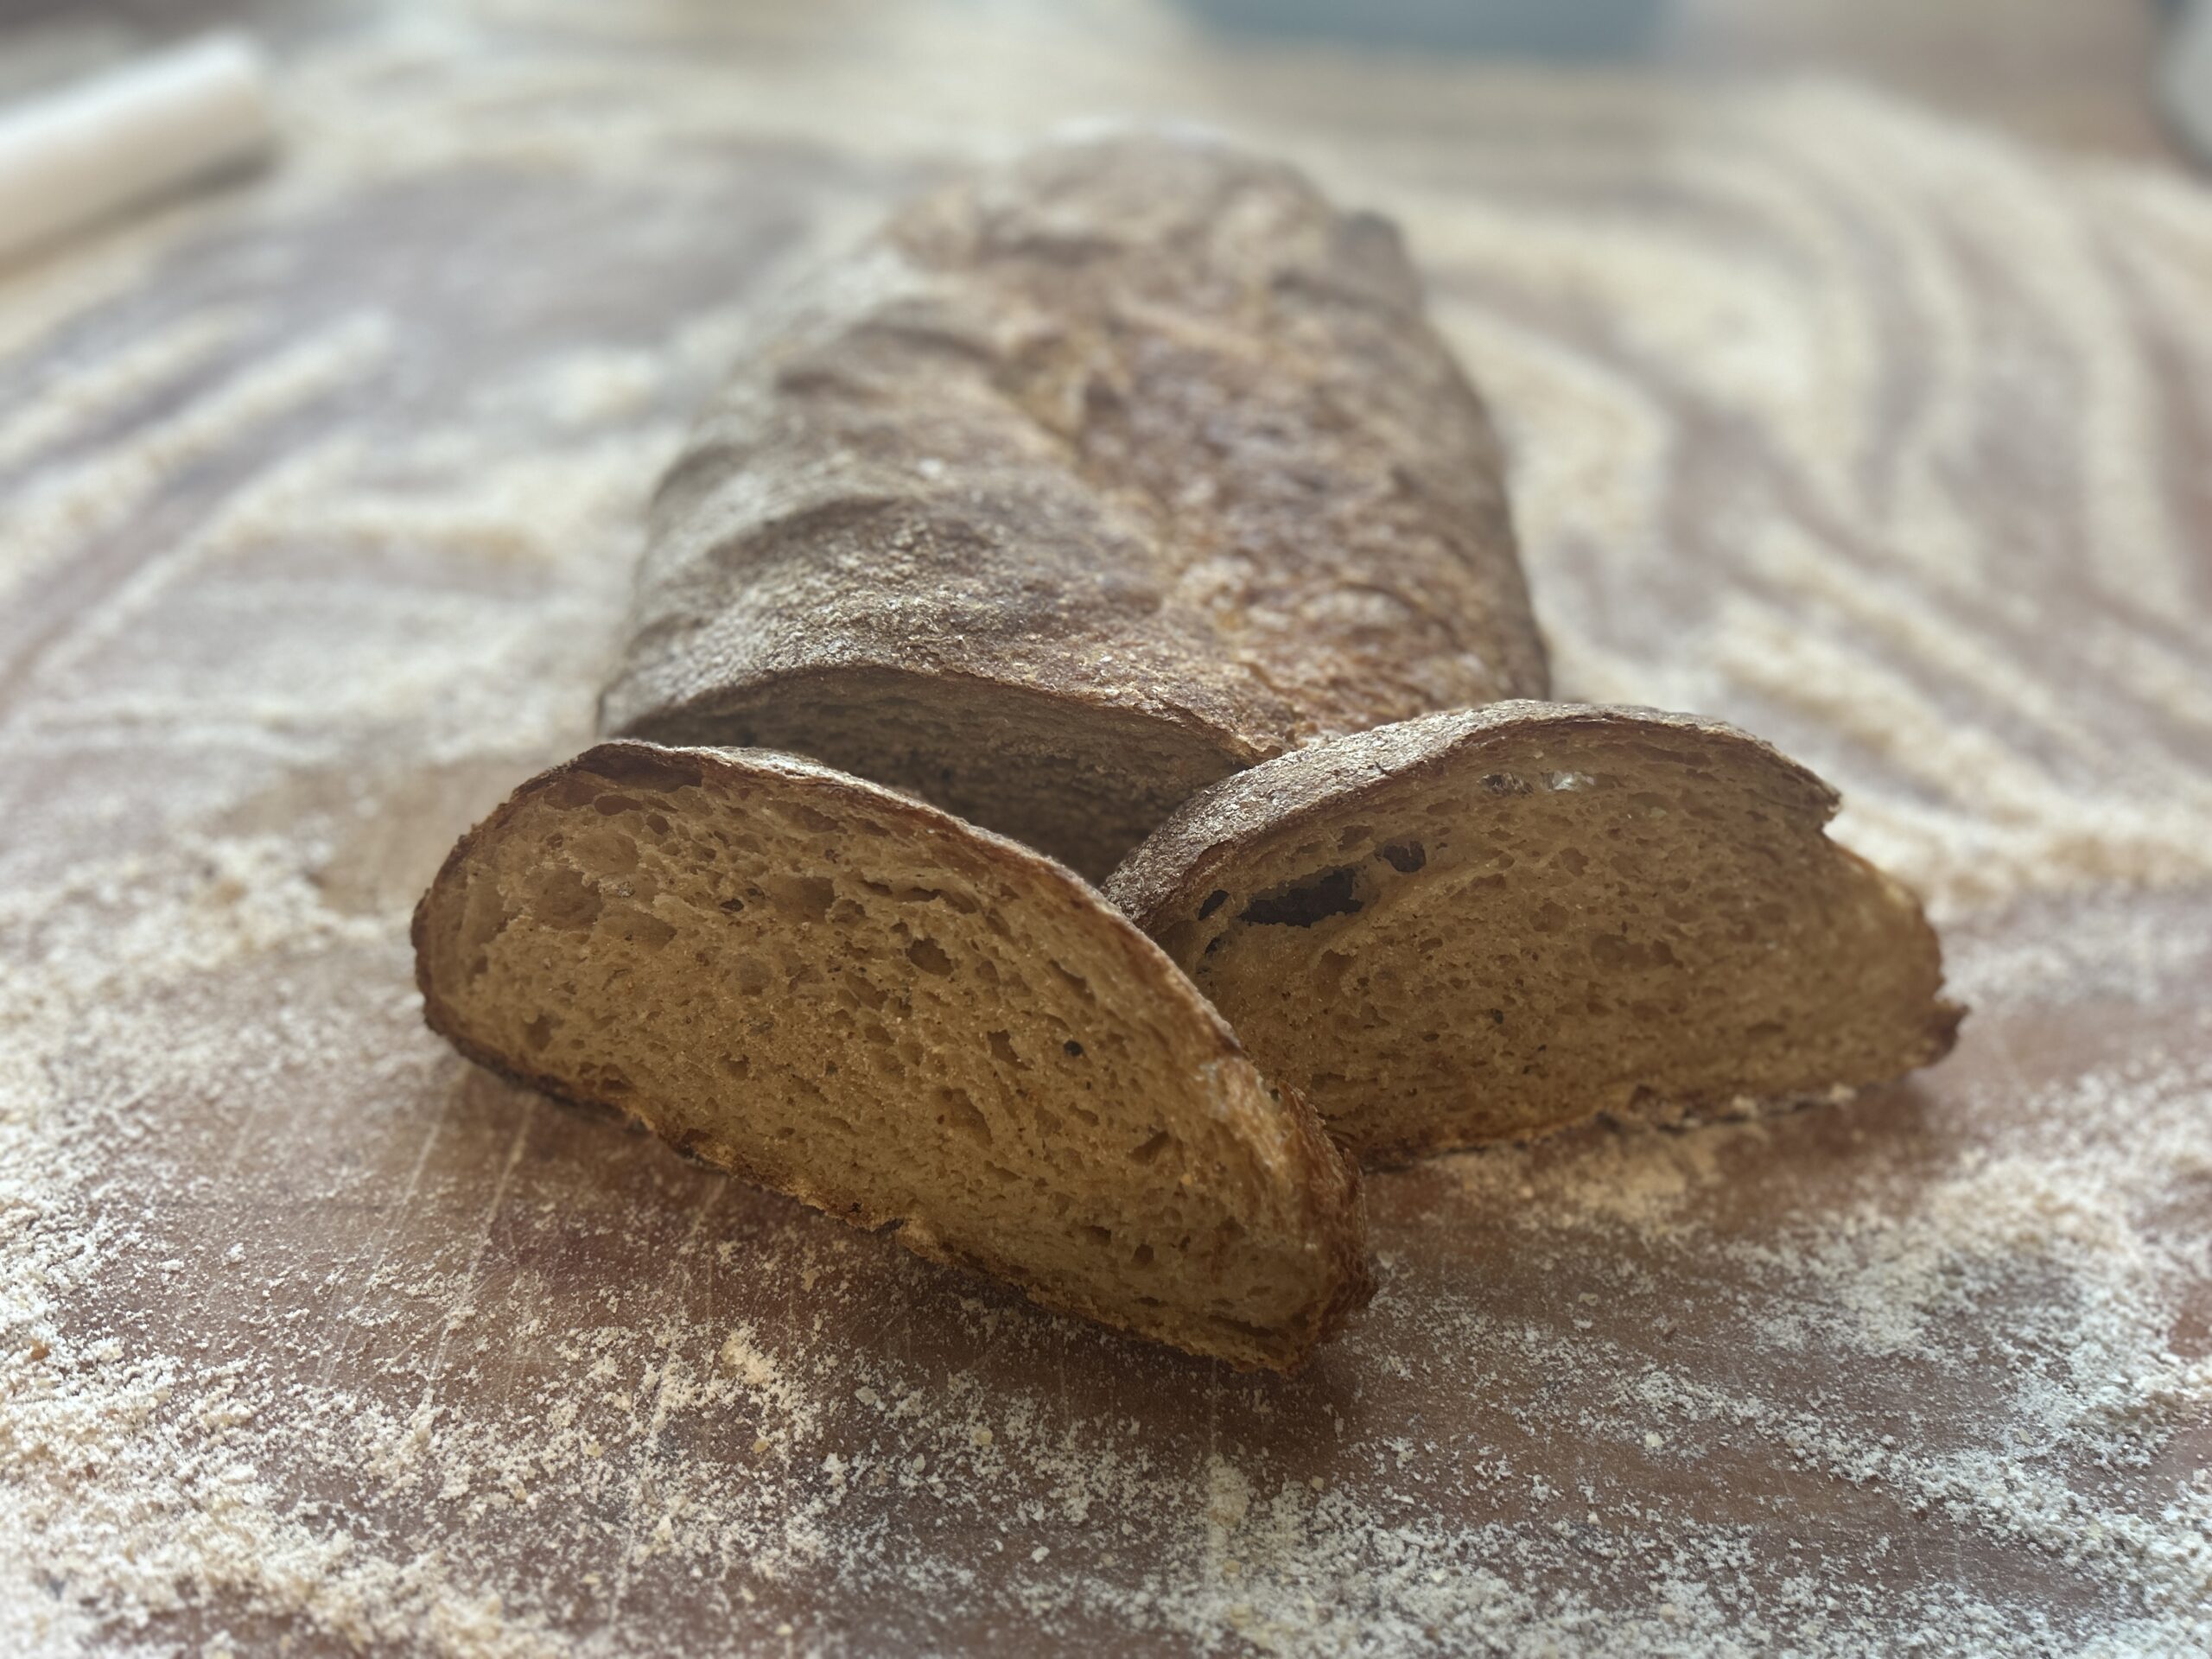
Crusty Whole Wheat Italian Bread with NO ADDITIVES
Ingredients
- 420 g wheat berries, soft white 100 g soft white, 250 g hard red, 70 g durum
- 380 g water
- 50 g water, boiling
- 11 g sea salt, celtic grey
- 10 g barley malt syrup sugar, honey, or maple syrup can be used
- 10 g yeast (instant) I used instant, active dry can work just prove it first with some of the water
Instructions
- Mill the flour
Prepare Yudane
- Place a small cup on your scale, adding 25 g of flour to it.
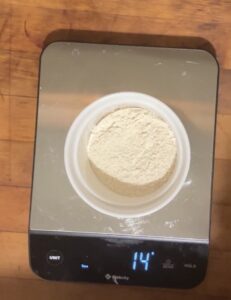
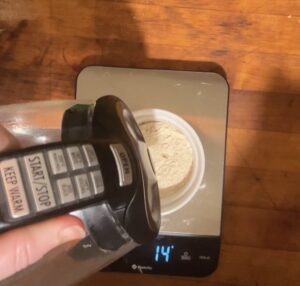
- Zero out the scale, and pour 50 g of BOILING water into the bowl.
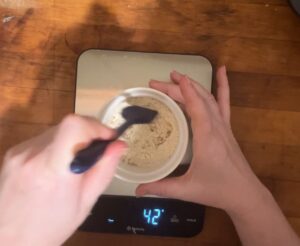
- Quickly mix into a paste, and set aside.
Mixing the dough
- Add water, yudane, salt, barley malt syrup to your mixing bowl using wire whisks.
- Turn mixer on low speed, and slowly pour in the flour until incorporated.
- Kick up the speed of your mixer to highest setting for about five minutes. The dough will change in consistency from a wet batter to dough that starts to grab on and stretch in the bowl. The sound will also change. Once this happens, turn it off.
- Switch to the dough hook or roller and scraper for the Ankarsrum mixer. Sprinkle in your yeast, and knead the dough by mixer or by hand for about 2 more minutes. The dough is still wet enough that you can do it on a higher speed but it's not necessary.
Fermentation (and stretch and folds)
- Place your dough into an oiled bowl with room to double in size.
- Develop some extra structure in your bread by following the directions in the video. This is a special type of stretch and fold for high hydration dough.
- Let the 30 dough rest for 30 minutes or until doubled.
- Do another set of stretch and folds.
- Let your dough rise a second time in your covered bowl IN THE FRIDGE.
Shaping
- Preheat your oven to 450 F. If using a dutch oven, put it into the oven (the bottom only).
- Shape your dough, flour it well. Scoring is optional.
- Transfer the bread to the oven, add a tray of boiling water for steam, and spray the loaf before closing the door.
- Bake at 450 F for 25 minutes
- Remove the pan of boiling water or remove the Dutch oven lid, depending on which you are using, and lower the oven temp to 425 F.
- Set timer for 15 minutes or to your preferred time for desired crust.
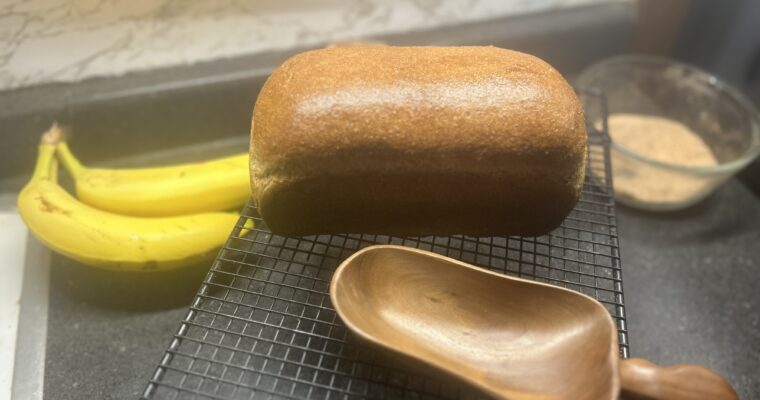
- Remove from the oven and cool on a wire rack fully before slicing.
- Store in a paper bag, NOT plastic bags or beeswax – they will soften your crust too much. You can also leave this one on the counter, cut side down, if it'll be eaten fast enough.


This sounds wonderful, thank you and Monique for doing all the formulating!
Andi, thank YOU for being such a big support in life and in this venture – even from the very beginning.