
This recipe is a variation using my Italian Bread Base. This recipe includes my quick, no-wait yudane, to keep them soft and allow extra water without becoming too sticky, and some olive oil for added softness.
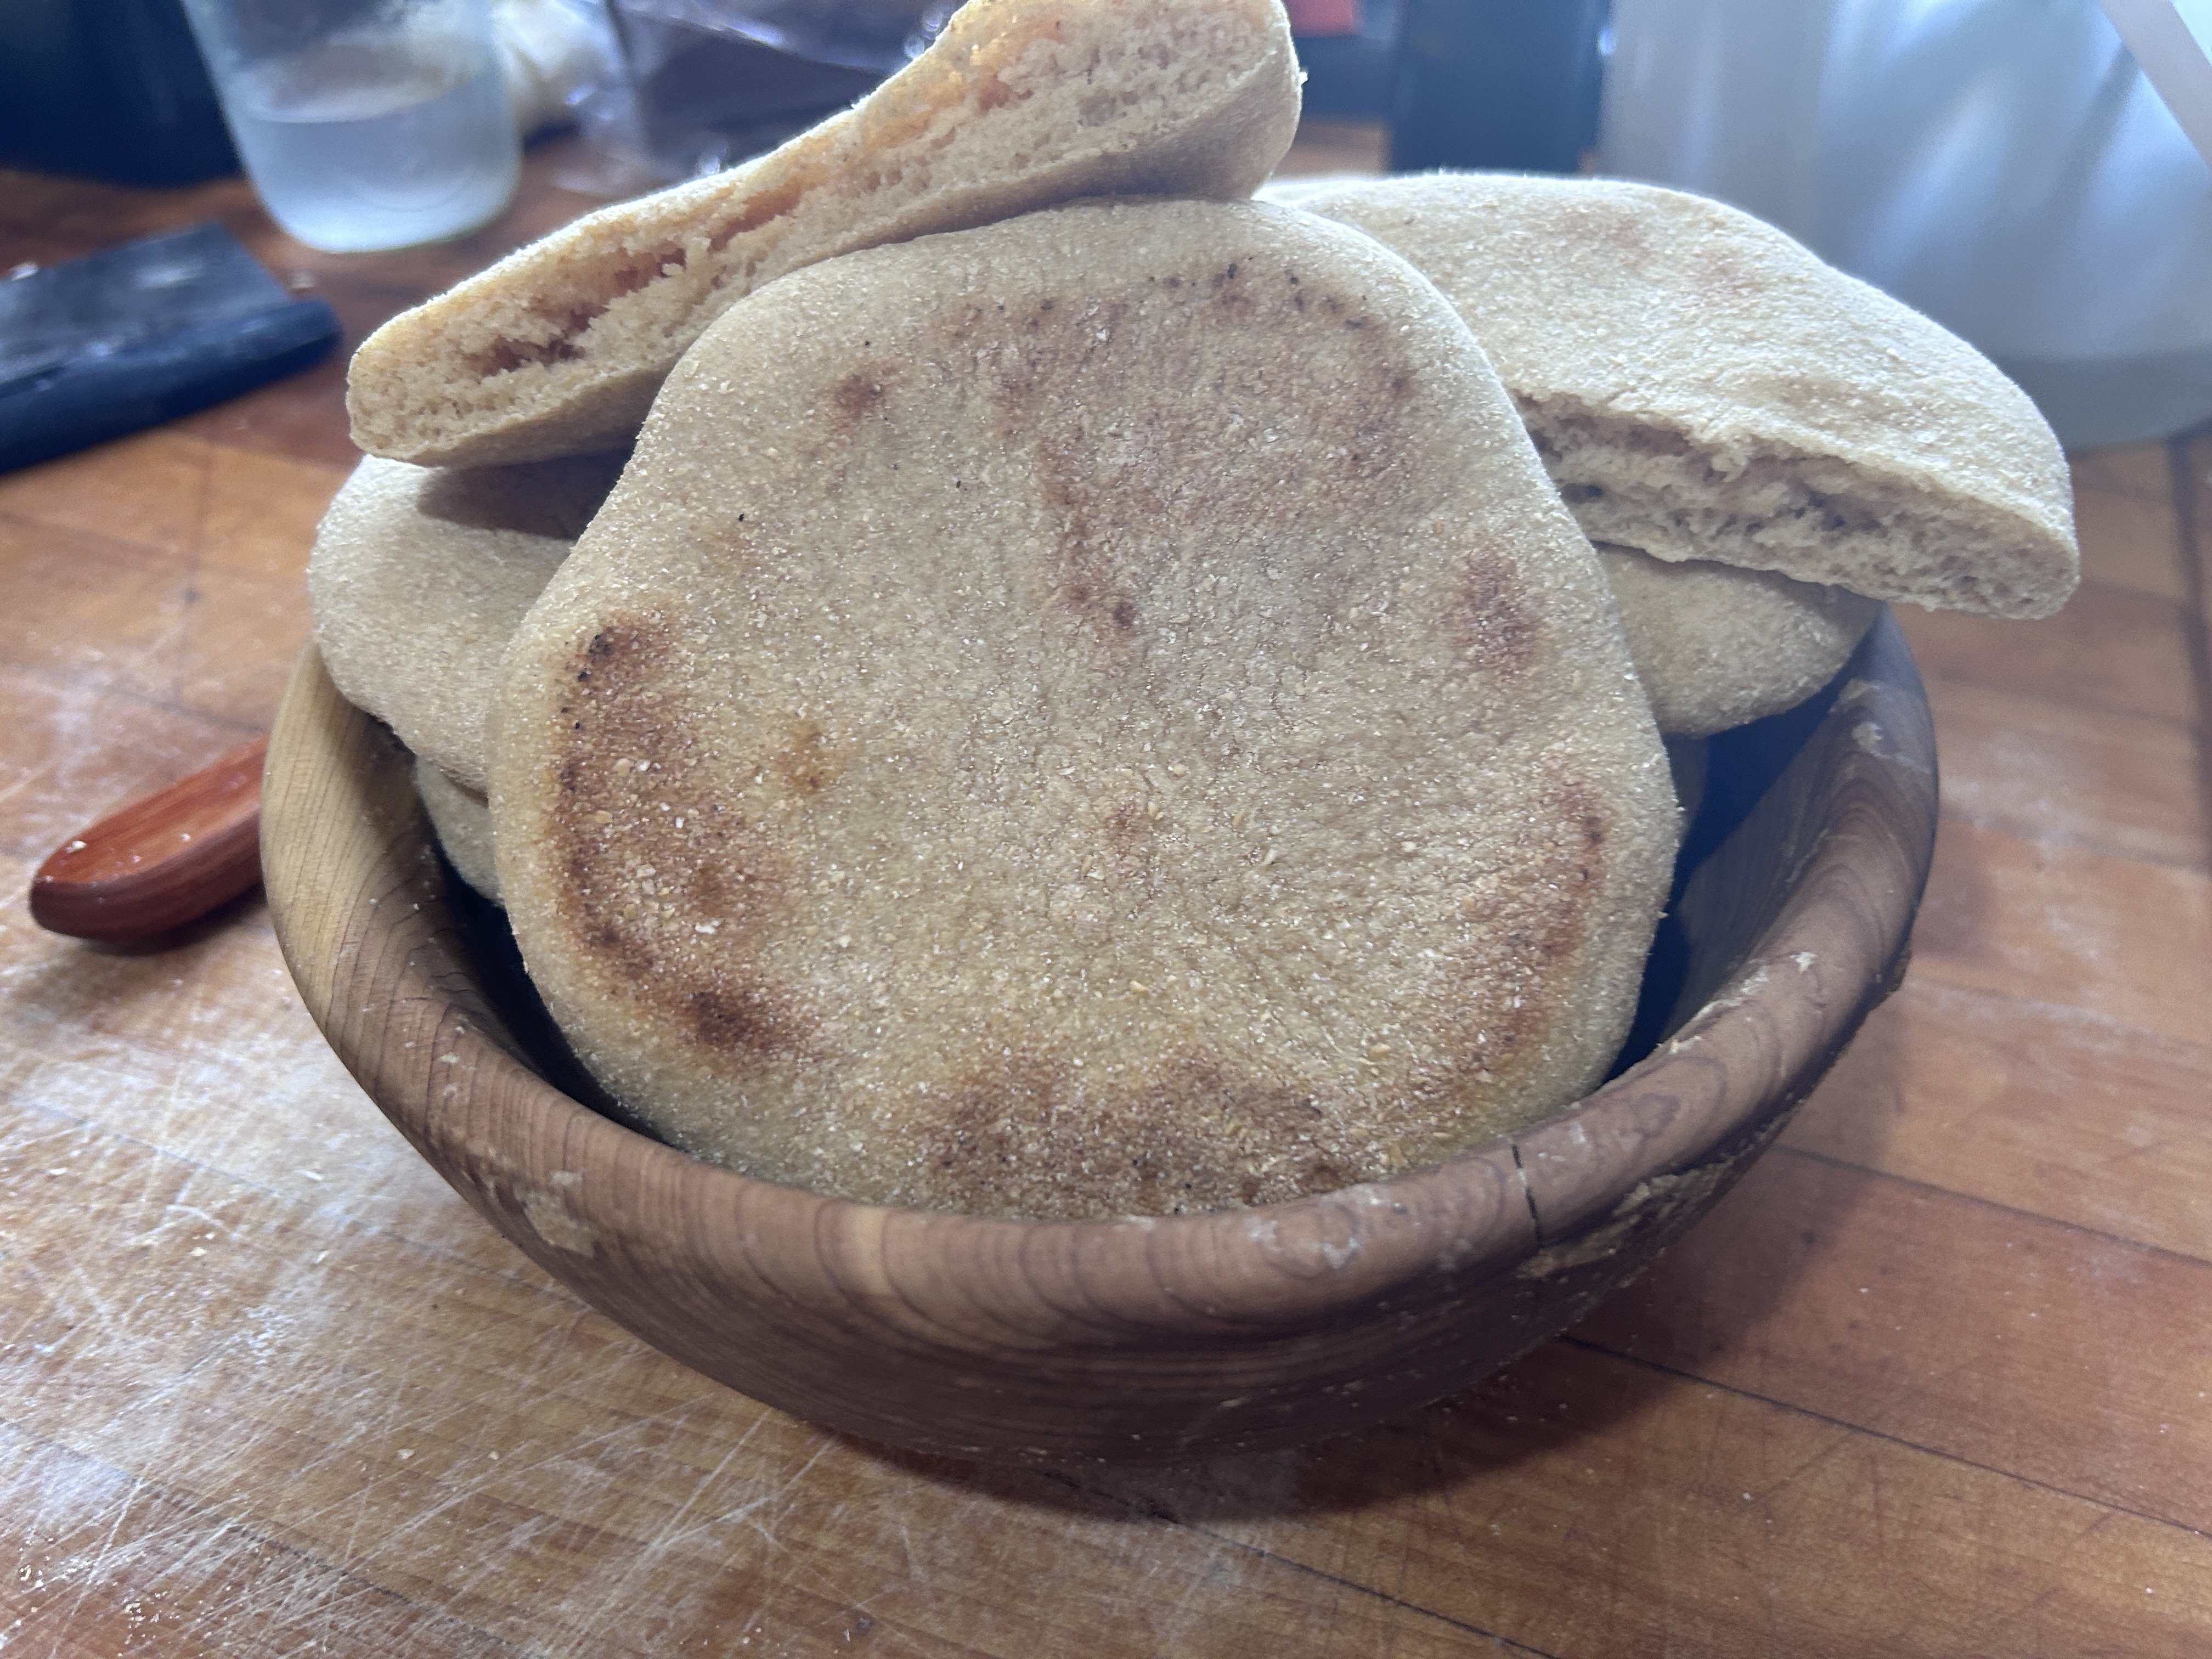
These are perfection for creating wonderful, full pockets and yet strong enough to hold up to whatever you put in them. Some ideas for a meal in a pocket would be chicken salad, chickpea salad, kale salad, sweet potato salad or fill them with lunch meat, roasted veggies and some dressing.
Or, cut them up into triangles and use them to dip into hummus, eggplant dip, bean dip, or guacamole! Use them as the bread in a cheese and meat board alongside some ranch or spinach artichoke dip.
It’s all about that Base
Let’s start with the recipe base, and then we will discuss the changes:
What changed, and why?
First, this recipe is scaled down in size to make exactly 8 pitas. If you prefer to make the original base, you’ll get more than 8.
Second, we are using the amount of yudane we typically use in a bigger batch, instead of scaling that down.
Third, we have transformed this from a lean dough to an enriched one by adding olive oil. We left out the barley malt powder, and as always the vitamin c is optional.
Finally, we can bake these on a pan in the oven OR we can bake them on a skillet.
The Fresh Milled Pita Bread Recipe

Yield: 8 pitas (100 gram each)
Hydration: 80% (including Yudane)
Ingredients
Yudane:
• 25 g freshly milled flour (from above)
• 50 g boiling water
Main Dough
- 400 g freshly milled flour
- 300 g cold water
- 6 g instant yeast
- 7 g fine sea salt
- 12 g olive oil
- 8 g lemon juice
Instructions
- Preheat oven to 500 F.
- Start the Kettle or boil some water in a pot or in the microwave.
- Mill 425 g hard wheat (white or red or a combo).
- Immediately scoop out 25 g for yudane, and reserve the rest for the main dough.
- Make the Yudane
- Combine 25g flour + 50g boiling water in a small bowl. Stir into a smooth paste.
- Add water from the main dough to your mixing bowl first.
- Add the prepared yudane to the cold water, and give it a swirl.
- this cools down the mixture so it doesn’t kill your yeast and there is no added wait time.
- Add remaining main dough ingredients: flour, salt, yeast, olive oil, and lemon juice (if using).
- Knead until dough is smooth and elastic, slightly tacky but not sticky. Times will vary greatly by mixer, including hand kneading.
- Divide and Rest
- Divide into 8 equal pieces (~100 g each).
- Shape into balls and let rest 15–20 minutes under a damp towel or plastic wrap.
- Roll and Preheat
- Roll each ball into a 6–7” round, about ¼” thick.
- Rest rolled pitas for at least 10 minutes while the oven preheats to 500°F with a baking stone, steel, or inverted sheet pan.
- Bake
- Bake a few pitas at a time, depending on how many you can fit on your baking surface, 2–3 minutes, until they puff. Flip if needed for extra browning.
- Pitas puff best with steam, so if you have a steam oven, using it would be great! If not, you can add a soaked towel or a container of hot water to the bottom of the oven.
- Alternatively, you can bake them individually on a skillet heated to medium-high. It may take a little longer this way. If you can cover the skillet with a glass lid, it will puff better.
- Wrap and Steam
- Stack and wrap hot pitas in a clean towel to keep them soft and flexible.
Change It Up
You can make various flavors of pita bread by adding herbs or spices to the recipe, by using a flavored olive oil, or even swapping the lemon juice for a flavorful vinegar.
Make it even softer by swapping water for milk or coconut milk. You could make a naan-style pita bread by using yogurt in place of some of the water.
Great Grains
If you want to use spelt or Einkhorn flour, you will need to use LESS water than this recipe states. Try dropping the water from 300 grams to 240 – 260 grams, and know that Einkhorn bread will always be sticky.
Get Creative!
I hope the base recipe and method, along with many ideas for how to change things up and not get bored inspire you. Please try new things, and share your successes, learning, and more with others.
Join our Community
Ready to ditch recipes and learn more about baking with fresh milled flour using methods and your imagination? Join my Fresh milled Flour Methods group. You can ask questions, share your wins, and more with an expectation of honesty and friendly interaction. I hear it’s the best place to be on Facebook!