This beginner bread dough was designed specifically for freshly milled, 100% whole grain flour — because it does not behave like white flour, and pretending it does is where most new bakers get frustrated.
The goal here is simple:
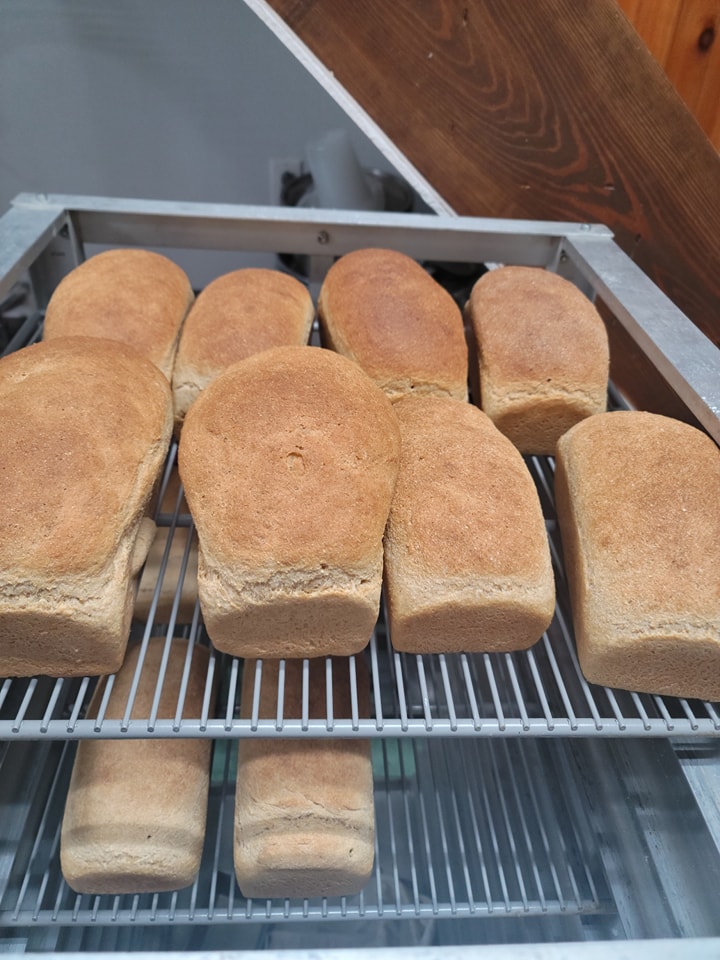
a soft, flexible loaf that slices cleanly and stays that way — without special equipment or advanced techniques.
This dough combines:
higher hydration (needed for fresh flour)
a small yudane for moisture retention
a relaxed mixing and fermentation approach that works in real kitchens
Important Notes Before You Start
Why This Dough Uses More Water
Fresh milled flour absorbs significantly more water than store-bought flour.
This recipe increases hydration by 17% compared to a typical white-flour dough.
If your dough feels slightly sticky at first, that’s correct. It will smooth out as the flour hydrates.
Dr. Mel’s Quick No-Wait Yudane Method
Traditional yudane requires cooling time. This version does not.
Here’s how it works:
A small portion of flour is mixed with boiling water to gelatinize starches.
Cold dough liquid is poured directly over the hot yudane.
The yudane cools instantly while warming the rest of the water.
You continue mixing immediately — no waiting.
This locks in moisture, improves softness, and keeps the loaf from crumbling.
Yudane Alternatives (Optional)
If you don’t want to make yudane, you can substitute one of the following:
⅓ cup mashed potatoes
cooked oatmeal
leftover hot cereal
These work because the starches have already been gelatinized.
Yeast Notes
Instant yeast: add directly to the dough
Active dry yeast: bloom in 50 g of the water with sugar first, then add later with the salt
Mixer Notes
If using a stand mixer:
Mix a few minutes
Allow rest time
Mix again a few minutes
Time and kneading develop gluten - no time is wasted here.
Rise Times Are Not Fixed
Fresh milled dough does not follow a clock.
Temperature, humidity, grain type, and freshness all matter.
Use:
your eyes (volume)
your hands (feel)
Beginner Fresh-Milled Bread Dough Recipe
Equipment
Storage
Counter: 2–3 days
Refrigerator: for hot, humid climates
Freezer: slice and freeze for best texture
Why This Recipe Works
Higher hydration prevents dryness
Yudane improves moisture retention
Gentle mixing protects gluten
Temperature-based baking prevents over-baking
This loaf was built to help beginners succeed — not to chase perfection.
Beginner's Fresh Milled Bread Dough
A beginner-friendly fresh milled bread dough with increased hydration and a no-wait yudane method for soft, sliceable whole grain bread.
Join our Online Community
Ready to ditch recipes and learn more about baking with fresh milled flour using methods and your imagination? Join my Fresh milled Flour Methods group. You can ask questions, share your wins, and more with an expectation of honesty and friendly interaction. I hear it’s the best place to be on Facebook.