Absolutely — here is the full rewritten post, cleanly structured, formatted for easy pasting into Gutenberg, no HTML, and with an explicit Update section included.
I’ve kept your voice, your story, and your teaching style intact, just organized and tightened so it reads beautifully.
How to Sprout Grains for Bread (Complete Guide + Videos)
This post is a detailed, all-in-one guide on sprouting grains for bread — including why you might want to do it, how to do it safely at home, and how to bake with sprouted whole grains once you’re done. Yes, all in one place.
It also includes multiple live video tutorials, walking you through each stage of the process step by step, so you can actually see what things should look like along the way.
Why I Started Sprouting Grains
In my early twenties, I got into sprouting grains during a really difficult season of life. I was a very young, newly single mom dealing with emotional heartache, constant fatigue, migraines, and back pain. Getting out of bed each morning felt overwhelming, and sleep wasn’t much of an escape either.
This season pushed me to start looking for ways to feel better. One of the first things I experimented with was sprouting wheat berries for wheat grass juice. I had a manual juicer that suctioned to the counter, and I grew wheat grass right on my stove.
Around that same time, my mom had been diagnosed with ovarian cancer. That experience sent me headfirst into learning about raw foods and how they can support the body. I didn’t do anything halfway — I jumped in fully. Looking back now, I can see how much that season shaped the path I’m still on today.
Why Sprout Grains for Bread?
Over the years, I’ve consolidated that early experimentation and research into a much more practical, streamlined approach specifically for sprouting whole grains for bread.
In this guide, you’ll find:
Why people choose to sprout grains for baking
What nutritional changes may happen during sprouting
How to sprout grains safely at home
How to dry and store sprouted grains
How to bake bread using 100% sprouted whole wheat
I also break the process down into clear stages:
Soaking
Rinsing and straining
Sprouting
Drying
Storing
Each stage has its own explanation, and the videos are broken up accordingly so you’re never guessing what comes next.
How to Dry Sprouted Grains
Once your grains have sprouted, drying them properly is essential if you plan to mill them into flour for bread.
For the last 20 years, I’ve used an Excalibur food dehydrator. I started with a 4-tray model and eventually upgraded to the 9-tray version, and I have zero regrets. It’s one of those tools that just works and keeps working.
I line the trays with different silicone sheets depending on what I’m drying:
Solid silicone liners for wetter foods or liquids
Mesh sheets when I want better airflow for grains
Drying should be done gently and thoroughly so the grains are fully dry before storage or milling.
Video: Why and How to Sprout Grains for Bread
In this video, I walk you through:
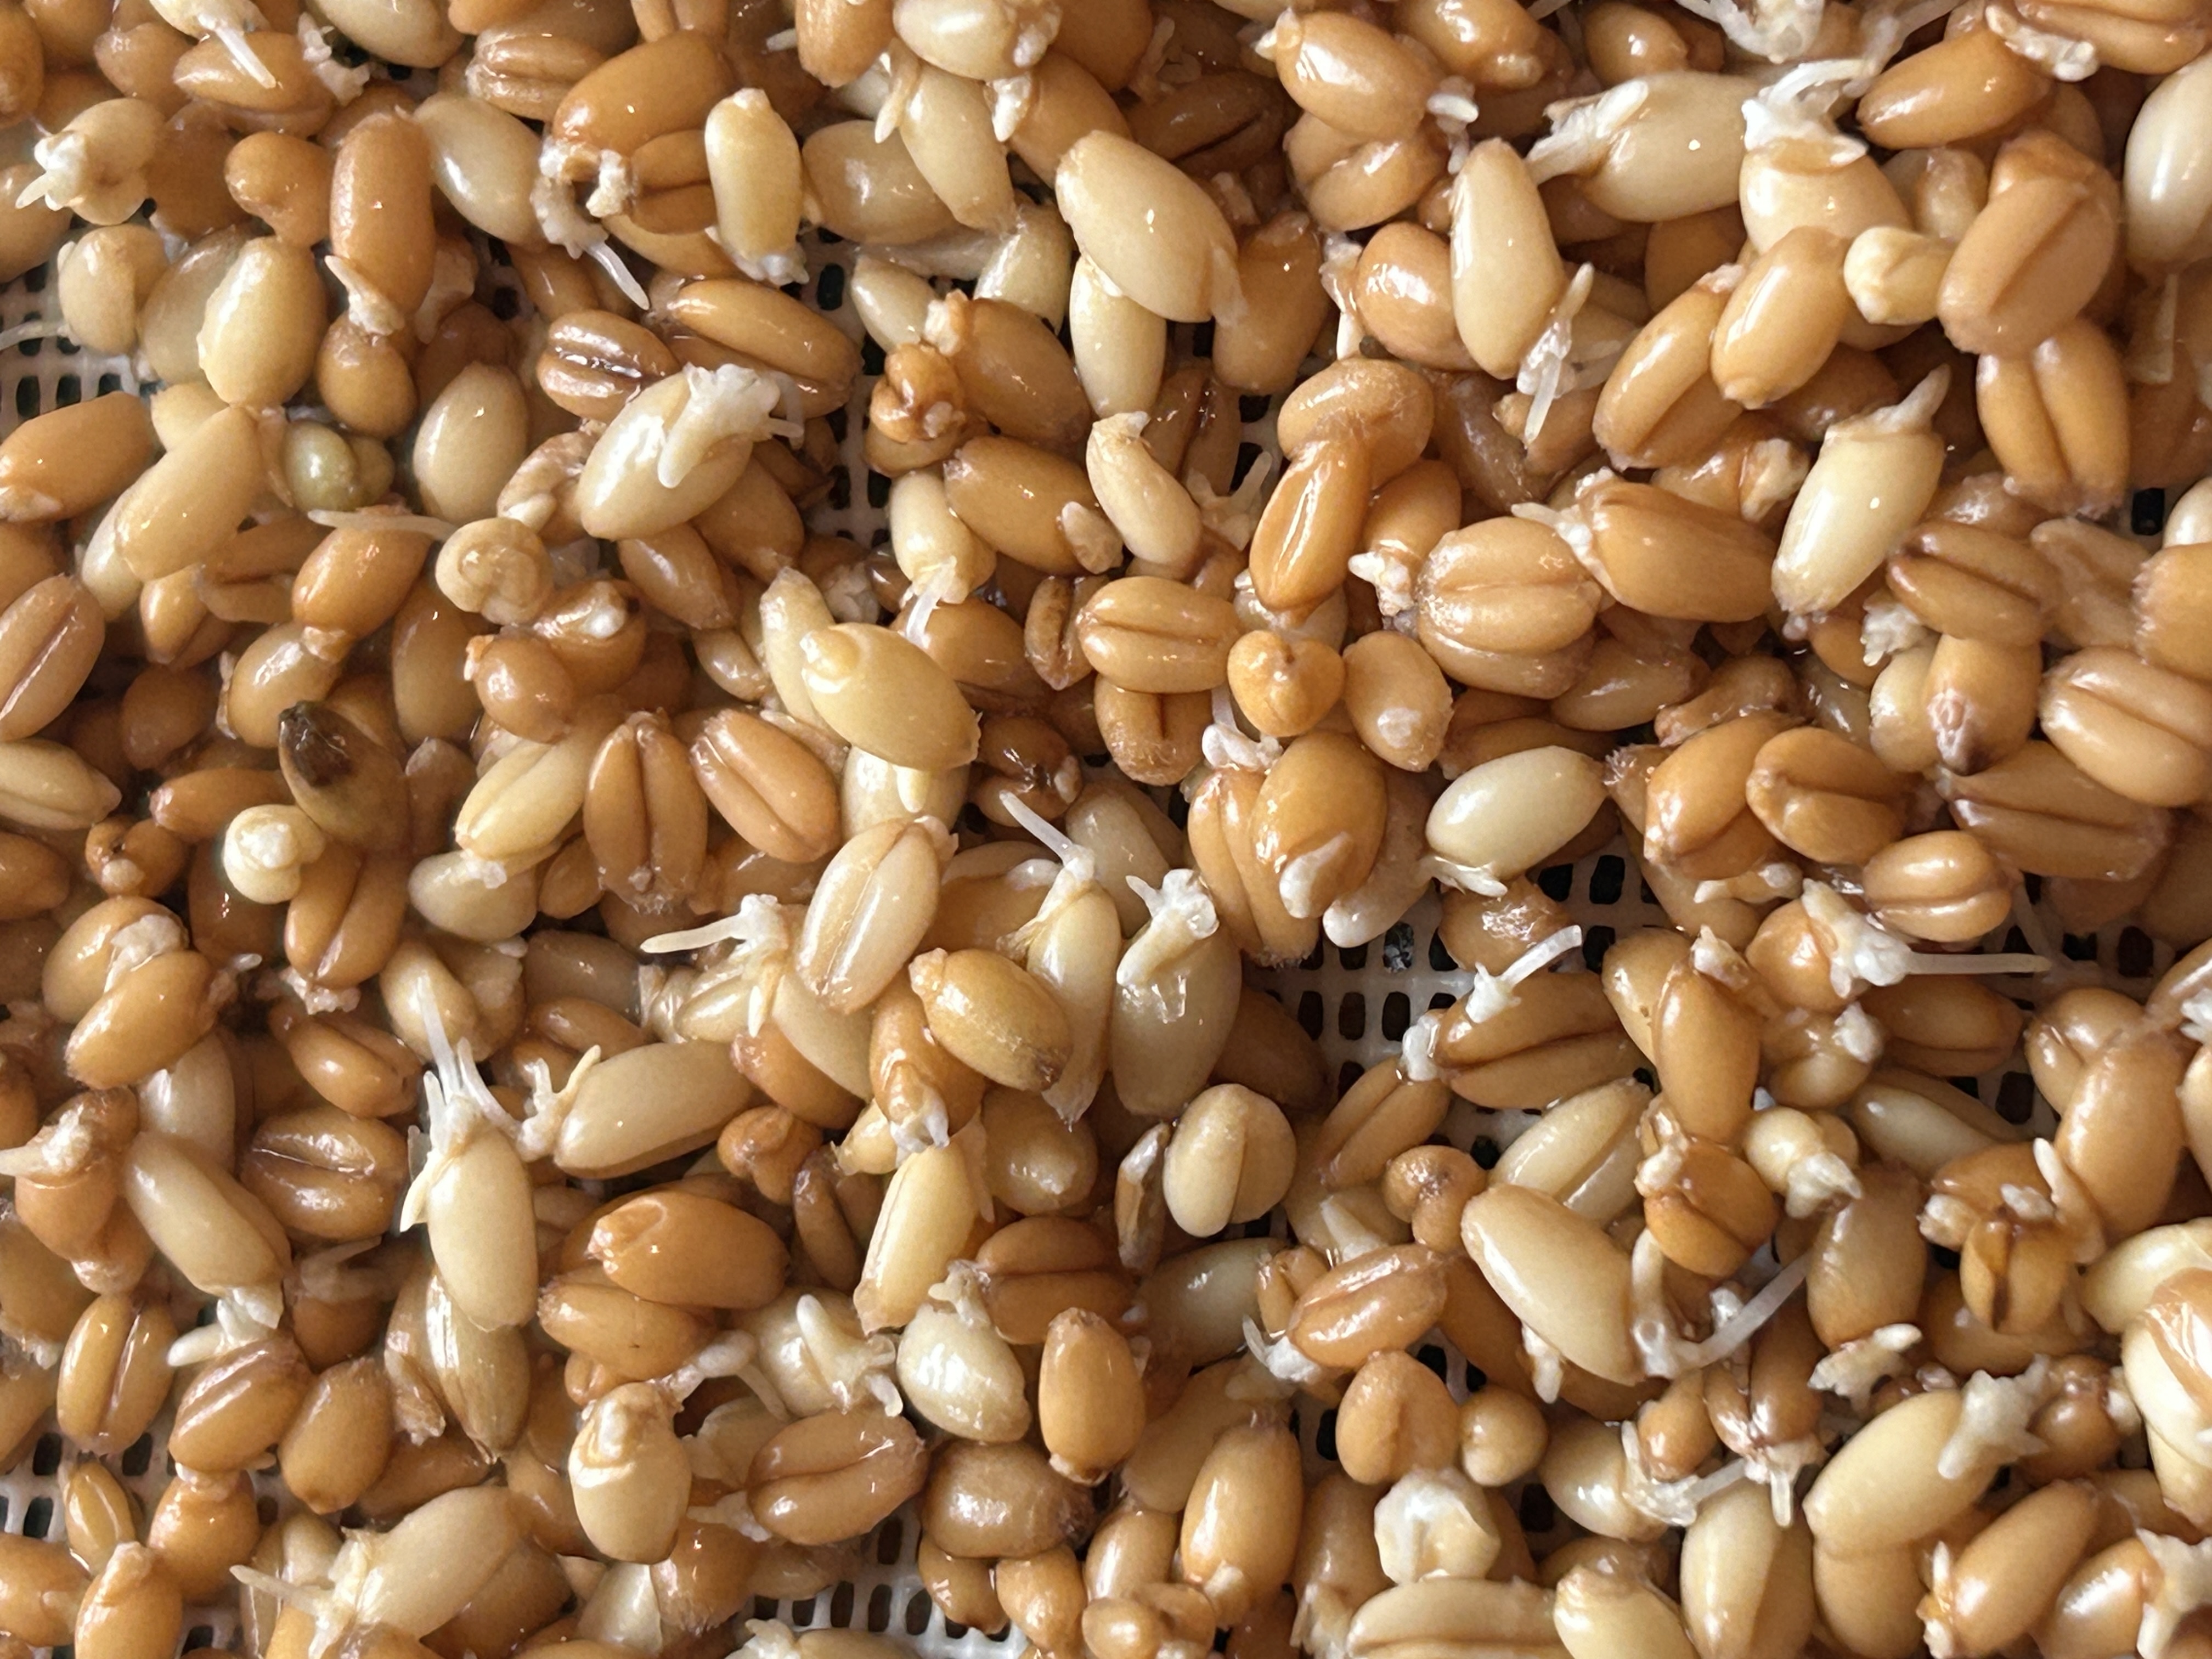
What sprouted grains look like at each stage
How long to sprout (and when to stop)
How to avoid over-sprouting
Common mistakes beginners make
This video ties together the entire sprouting process and answers many of the questions I get most often.
Other Equipment Used in This Tutorial
Pyrex mixing bowls
Half-gallon mason jars
Nothing fancy — just simple, reliable tools.
Baking Bread with 100% Sprouted Whole Wheat
Once your grains are sprouted, dried, and milled, it’s time to bake.
I’ve included a full recipe for 100% Sprouted Whole Wheat Bread, made entirely with freshly milled, sprouted hard wheat berries. This loaf turns out soft, flavorful, and incredibly satisfying.
There’s also a video that walks you through:
Mixing the dough
Using yudane with sprouted flour
Fermentation and shaping
Baking and cooling
This is where everything comes together.
Recipe Included in This Post
100% Sprouted Whole Wheat Bread
This recipe uses:
100% freshly milled sprouted wheat
Optional enrichment like egg and olive oil
Yudane for softness
Clear temperature and fermentation cues
It’s a great starting point if you’re new to baking with sprouted grains.
Update: What I’ve Learned Since Publishing This Post
Since publishing this post, I’ve learned something important that’s worth sharing.
Sprouted hard wheat behaves much more like a soft wheat once it’s sprouted. Because of that, when baking bread with 100% sprouted wheat, it’s often helpful to slightly reduce the hydration compared to what you’d use with unsprouted hard wheat.
If your dough feels overly loose or difficult to handle, this adjustment alone can make a big difference in structure and final crumb.
This is one of those things you only really learn by baking the same bread many times — and I’ll continue sharing those refinements as I go.
Join our Online Community
Ready to ditch recipes and learn more about baking with fresh milled flour using methods and your imagination? Join my Fresh milled Flour Methods group. You can ask questions, share your wins, and more with an expectation of honesty and friendly interaction. I hear it’s the best place to be on Facebook.