Recipe Bases
Start with a recipe base, master that, then explore child recipes and variations so you can grow as a baker and gain freedom in your kitchen. Compare the changes between the base and the child recipes to learn how to make changes with confidence.
Angel Food Cake
This is very quick and easy to whip up (pun intended). You'll never buy store-bought angel food cake again when you can get it just as good freshly milled.
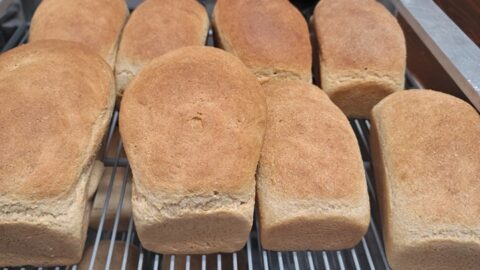
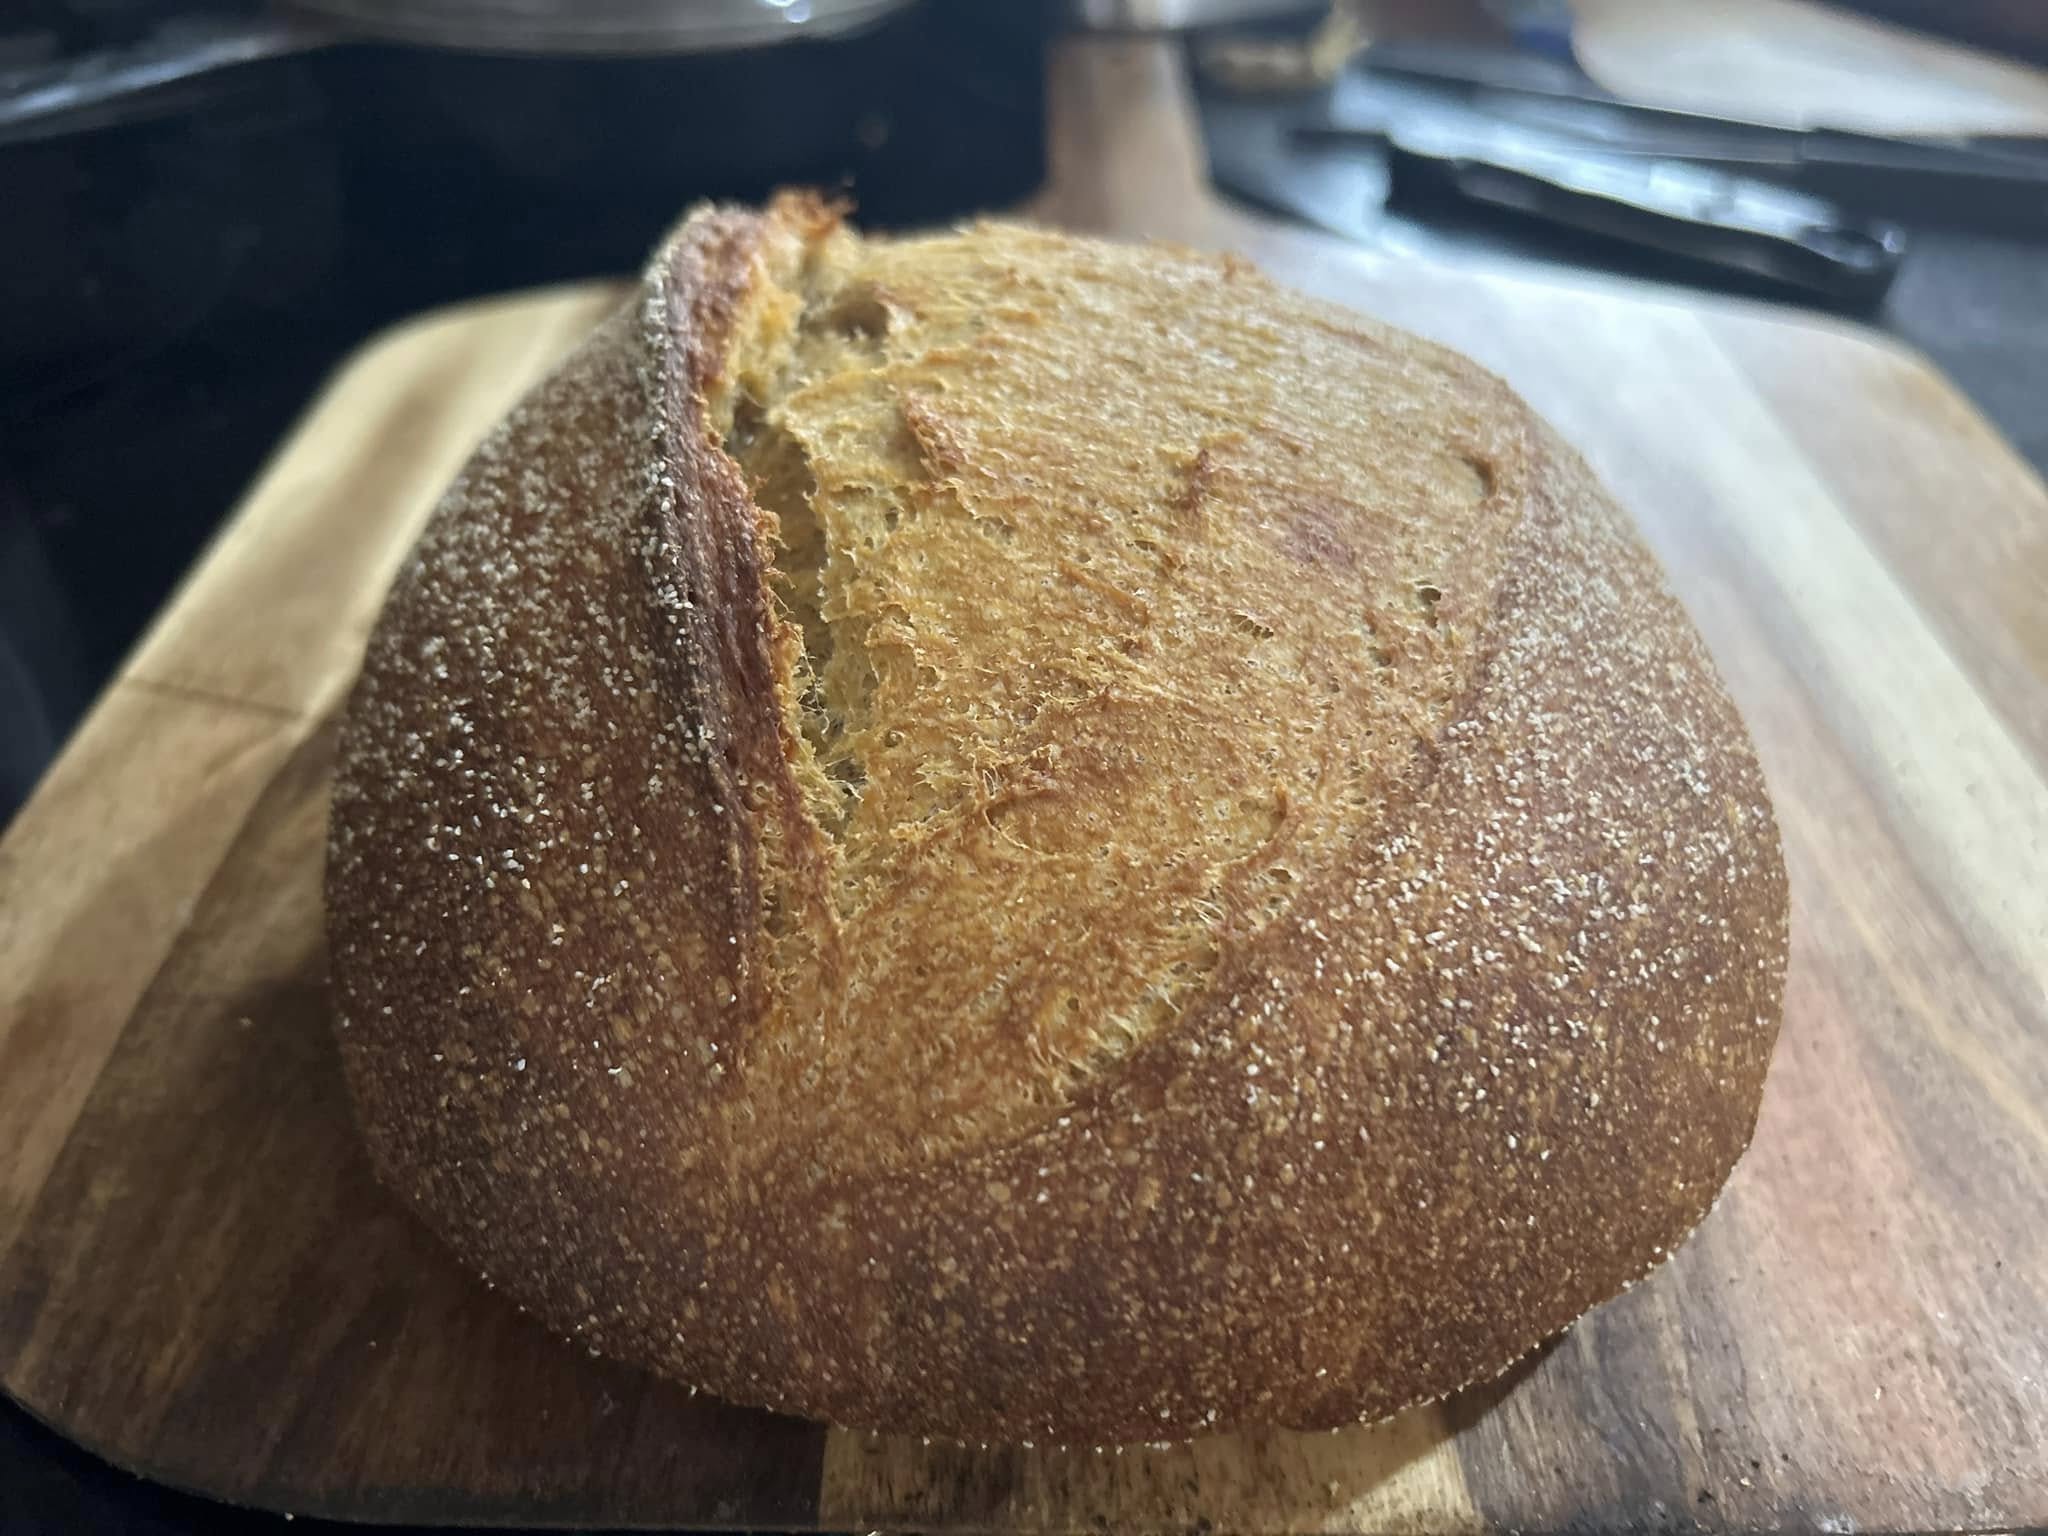
Beginner's Fresh Milled Bread Dough
A beginner-friendly fresh milled bread dough with increased hydration and a no-wait yudane method for soft, sliceable whole grain bread.
- 100% Einkhorn Wheat Bread - Fresh Milled
- 100% Rouge de Bordeaux Pretzels (soft and crunchy)
- 100% Spelt Bread
- 100% Spelt Bread | Ancient Grains Fresh Milled
- 100% Sprouted Whole Wheat Bread
- Challah Bread
- Cinnamon Raisin Bread
- Cinnamon Rolls
- Easy Donuts
- English Muffins
- Ezekiel 4:9 Fasting Bread
- Fresh Milled Naan Bread
- Hand made crunchy pretzel sticks
- Kaiser Rolls
- Lemon Blueberry Cinnamon Swirl Bread Recipe
- Mel’s Multi-Grain Bread (Fresh Milled, Flexible & Foolproof)
- Neopolitan Pizza in the Bread Machine
- NY Style Bagels
- Soft Pretzels - Philly Style
- Sourdough pizza
- Sub Rolls | Superbly Soft Enriched Loaf
- Super Soft Daily Bread Recipe
- Super Soft Sandwich Bread for the Zojirushi Bread Machine
- Superbly Soft Sandwhich Bread with Milk & Honey
- Whole Grain Honey Oat Bread
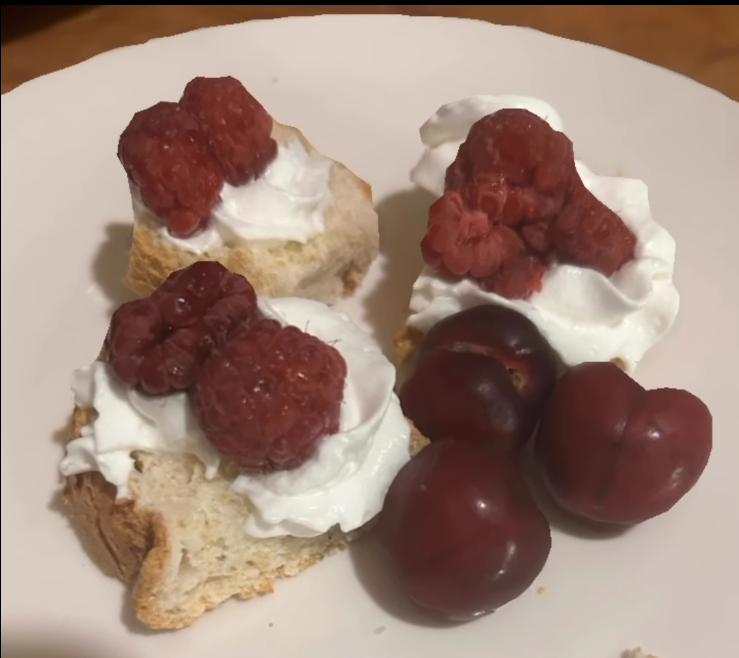
Biscuits
Biscuits are made by cutting cold butter into flour until pea sized, and then hydrating the mix from there. Cut clean, and bake at high temperature.
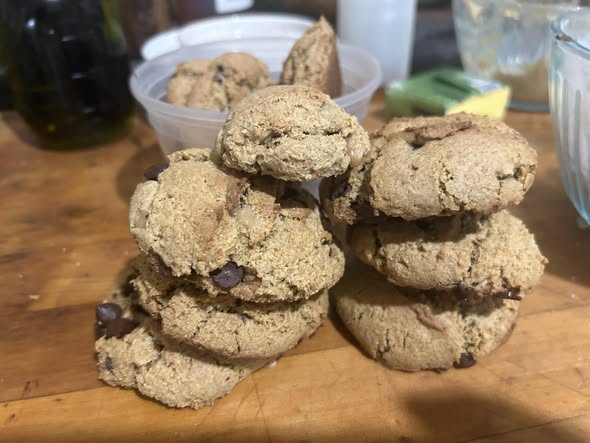
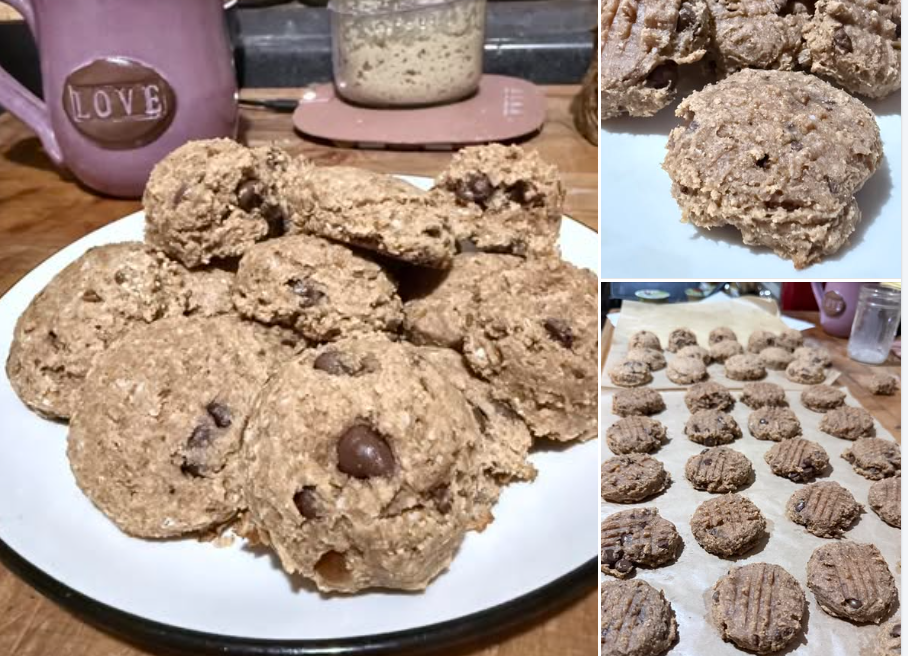
Cookies
Most cookies are made with the creaming method, where we cream the butter and sugar until smooth and lighter in color. Then we add the eggs, extract, and at last the dry ingredients - barely mixing it together. This recipe base is not the same as the one in my ultimate getting started guide, it's the one I tend to use on a daily basis.
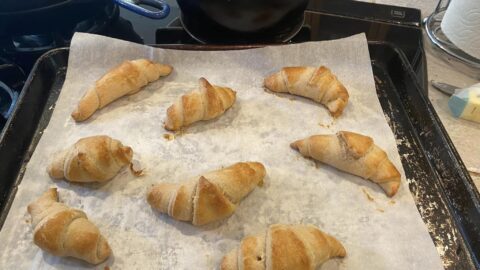
Crescent Roll Dough
This easily replaces the store bought version and ups it whole grains and foodie freshness. Makes 3 "tubes" of crescent dough or 24 crescent rolls.
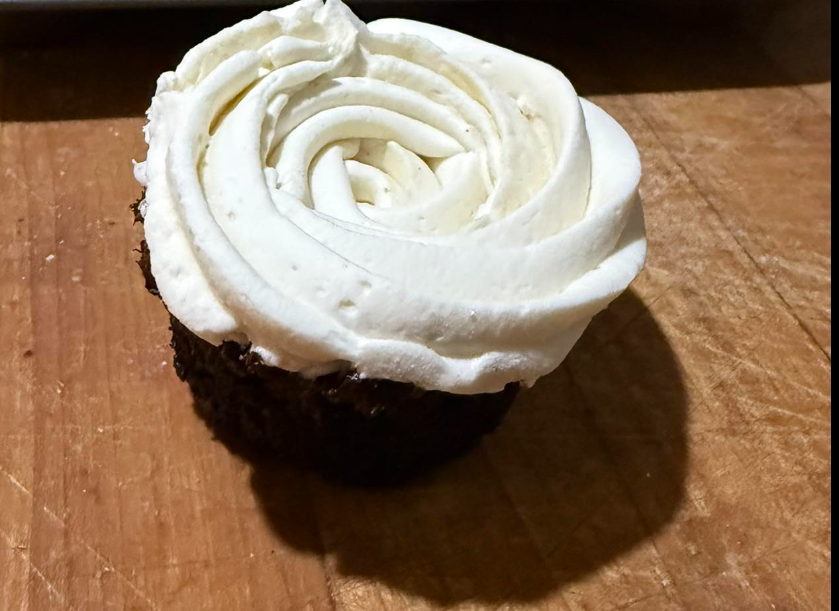
Cupcakes
The difference is not in the ingredients, but the DIRECTIONS (also known as the METHOD). We use the creaming method to make cupcakes, so these instructions will be shown even though the PDF includes instructions for BOTH cupcakes and muffins.
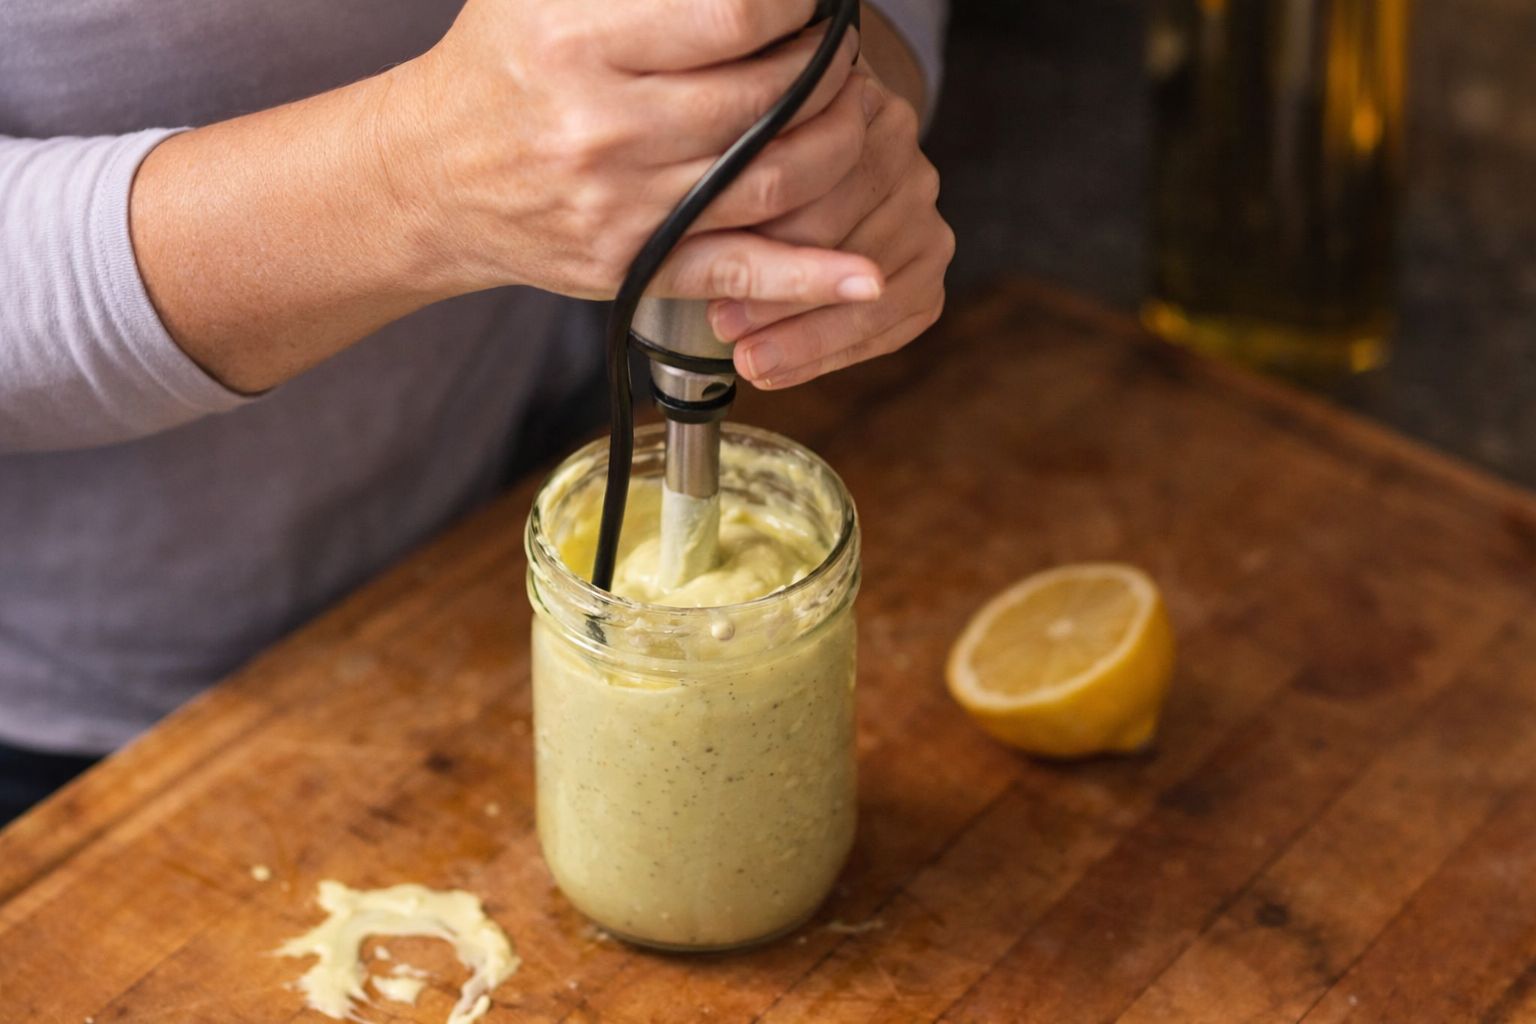
Healthy Homemde Mayo
This one is Mediterranean diet approved, using Kasandrino's extra virgin olive oil for excellent flavor balance. I'll never make my mayo without it!
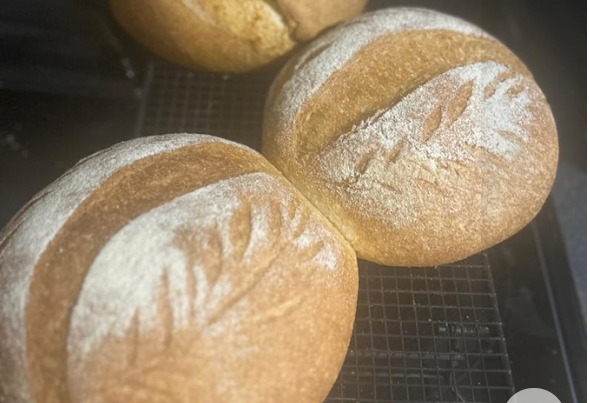
Italian Bread
Makes: 1 loaf / 16 slices Prep Time: 1 hour 55 minutes (mostly inactive) Bake Time: 50 minutes Total Time: 2 hours 45 minutes
- 100% Kamut Pizza Dough
- 100% Spelt Hybrid Sourdough Burger Buns
- 100% Spelt Italian Bread, whole grain
- 4 Grain Italian Bread from Hydration Test
- Ancient Grain Baguettes - Fresh Milled
- Crusty Whole Wheat Italian Bread with NO ADDITIVES
- Focaccia
- Fresh Milled Sourdough Ciabatta Rolls
- High Hydration Rustic Italian Bread with Whole Wheat Flour
- Pita Bread
- Poor Man's Potato Bread
- Potato-less Potato Bread - with tofu and honey
- Sourdough Ciabatta & Italian Bread
- Spelt and Kamut / Durum Burger Buns
- Whisked Italian Bread, Ciabatta Rolls, and English Muffin Loaf
- White Chocolate Cranberry Italian Bread
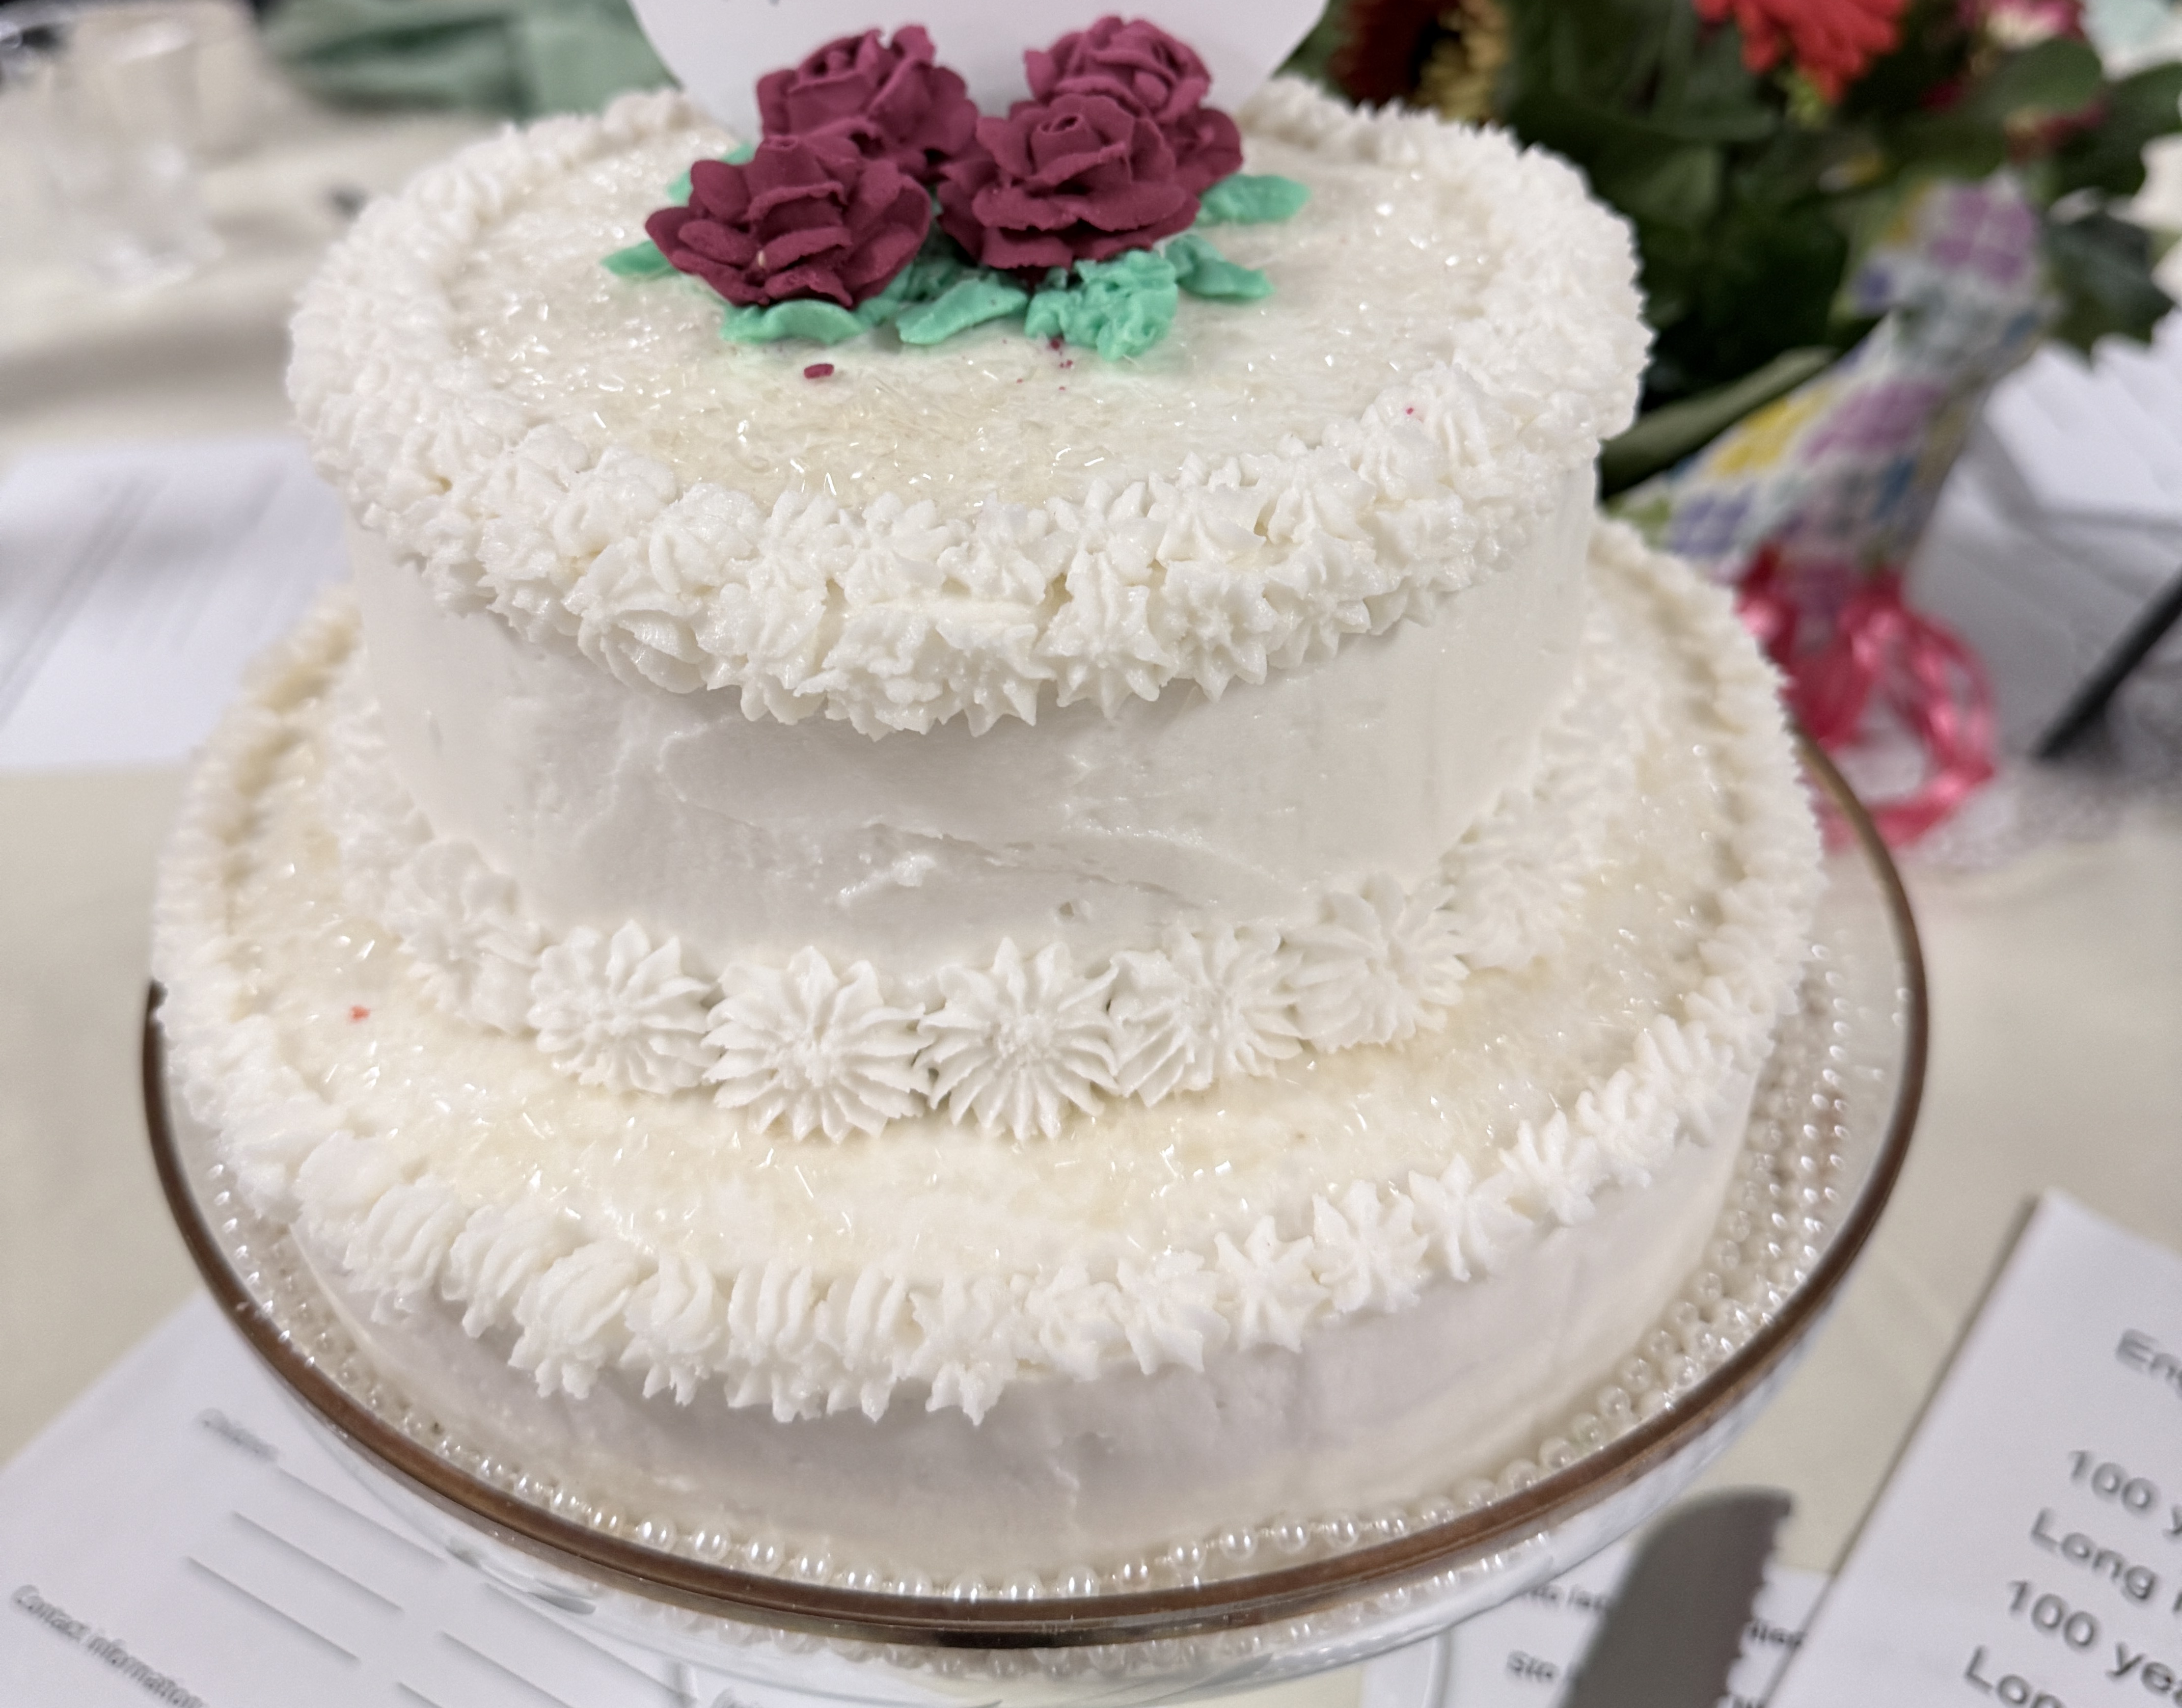
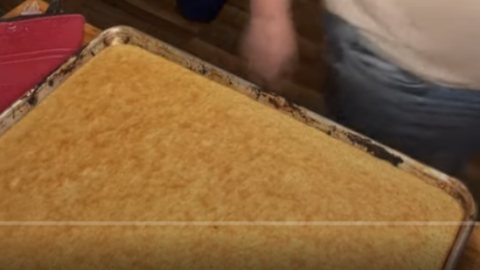
Mom's Moist White Cake
My Mom's recipe, converted for fresh milled flour. Don't judge me - they didn't know about shortening back then.
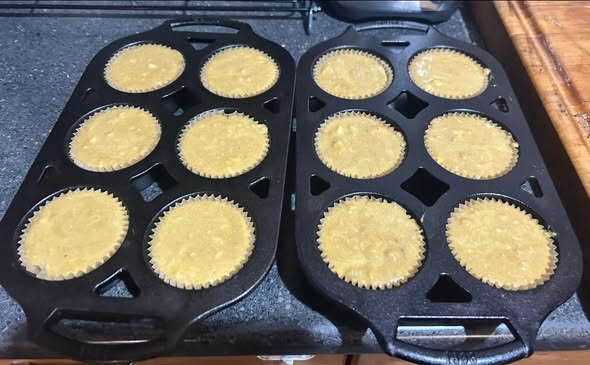
Muffins
The ingredients are the SAME as cupcakes, but we use the muffin method. The included PDF recipe base is for both cupcakes and muffins.
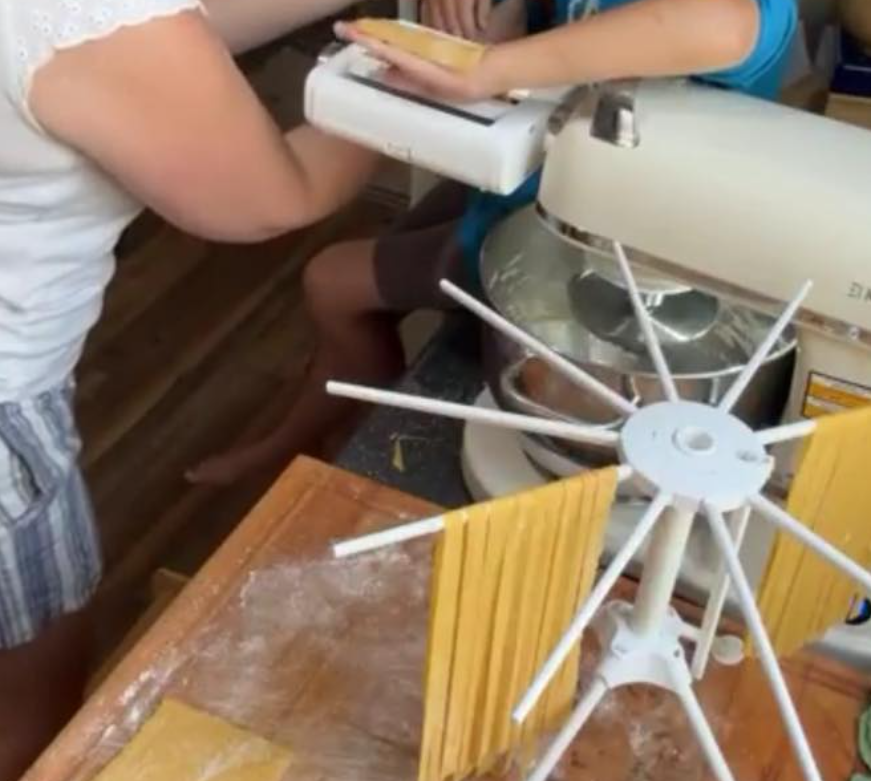
Pasta by Hand
This recipe base is for pasta mixed and rolled by hand or with a roller and cutter machine, but it is too wet for an extruder, so don't try that or you'll regret it.
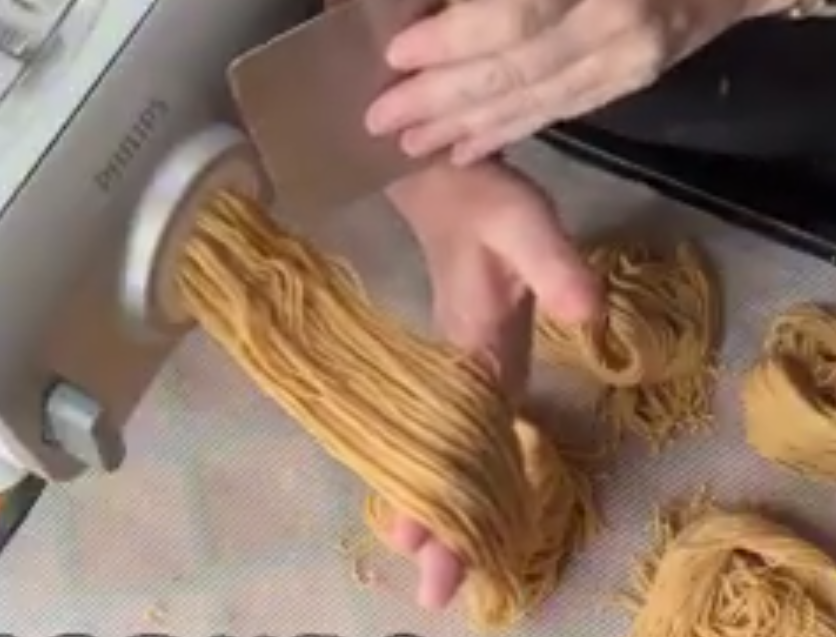
Pasta Extruded
This type of pasta is different from pasta by hand. We cover the starting ingredients, and instructions on how to test the dough and tweak it so it performs well in your extruder.
Pie Crust (Flaky)
Flaky pie crust is ideal for the top of a pie, or for the bottom of a pie that doesn’t have a lot of liquid in the filling.

Pie Crust (Mealy)
Mealy pie crust makes an excellent bottom crust that won’t get soggy, like for fruit pies or custard. Tart shells are mealy crust enriched with egg so the sides stay up during the bake.

Pretzel Sticks
Crunchy, fresh milled whole grain pretzel sticks that taste amazing and stay crunchy!
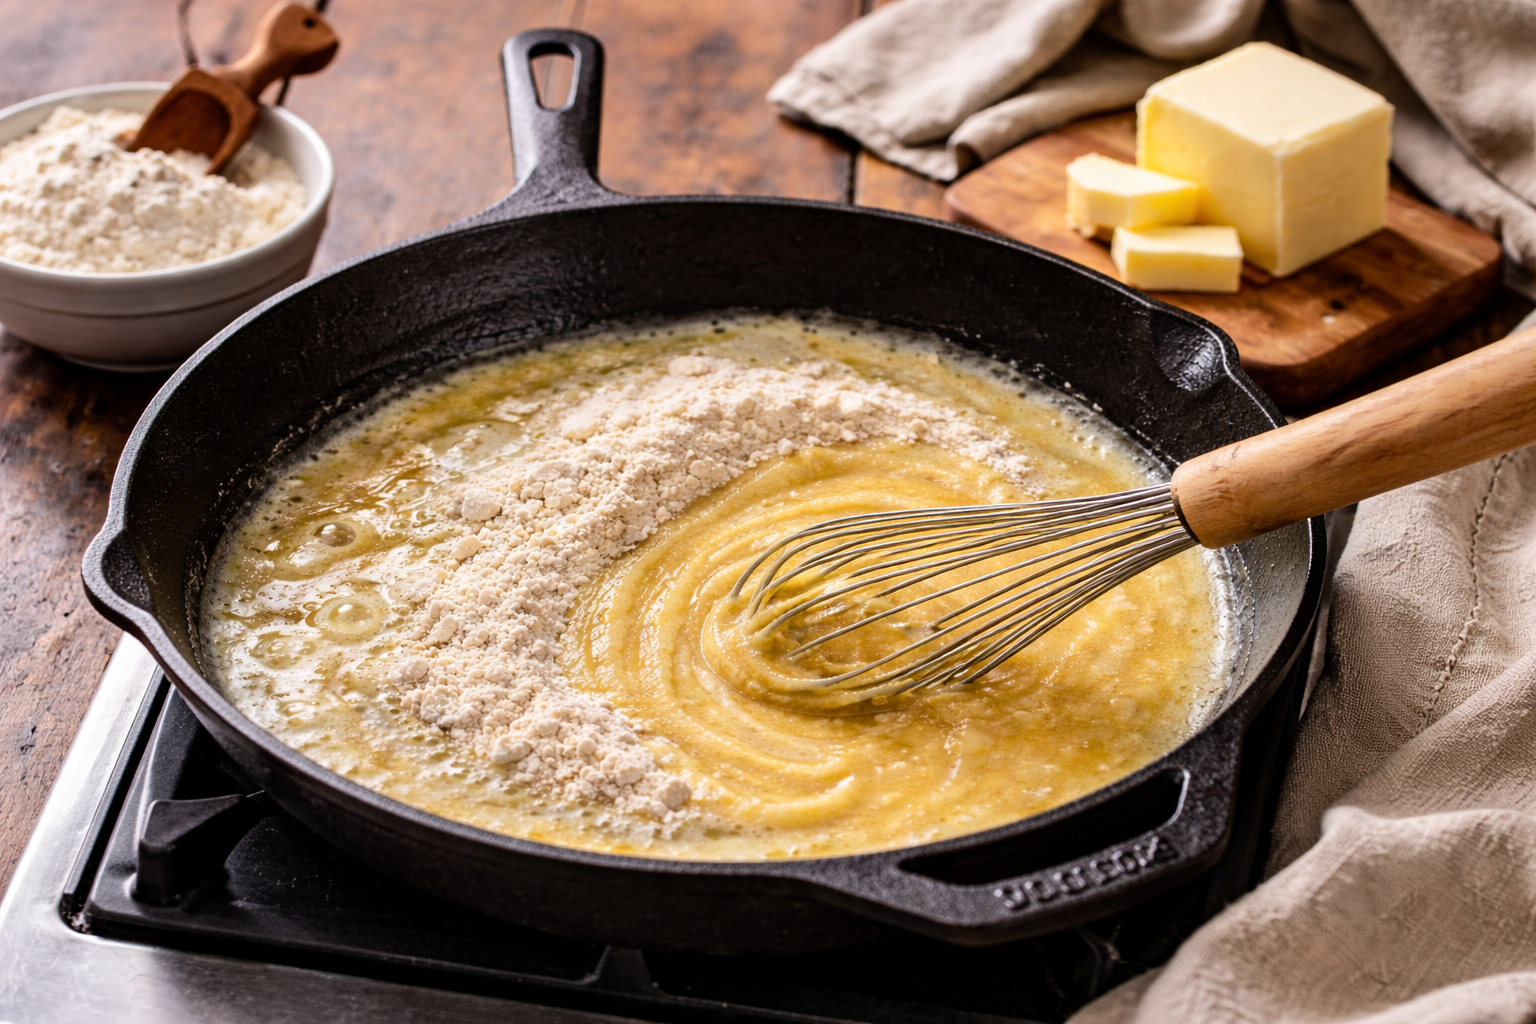
Roux
A roux is a mixture of fat and starch. You can use any fat, and any starch. It is made by cooking the protein out of the starch, which mixes with the fat to thicken sauces. Since we are cooking (or denaturing) the protein in the flour, using your SOFT grains will give you a roux in a faster time but any grain milled into flour will do.
Sourdough Italian Bread
This is my italian bread base converted for sourdough. I've made it with both liquid starter and stiff starter and they both turned out wonderful.

Tortillas, Flour
This is my style of tortilla, one made from fresh milled flour, extra virgin olive oil, and water instead of milk.
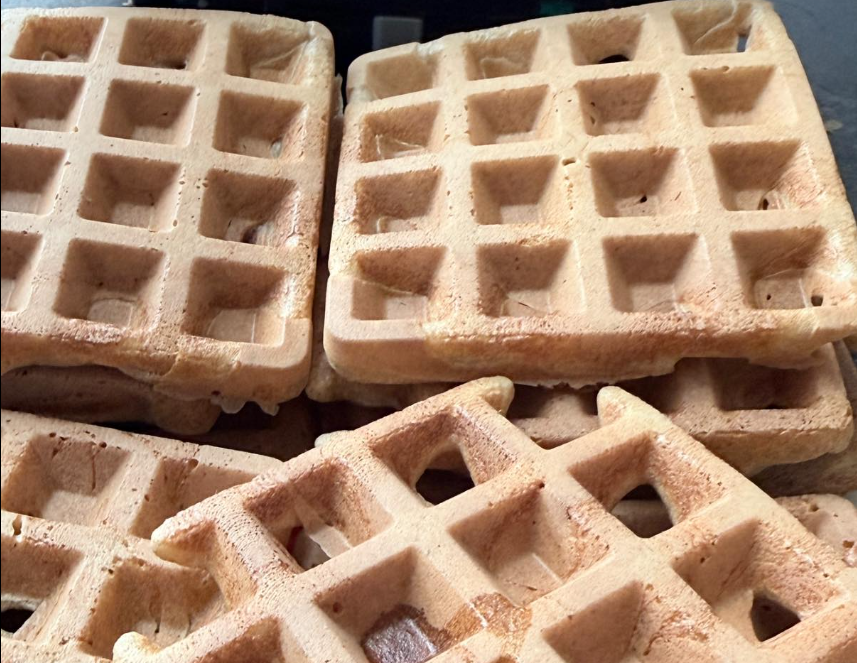
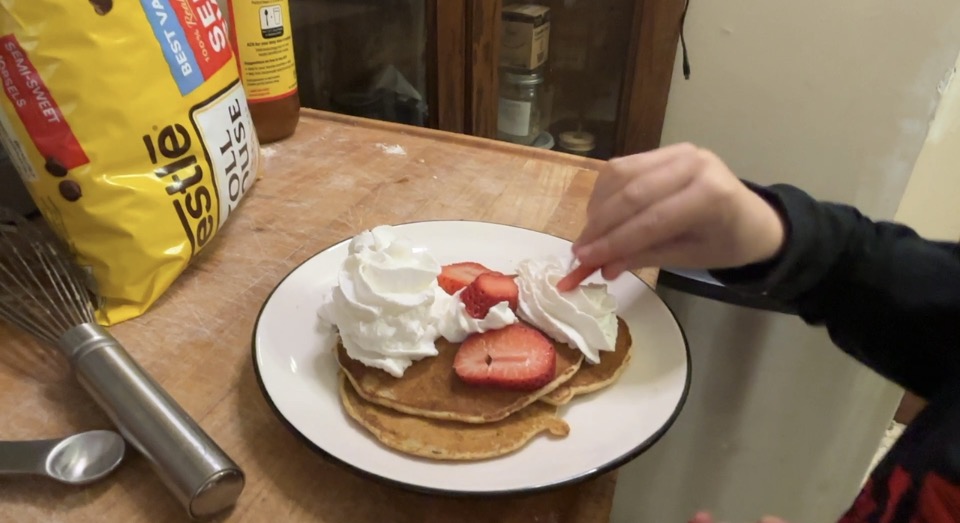
Waffles
Light, fluffy waffles with a crispy outside - these are excellent frozen for quick toaster wins.
Whole Food Plant Based Drop Cookies
This cookie base is whole food, plant based, and uses fresh milled sourdough to incorporate the whole food sweetener with the whole food fat.