Shaping Bread Dough

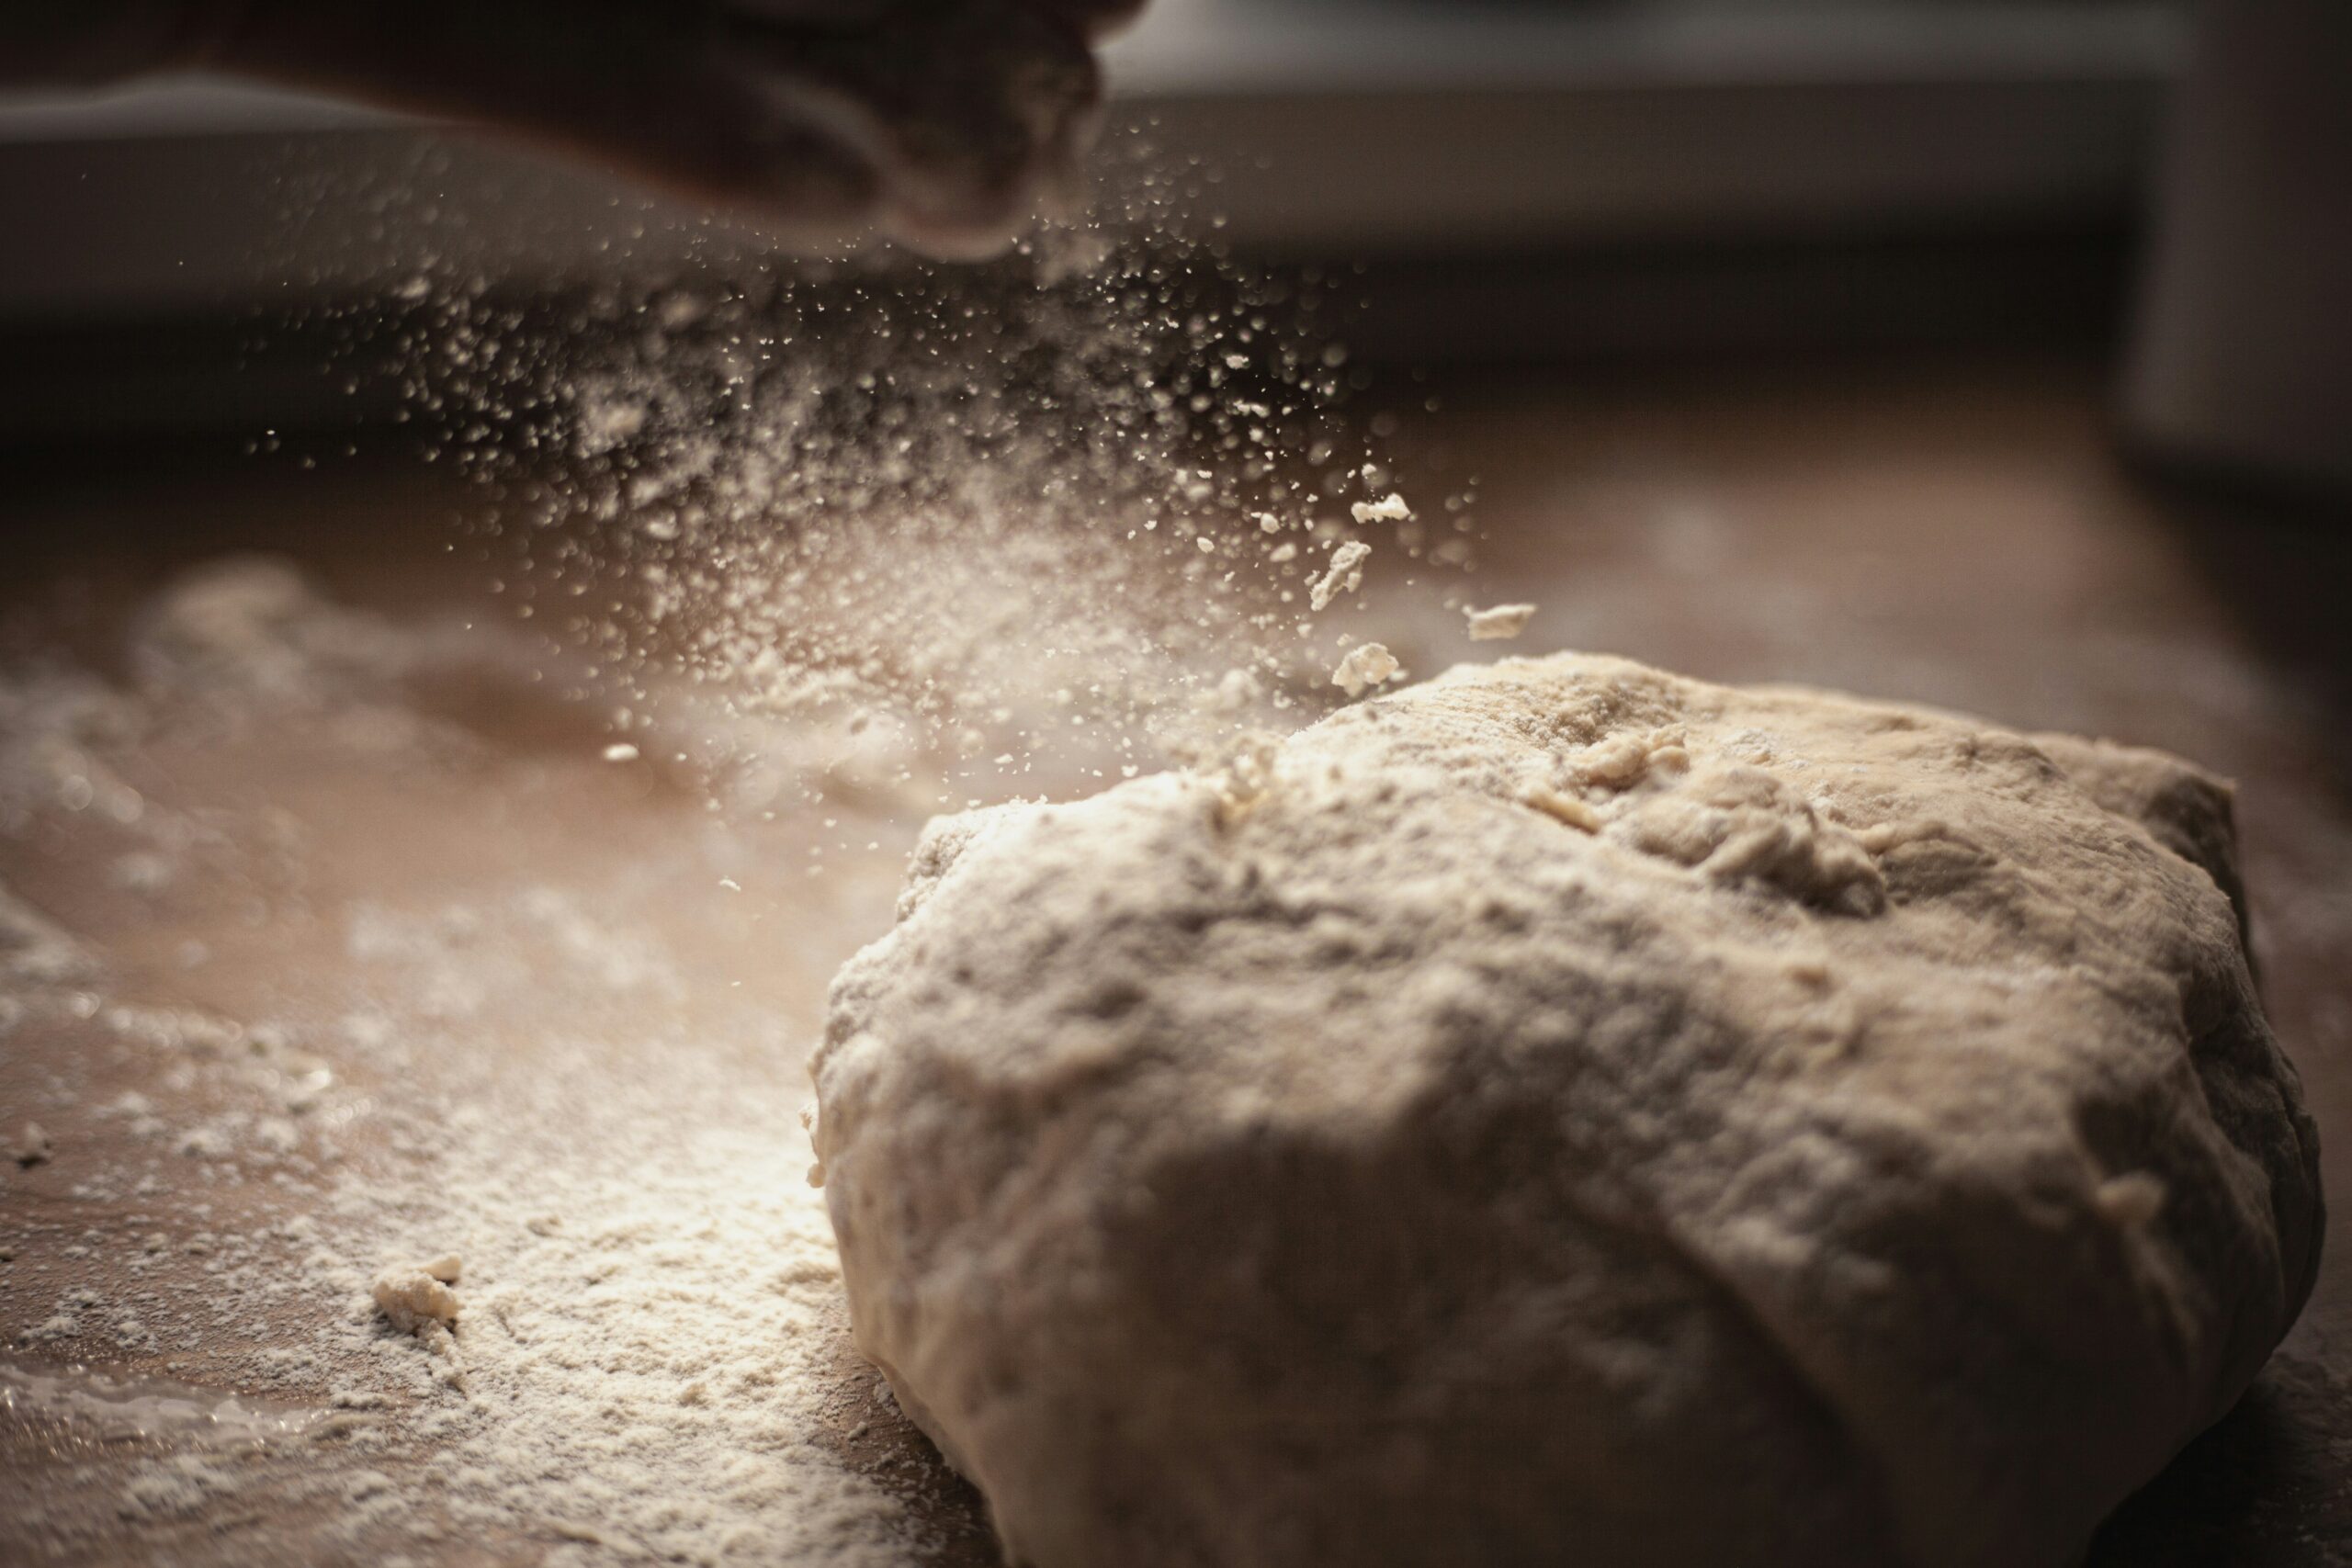
After the dough has been scaled is where we shape bread dough balls into a loaf, rolls, or whatever shape you like. The seam should always be on the bottom. The goals is to create a smooth dough surface with some tension so the bread rises in a controlled manner.

Once your dough is shaped, place it into a greased pan (or a pan with parchment so it doesn’t stick). Some pans have a silicone coating which may not require parchment or greasing so long as the coating is intact. Hand-wash these pans, and never use anything abrasive on them. No metal or hard plastic! I use a silicone spatula if my dough needs
some help getting out of the pan.

Basic Principles of Shaping:
  • Before shaping, ensure your dough has gone through necessary fermentation to develop gluten and flavor.
  • Always work on a lightly floured surface or use oil to prevent sticking without drying out the dough.
  • Handle the dough gently to preserve the gas bubbles formed during fermentation, which contribute to the bread’s texture.
  • Work with floured or wet hands, or use a bench scraper, to avoid dough sticking to your hands.  Sometimes oiled hands will also work (usually only with lower hydration dough)

Common Bread Dough Shapes:

Round Loaf (Boule):

  • Method: Flatten the dough into a rough rectangle, then fold the sides towards the center. Flip the dough seam-side down and roll it gently to create surface tension.
  • Use: Ideal for rustic bread, sourdough, or artisanal loaves.

Oblong Loaf (Batard):

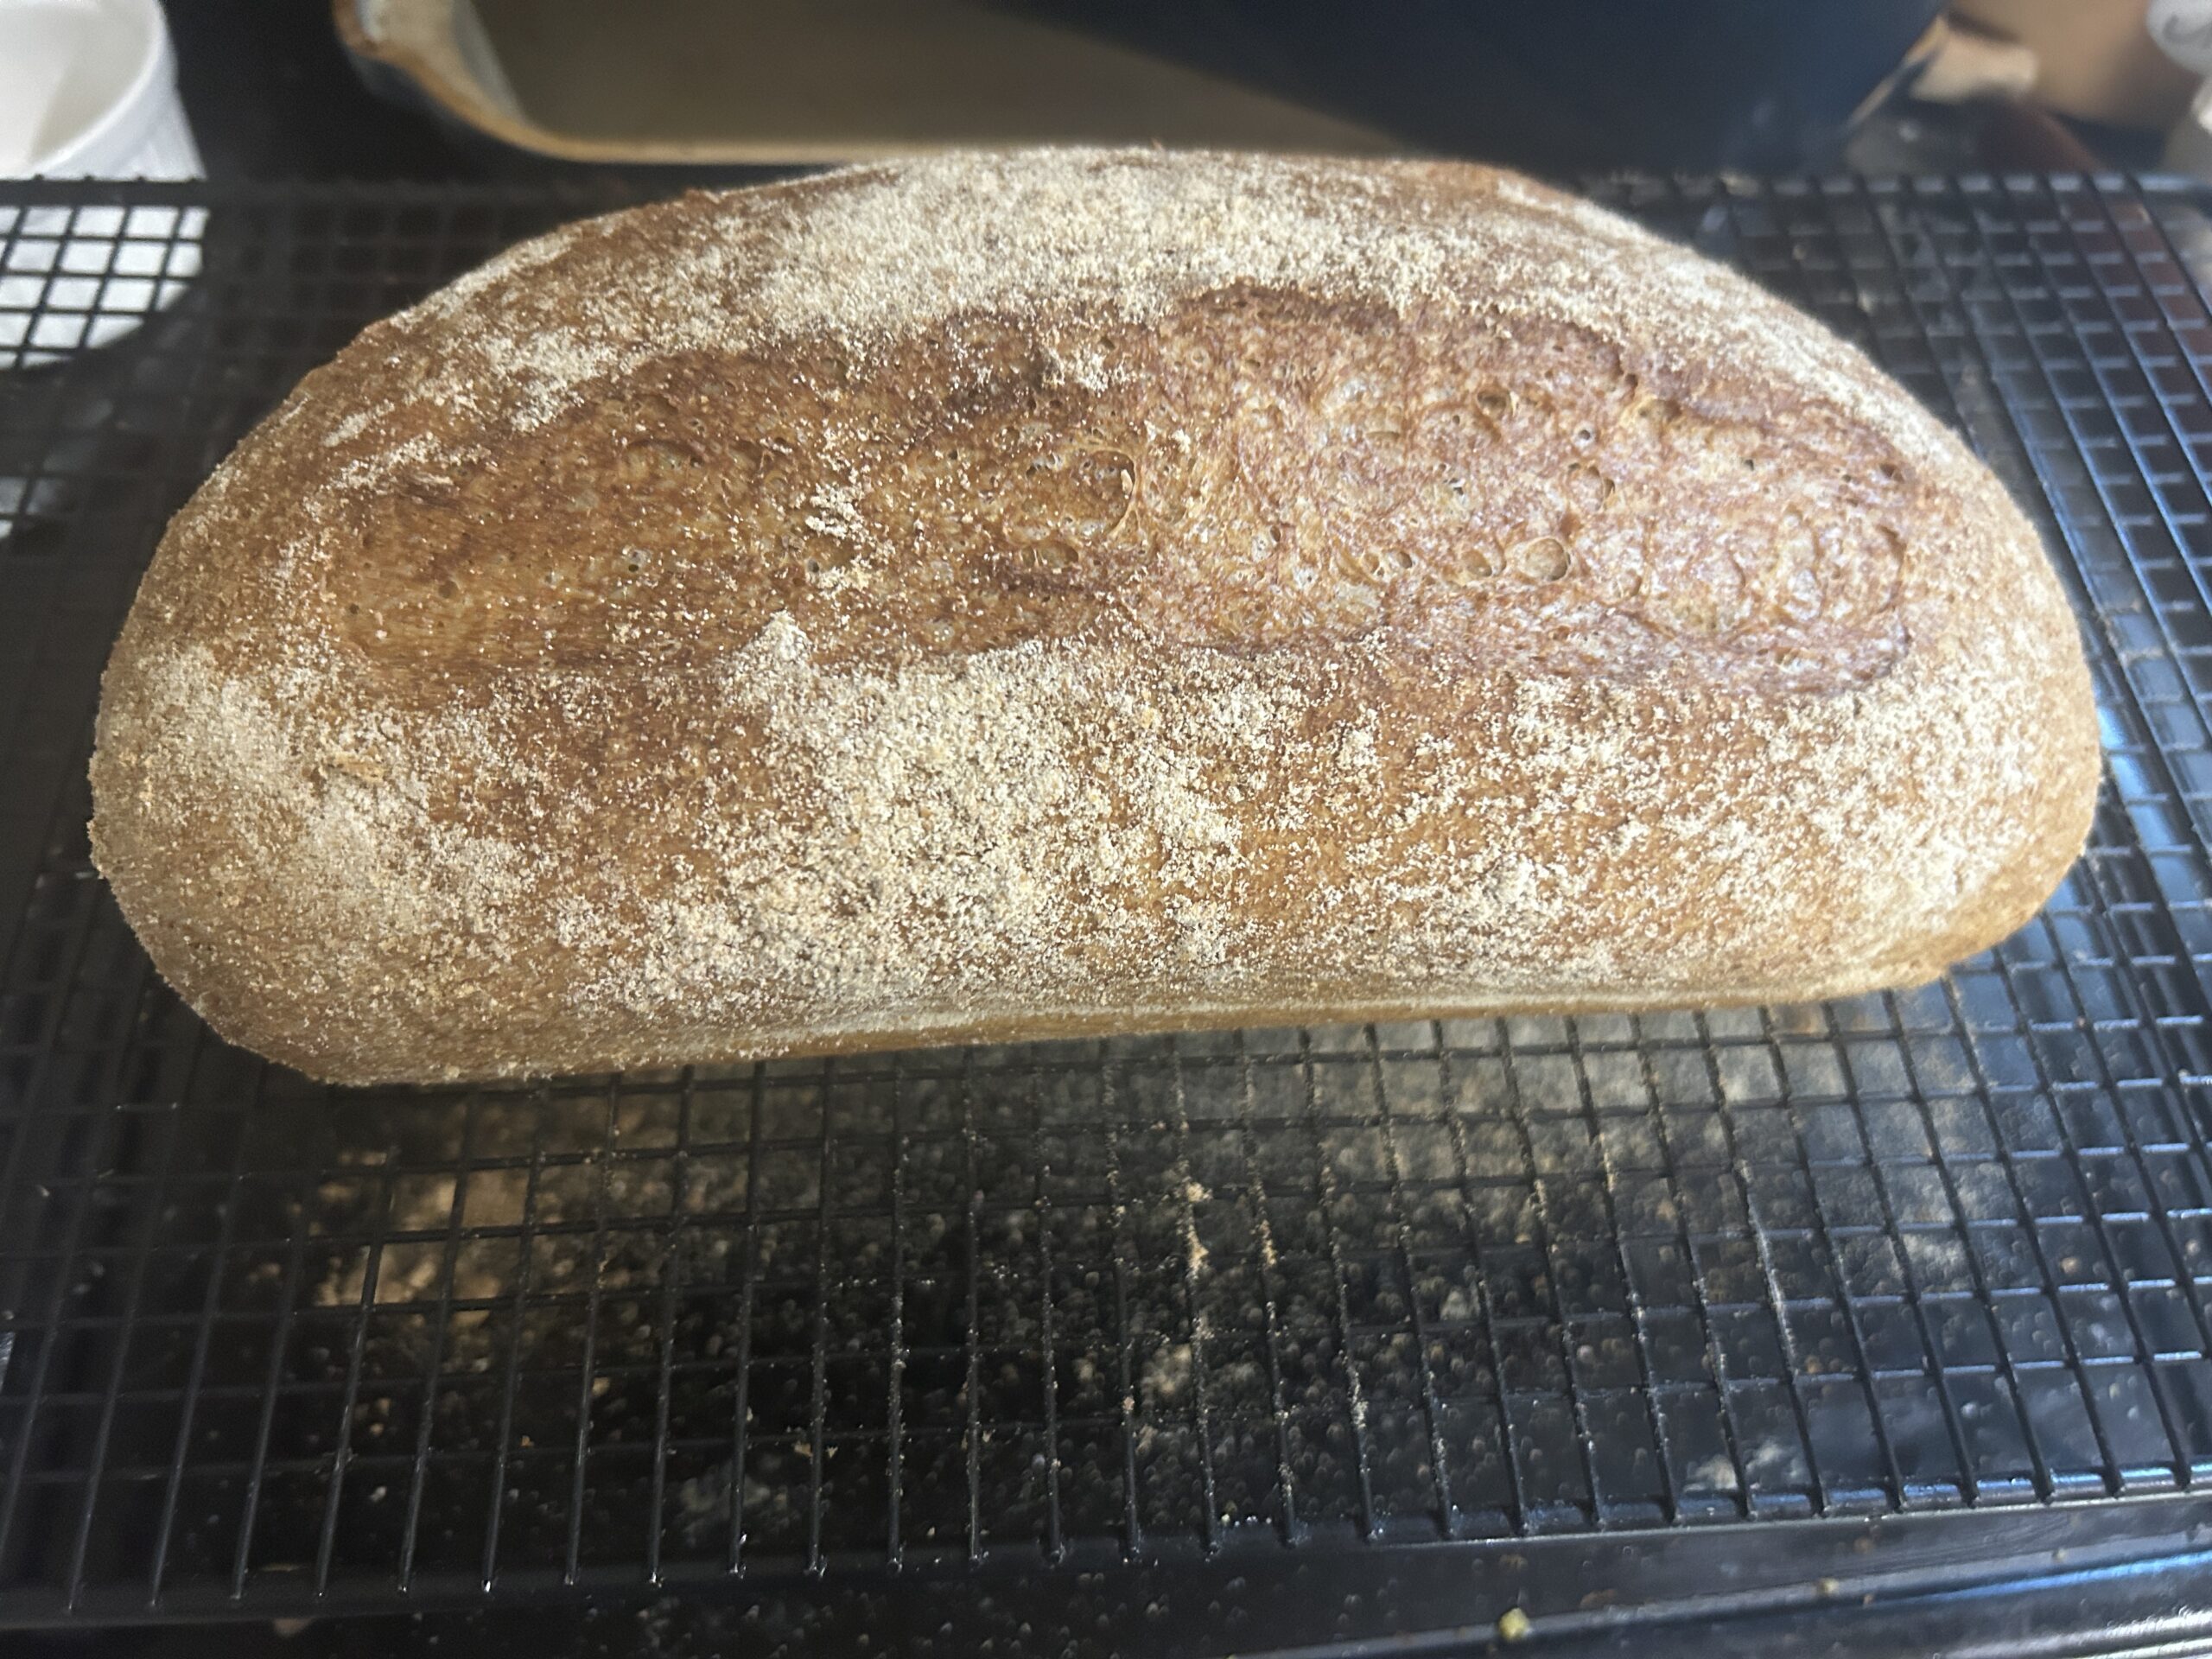
  • Method: Similar to the round loaf but elongate the dough into an oval shape. Roll and seal the edges to create a smooth surface.
  • Use: Suitable for sandwiches, baguettes, or when a larger crust-to-crumb ratio is desired.

Baguette:

  • Method: Flatten the dough into a rectangle, then fold it into thirds like a letter. Roll the dough into a long cylinder, tapering the ends.
  • Use: Traditional for French bread, perfect for sandwiches or as a side with soups.

Rolls:

  • Method: Divide the dough into smaller portions, then shape each into balls by tucking the edges underneath to create tension on the surface.
  • Use: Versatile for dinner rolls, burger buns, or individual servings.

Specialty Shapes:

Braided Loaf:

  • Method: Divide the dough into strands, then weave them together in a braid pattern.
  • Use: Adds visual appeal and is ideal for festive occasions or sweet breads.

Filled Rolls or Bread:

  • Method: Flatten the dough, add filling (such as cheese, fruits, or nuts), then roll and seal to encase the filling completely.
  • Use: Creates flavorful bread variations suitable for breakfast or dessert.

Tips for Shaping Success:

  • Consistency: Ensure each piece of dough is shaped uniformly for even baking.
  • Surface Tension: Tighten the surface to prevent the dough from spreading excessively during baking.
  • Final Proof: Allow shaped dough to proof adequately before baking to ensure proper rise and structure.

Considerations Based on Dough Type:

  • High-Hydration Dough: Requires gentle handling and may benefit from using a proofing basket (banneton) to maintain shape. 
  • Enriched Dough: Incorporate fats, sugars, or eggs, which affect shaping and require careful handling to avoid tearing.  

Mastering the art of shaping bread dough enhances not only the visual appeal but also the texture and flavor of your homemade bread. Experiment with different techniques to find what works best for your preferred bread styles and baking goals.

Join our Community

Connect with fellow bread enthusiasts in the “Milling Fresh Flour with Lovely Bell and Dr. Mel” community. Gain insights, troubleshooting tips, and personalized guidance for baking with freshly milled flour. Embrace the journey of artisanal bread making with support from a vibrant community dedicated to mastering the art of bread.

Once you’ve shaped your dough, it’s time for the proofing.

I only share products or ingredients on my site that I use and love personally. This will NEVER change. If someone asks me to review a product they send, it will be at their own risk because I don't filter my opinions for anyone. When you click a link to buy on my blog, it helps support me while costing you nothing.


Related Posts

The Fresh Milled Bread Method

The Fresh Milled Bread Method

The journey into baking with freshly milled flour begins with adjusting your expectations, especially if you’re accustomed to the soft loaves found in supermarkets. Learning the nuances takes time, but starting with the fresh milled bread method sets a solid foundation for mastering the art of baking.

Cooling & Storing Bread

Cooling & Storing Bread

You just finished baking your bread, but you must let it cool before you do. WHY? I really want to eat that hot, delicious smelling loaf of goodness. And after cooling, we need to talk about storing our bread.


Leave a Reply

Your email address will not be published. Required fields are marked *

This site uses Akismet to reduce spam. Learn how your comment data is processed.