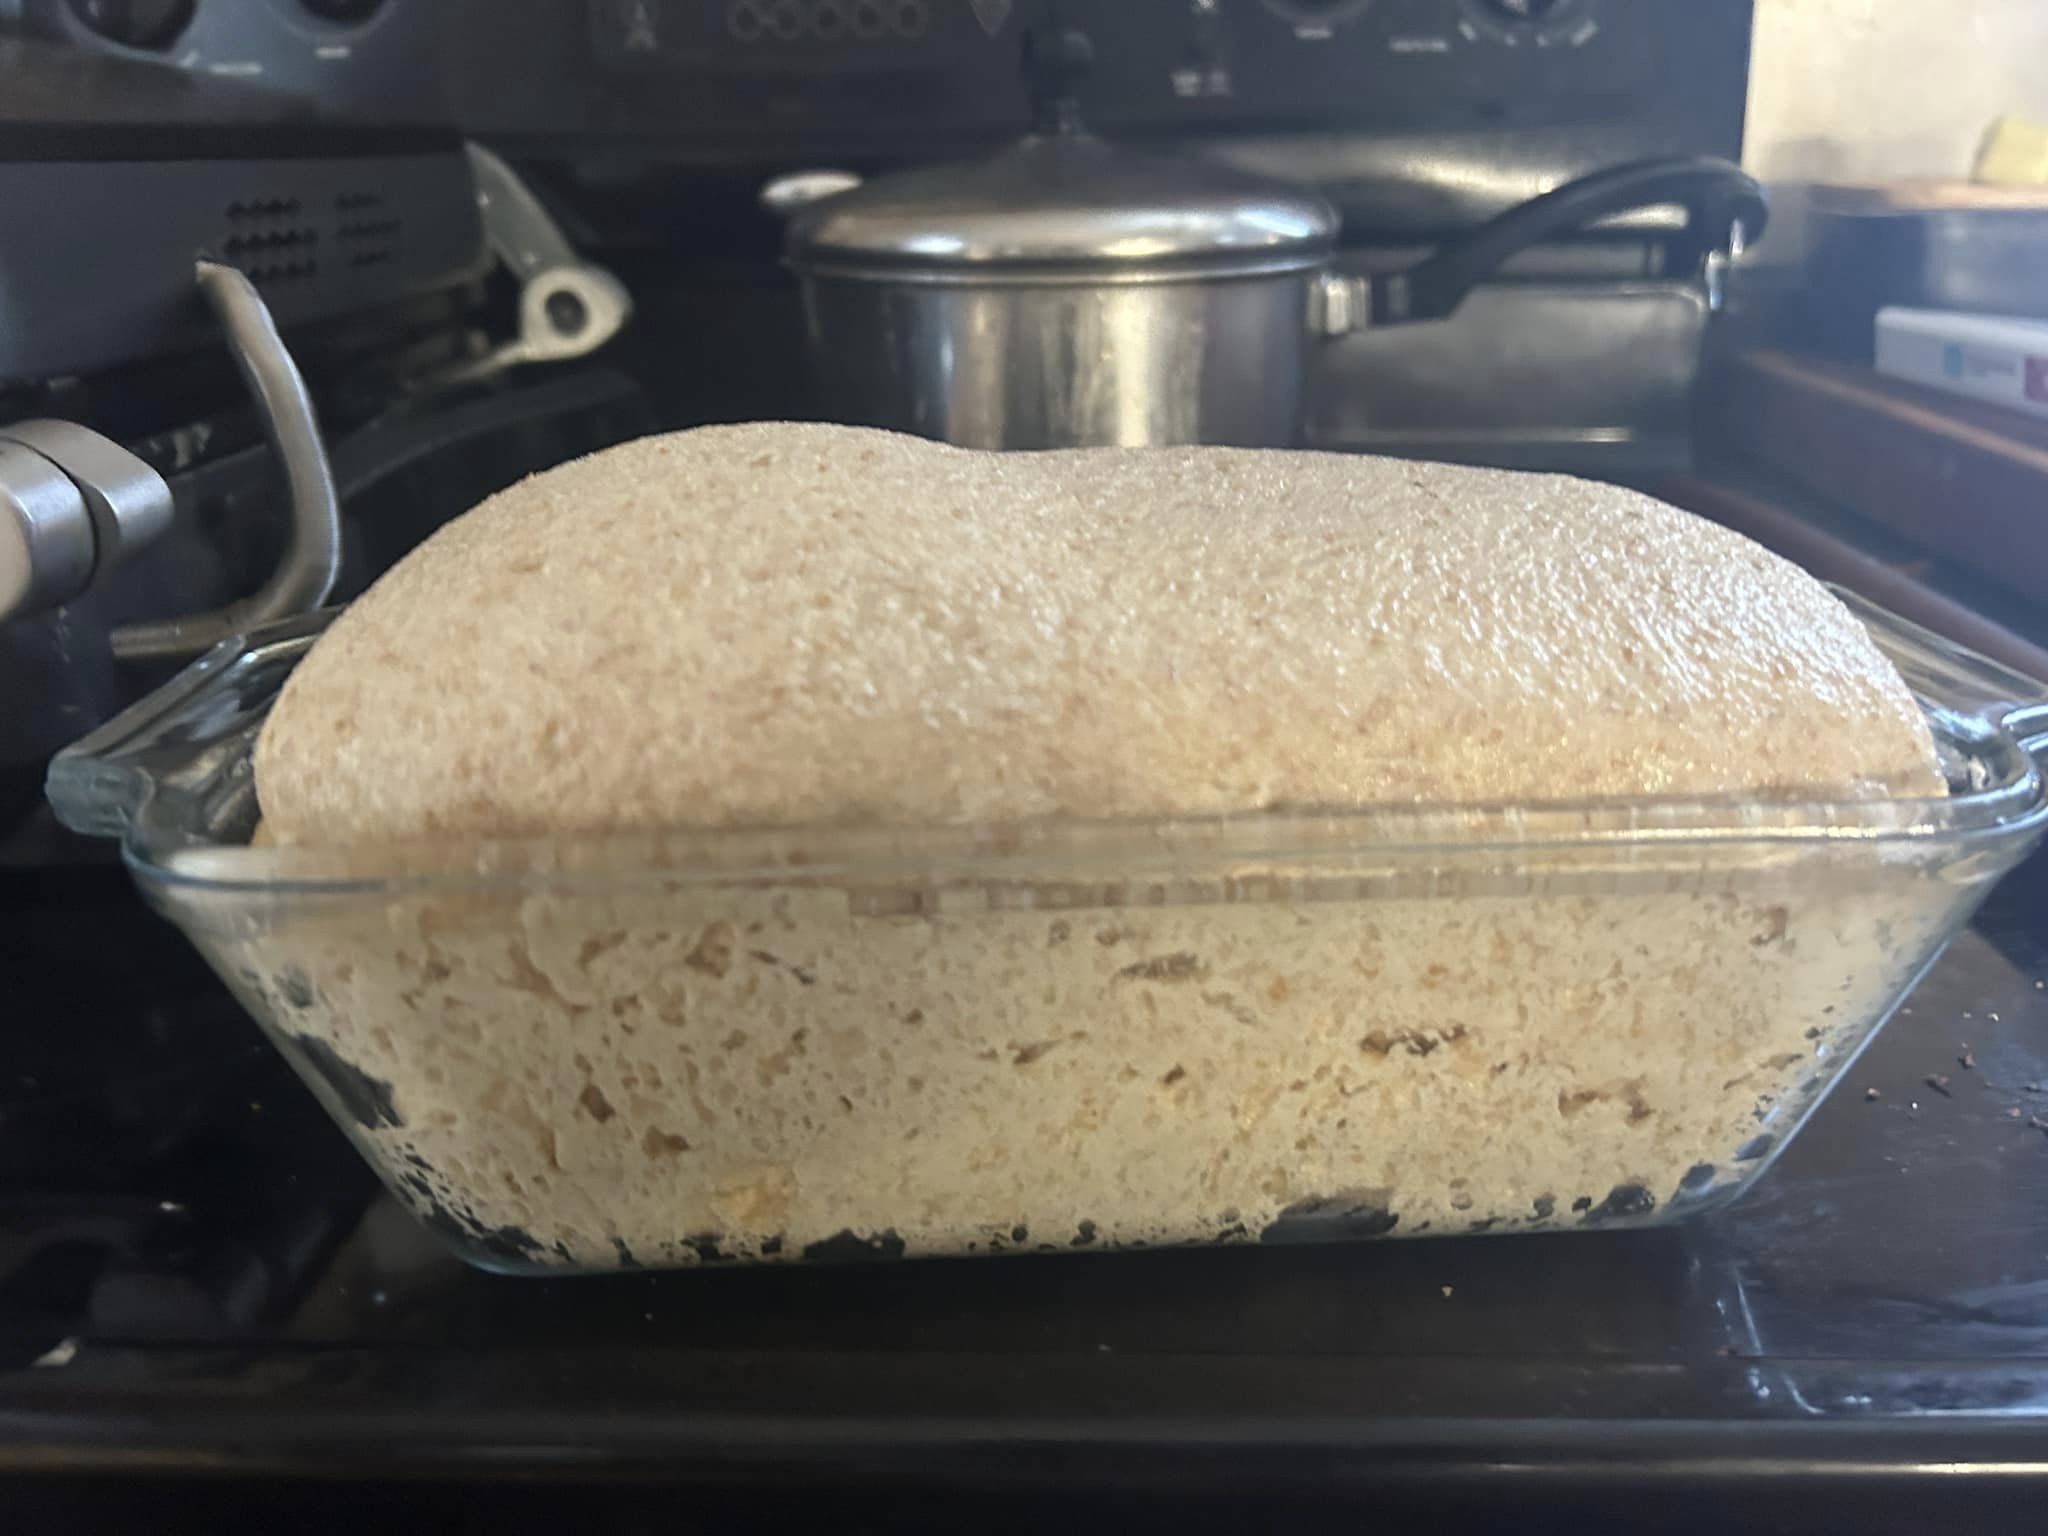
For fresh milled whole grain bread, the easiest way to size dough is to use about 60% of your loaf pan’s water capacity.
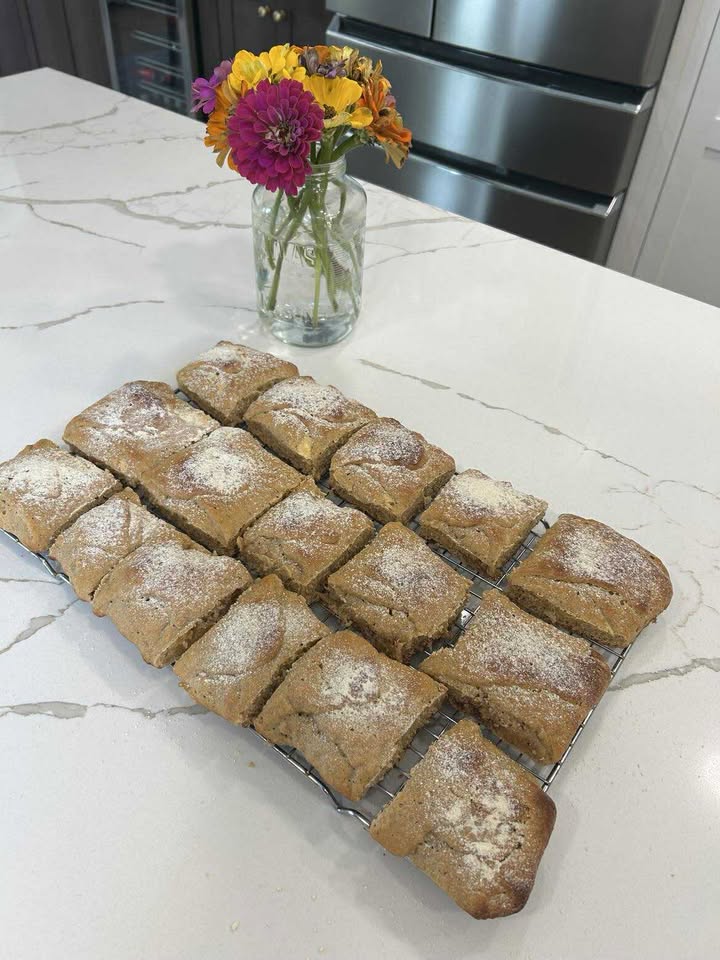
This post is courtesy of our friend Gina Mut, who worked with me to convert these authentic romanian pastries to use freshly...
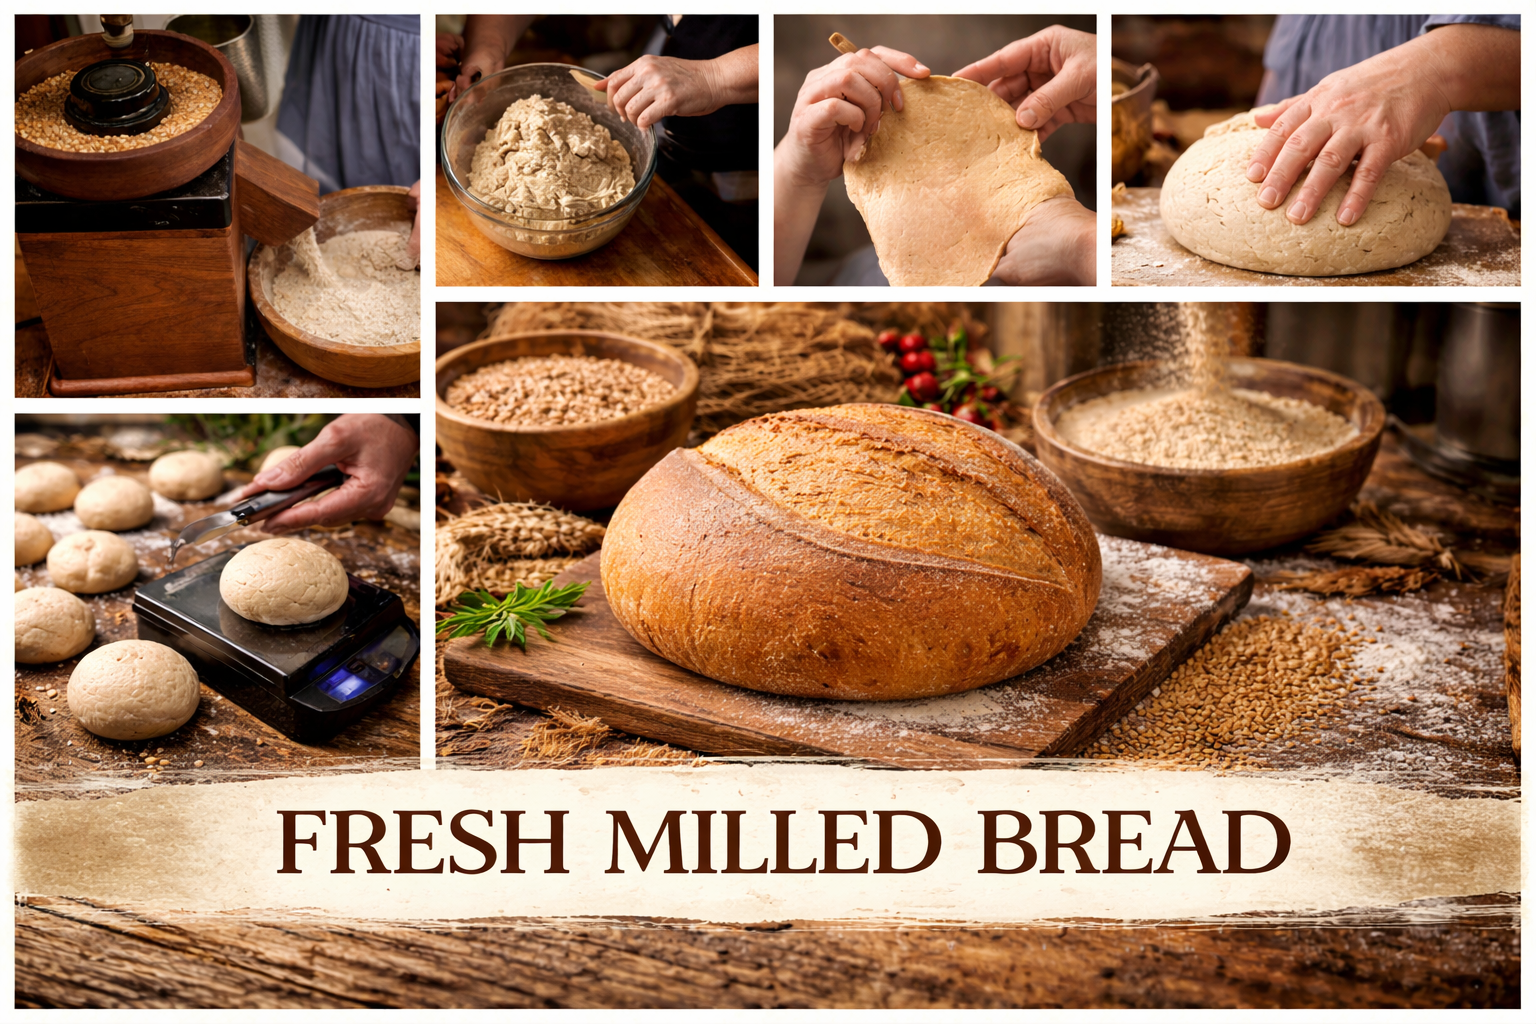
Learn the fresh milled bread method step by step, from milling flour to cooling the loaf. This guide explains the why behind each stage so you can bake confidently with freshly milled whole grains.
You just finished baking your bread, but you must let it cool before you do. WHY? I really want to eat that hot, delicious smelling loaf of goodness. And after cooling, we need to talk about storing our bread.
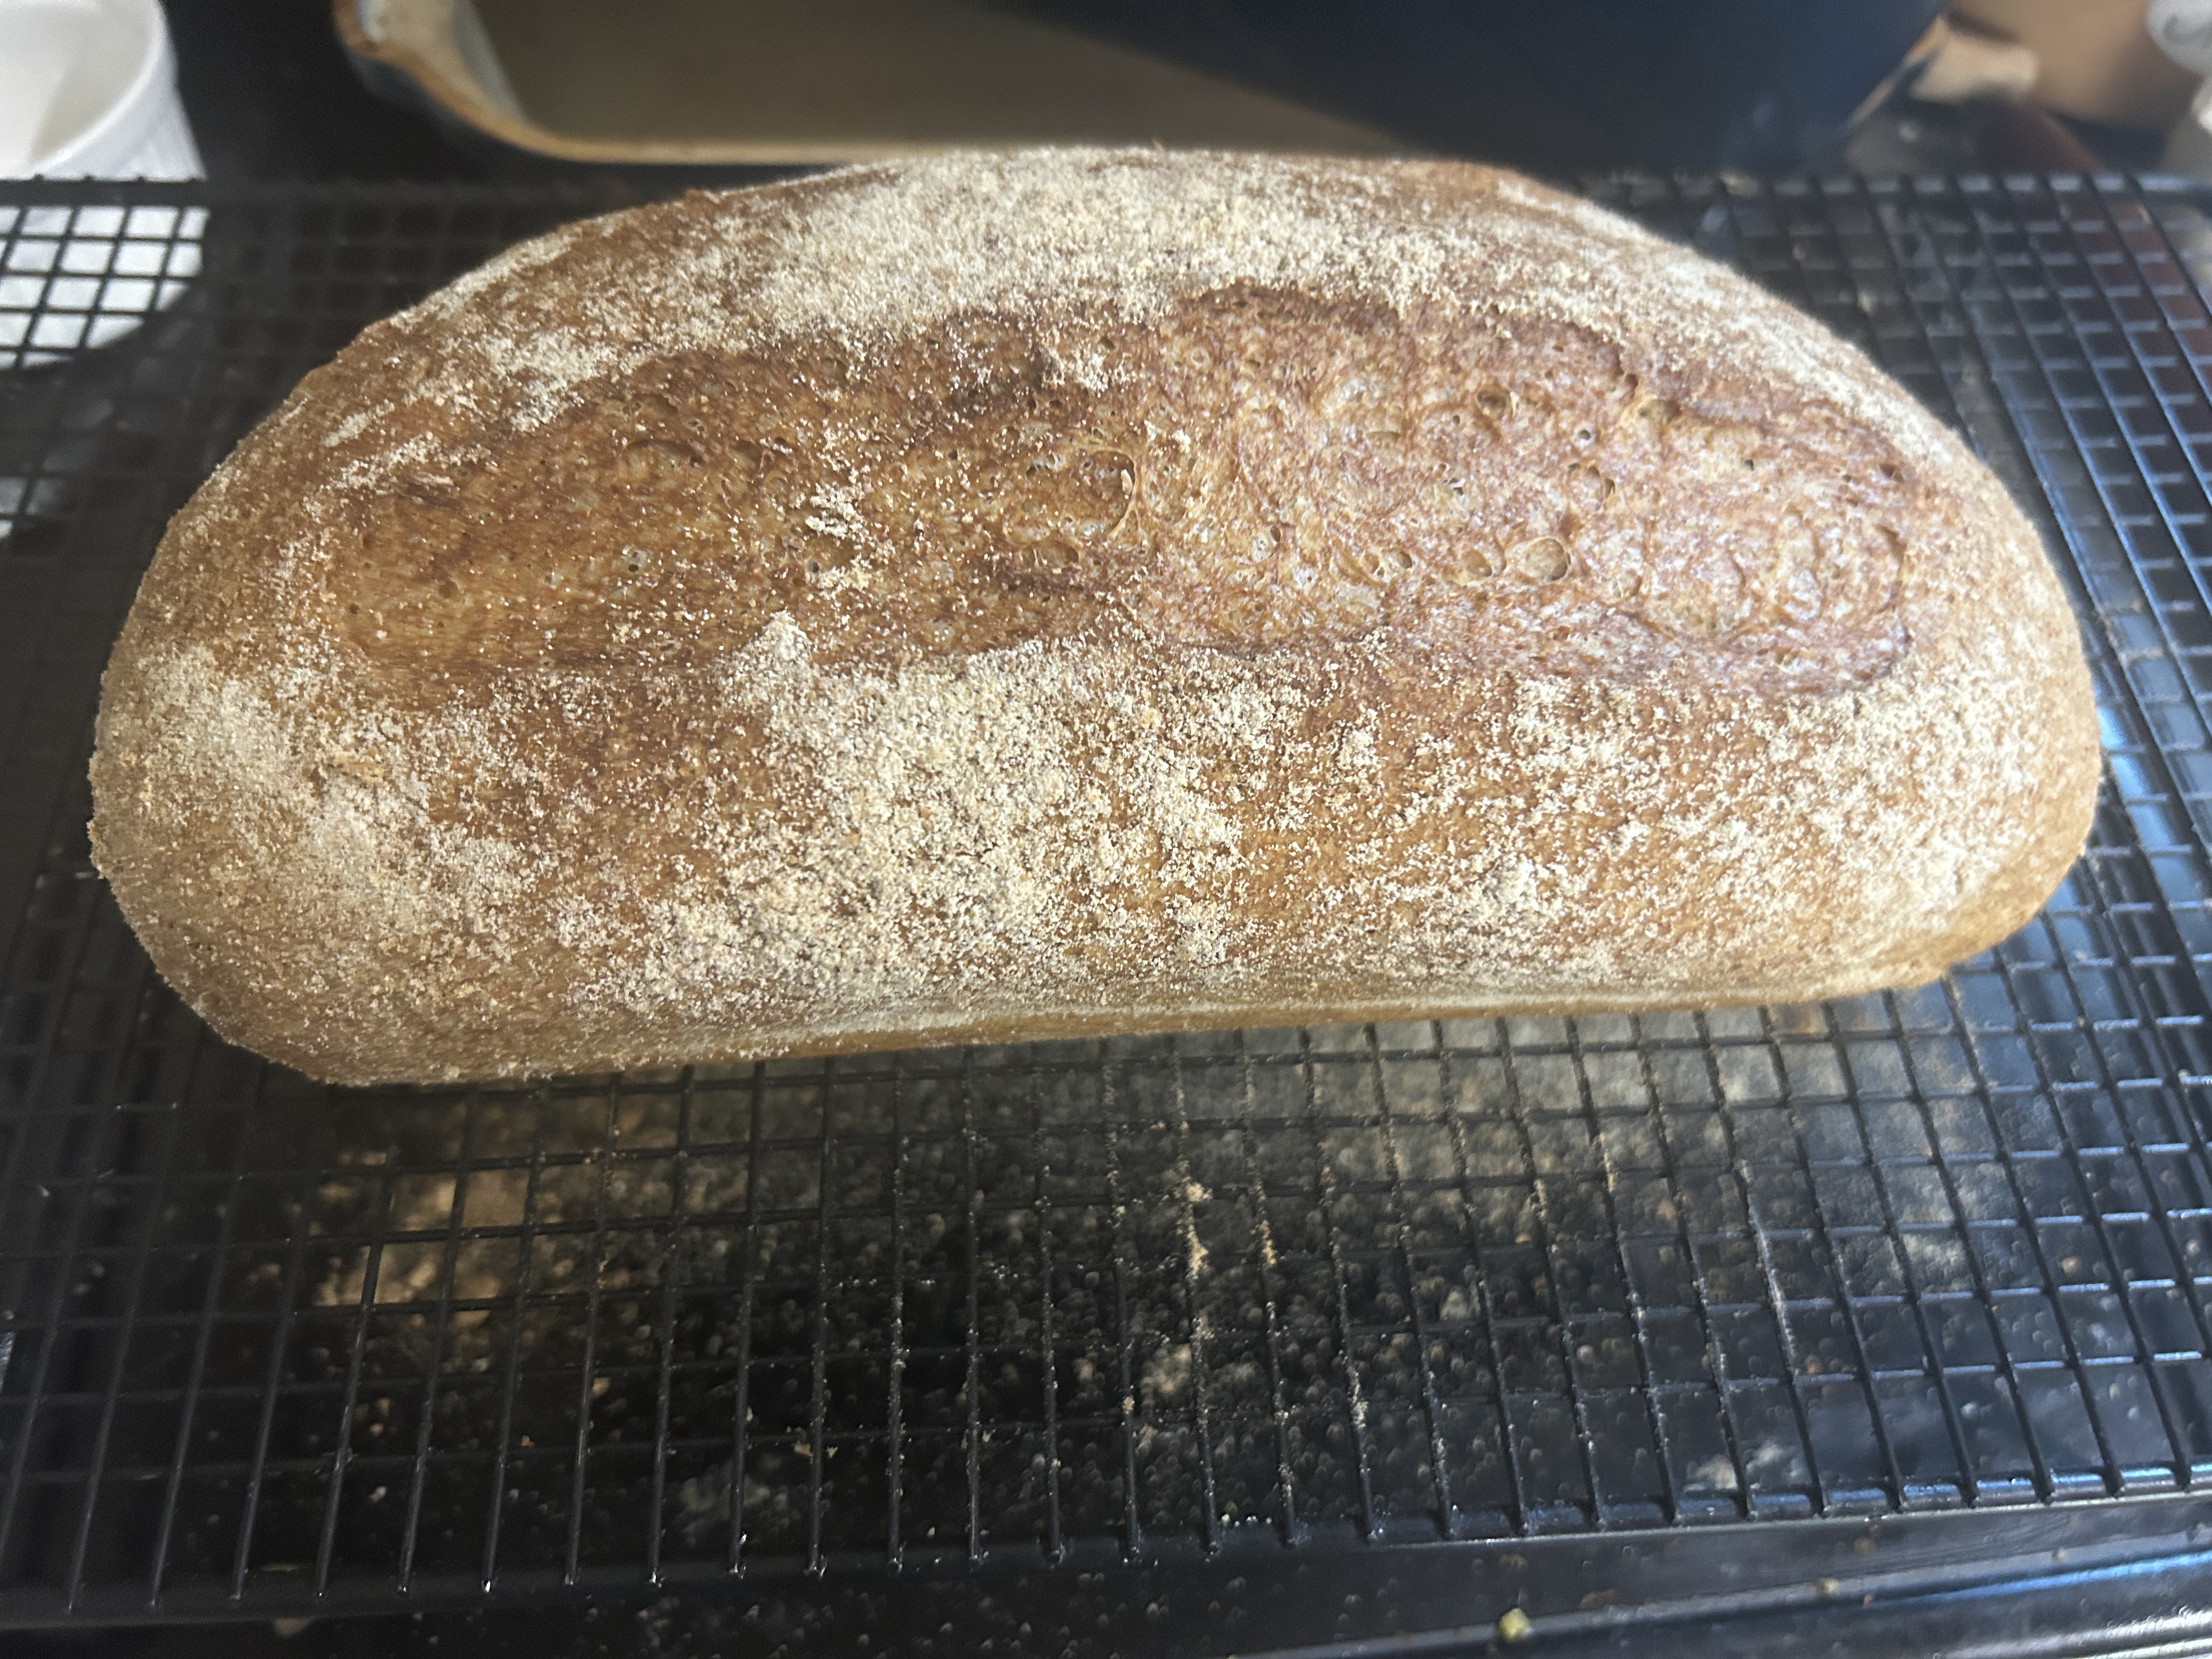
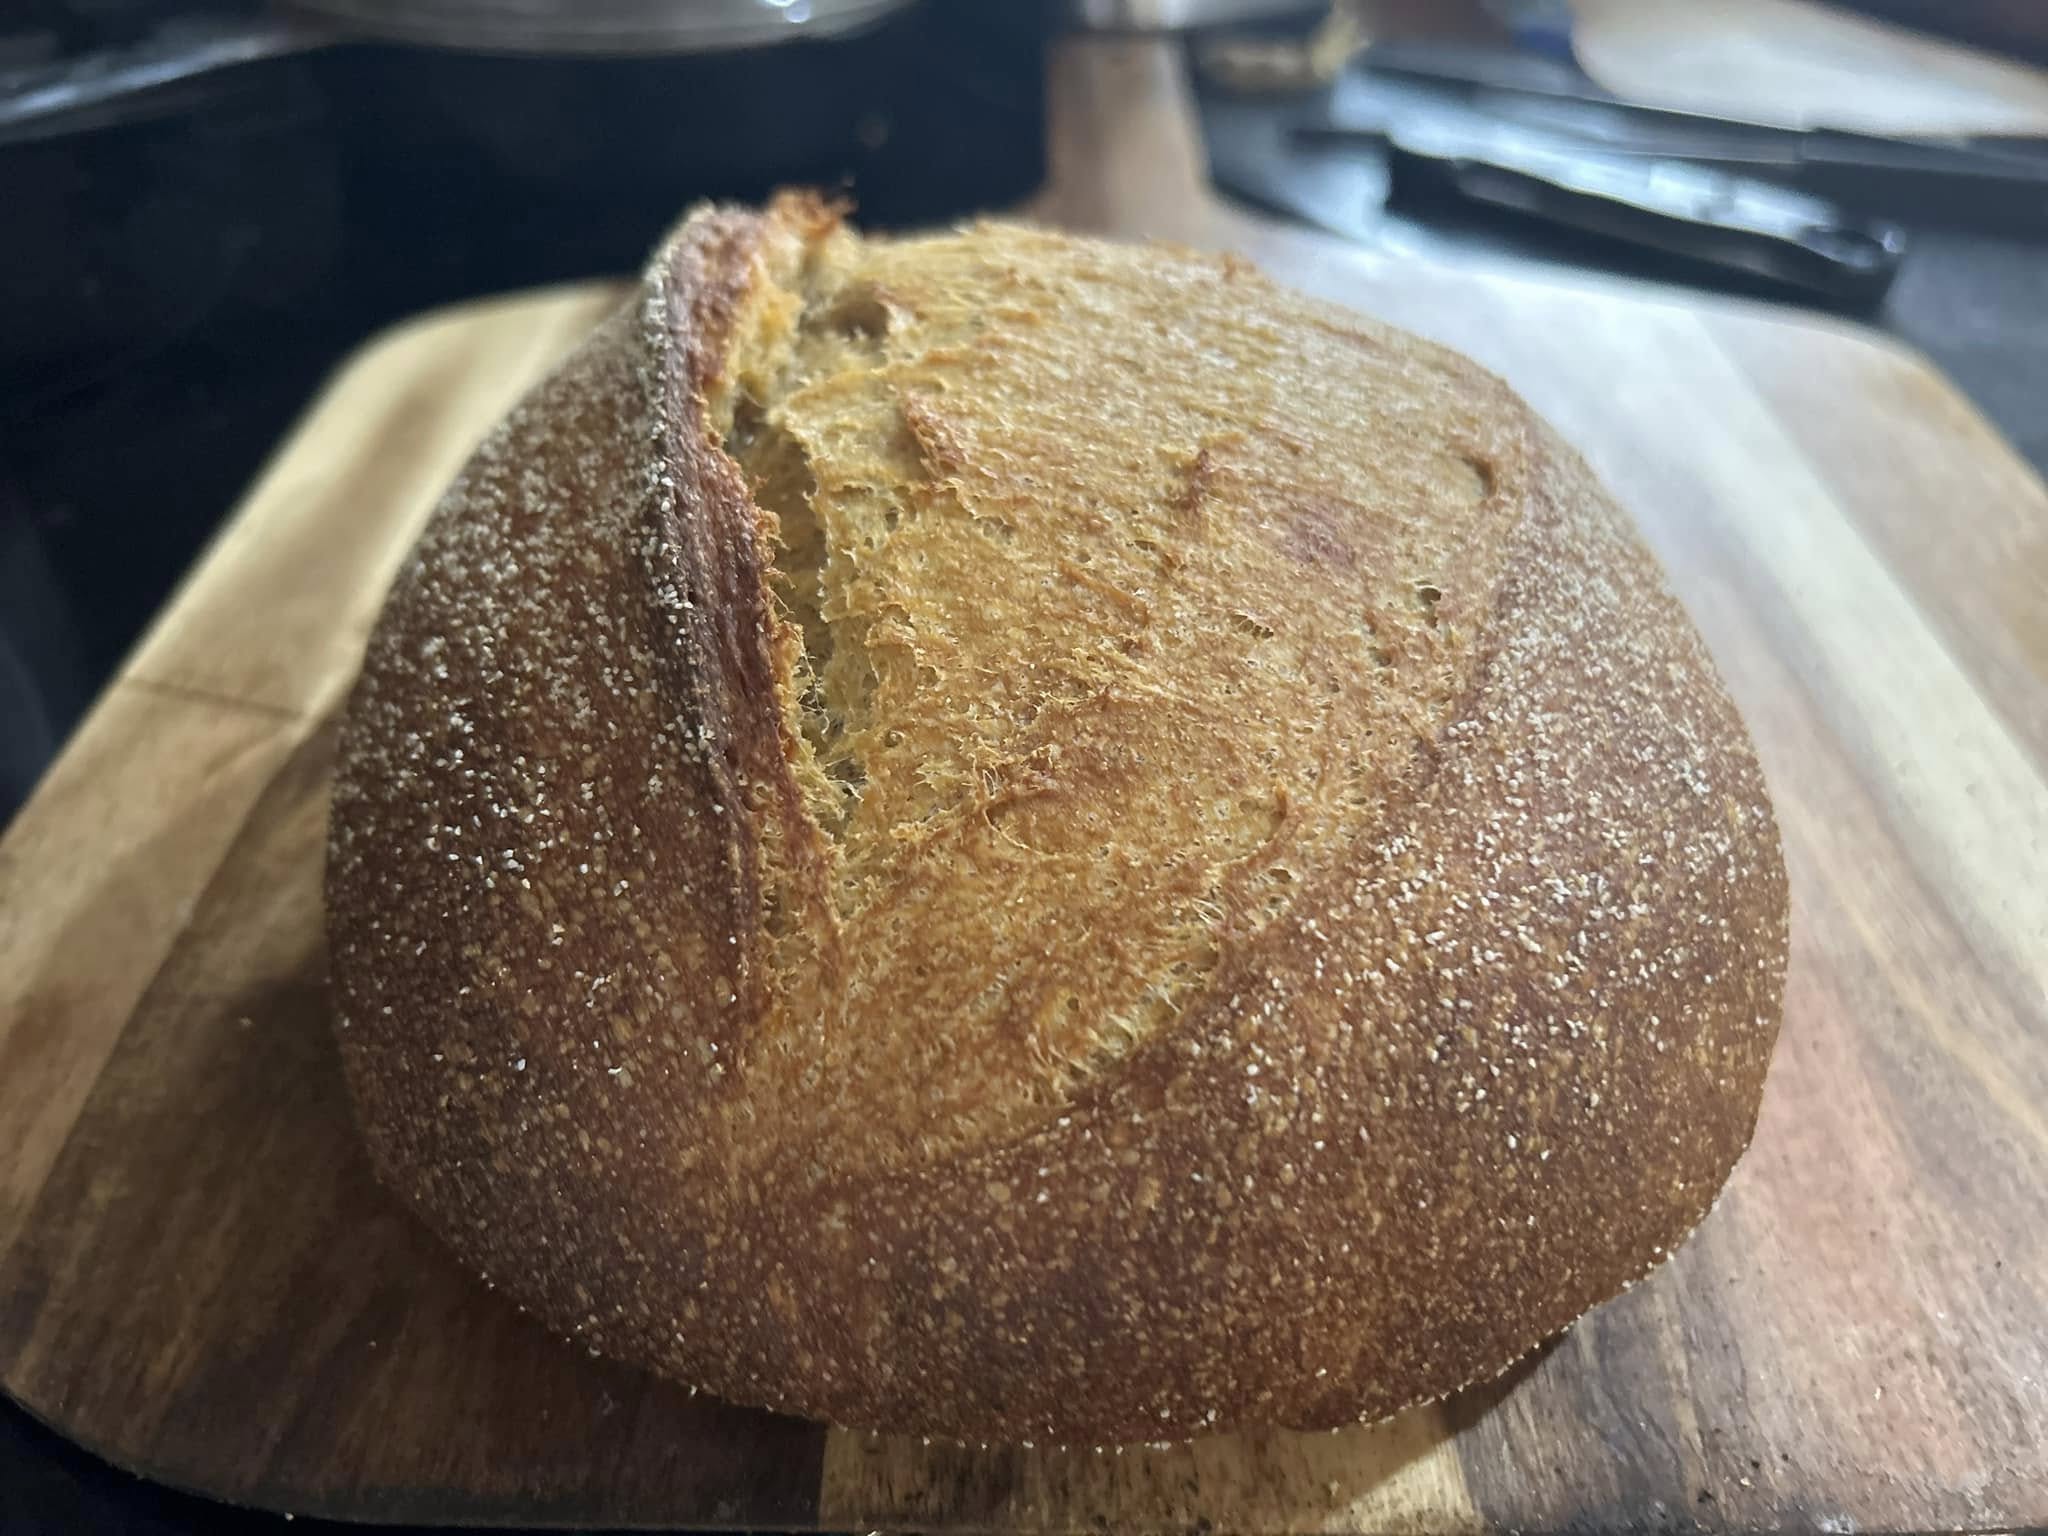
Learn how to bake freshly milled bread with confidence. Understand oven spring, steam, washes, scoring, temperatures, and how to tell when bread is truly done.
Proofing is simply the second rise of bread dough after shaping. Learn how to tell when dough is ready to bake using the finger poke test, plus tips to avoid under- or over-proofing.
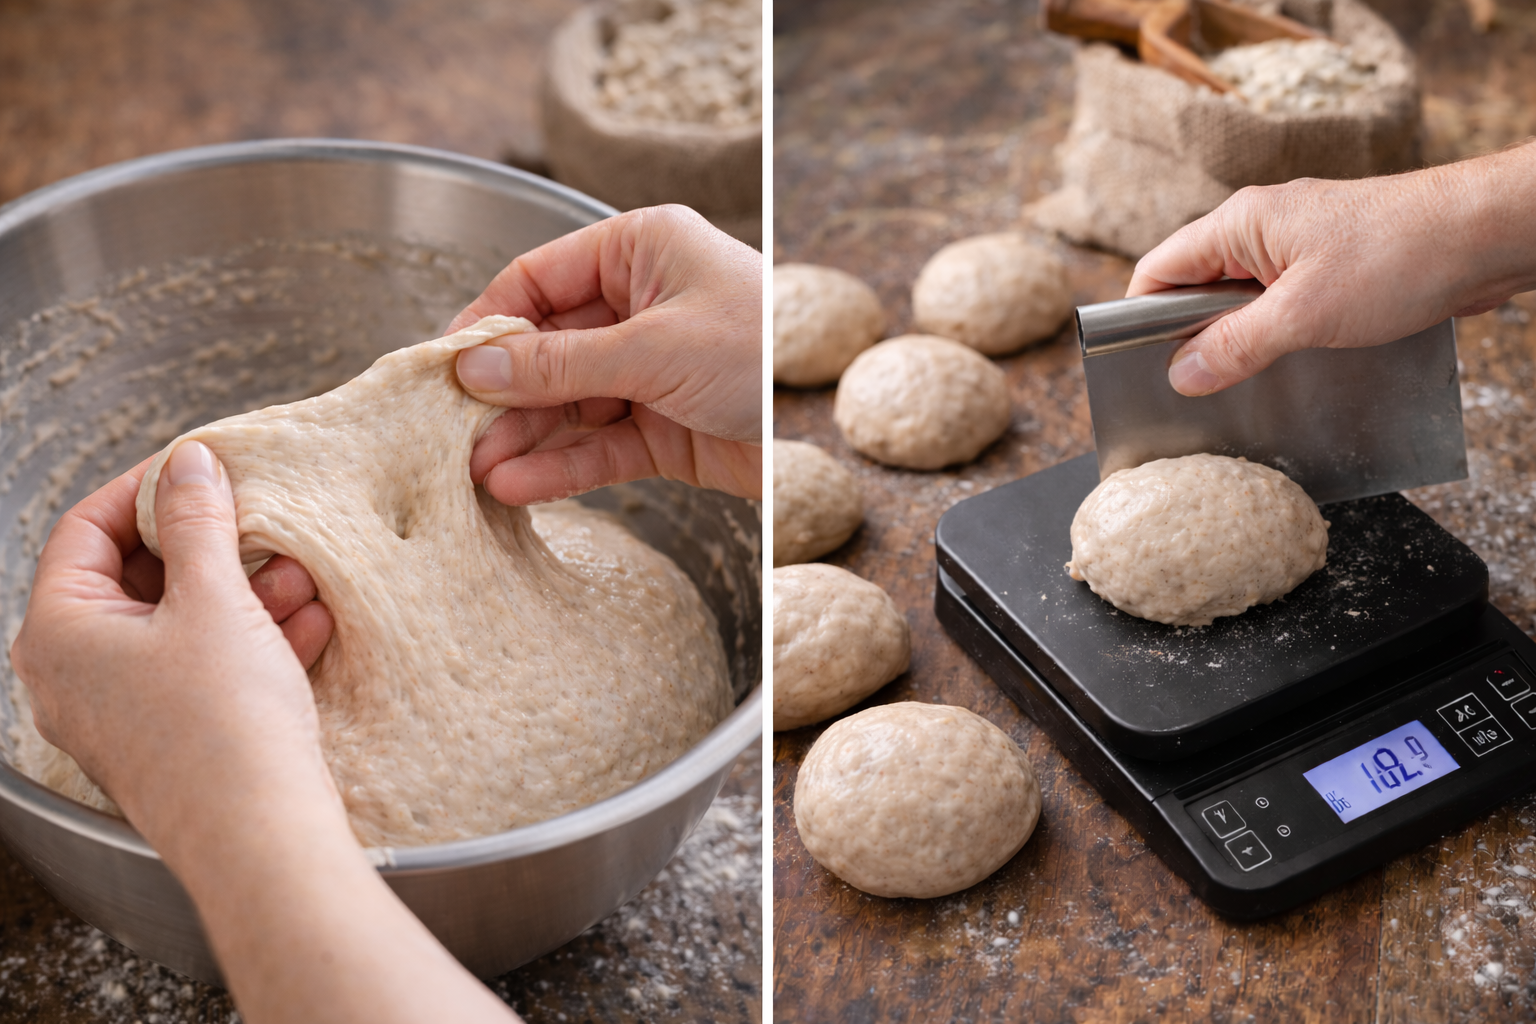
Learn why and how to punch down dough after fermentation, release excess gas, and scale bread dough correctly so it fits your pan and bakes evenly—especially with fresh milled flour.
Learn how to shape bread dough properly after scaling, including loaves, rolls, and high-hydration doughs. Create surface tension so fresh milled bread rises evenly and bakes beautifully.
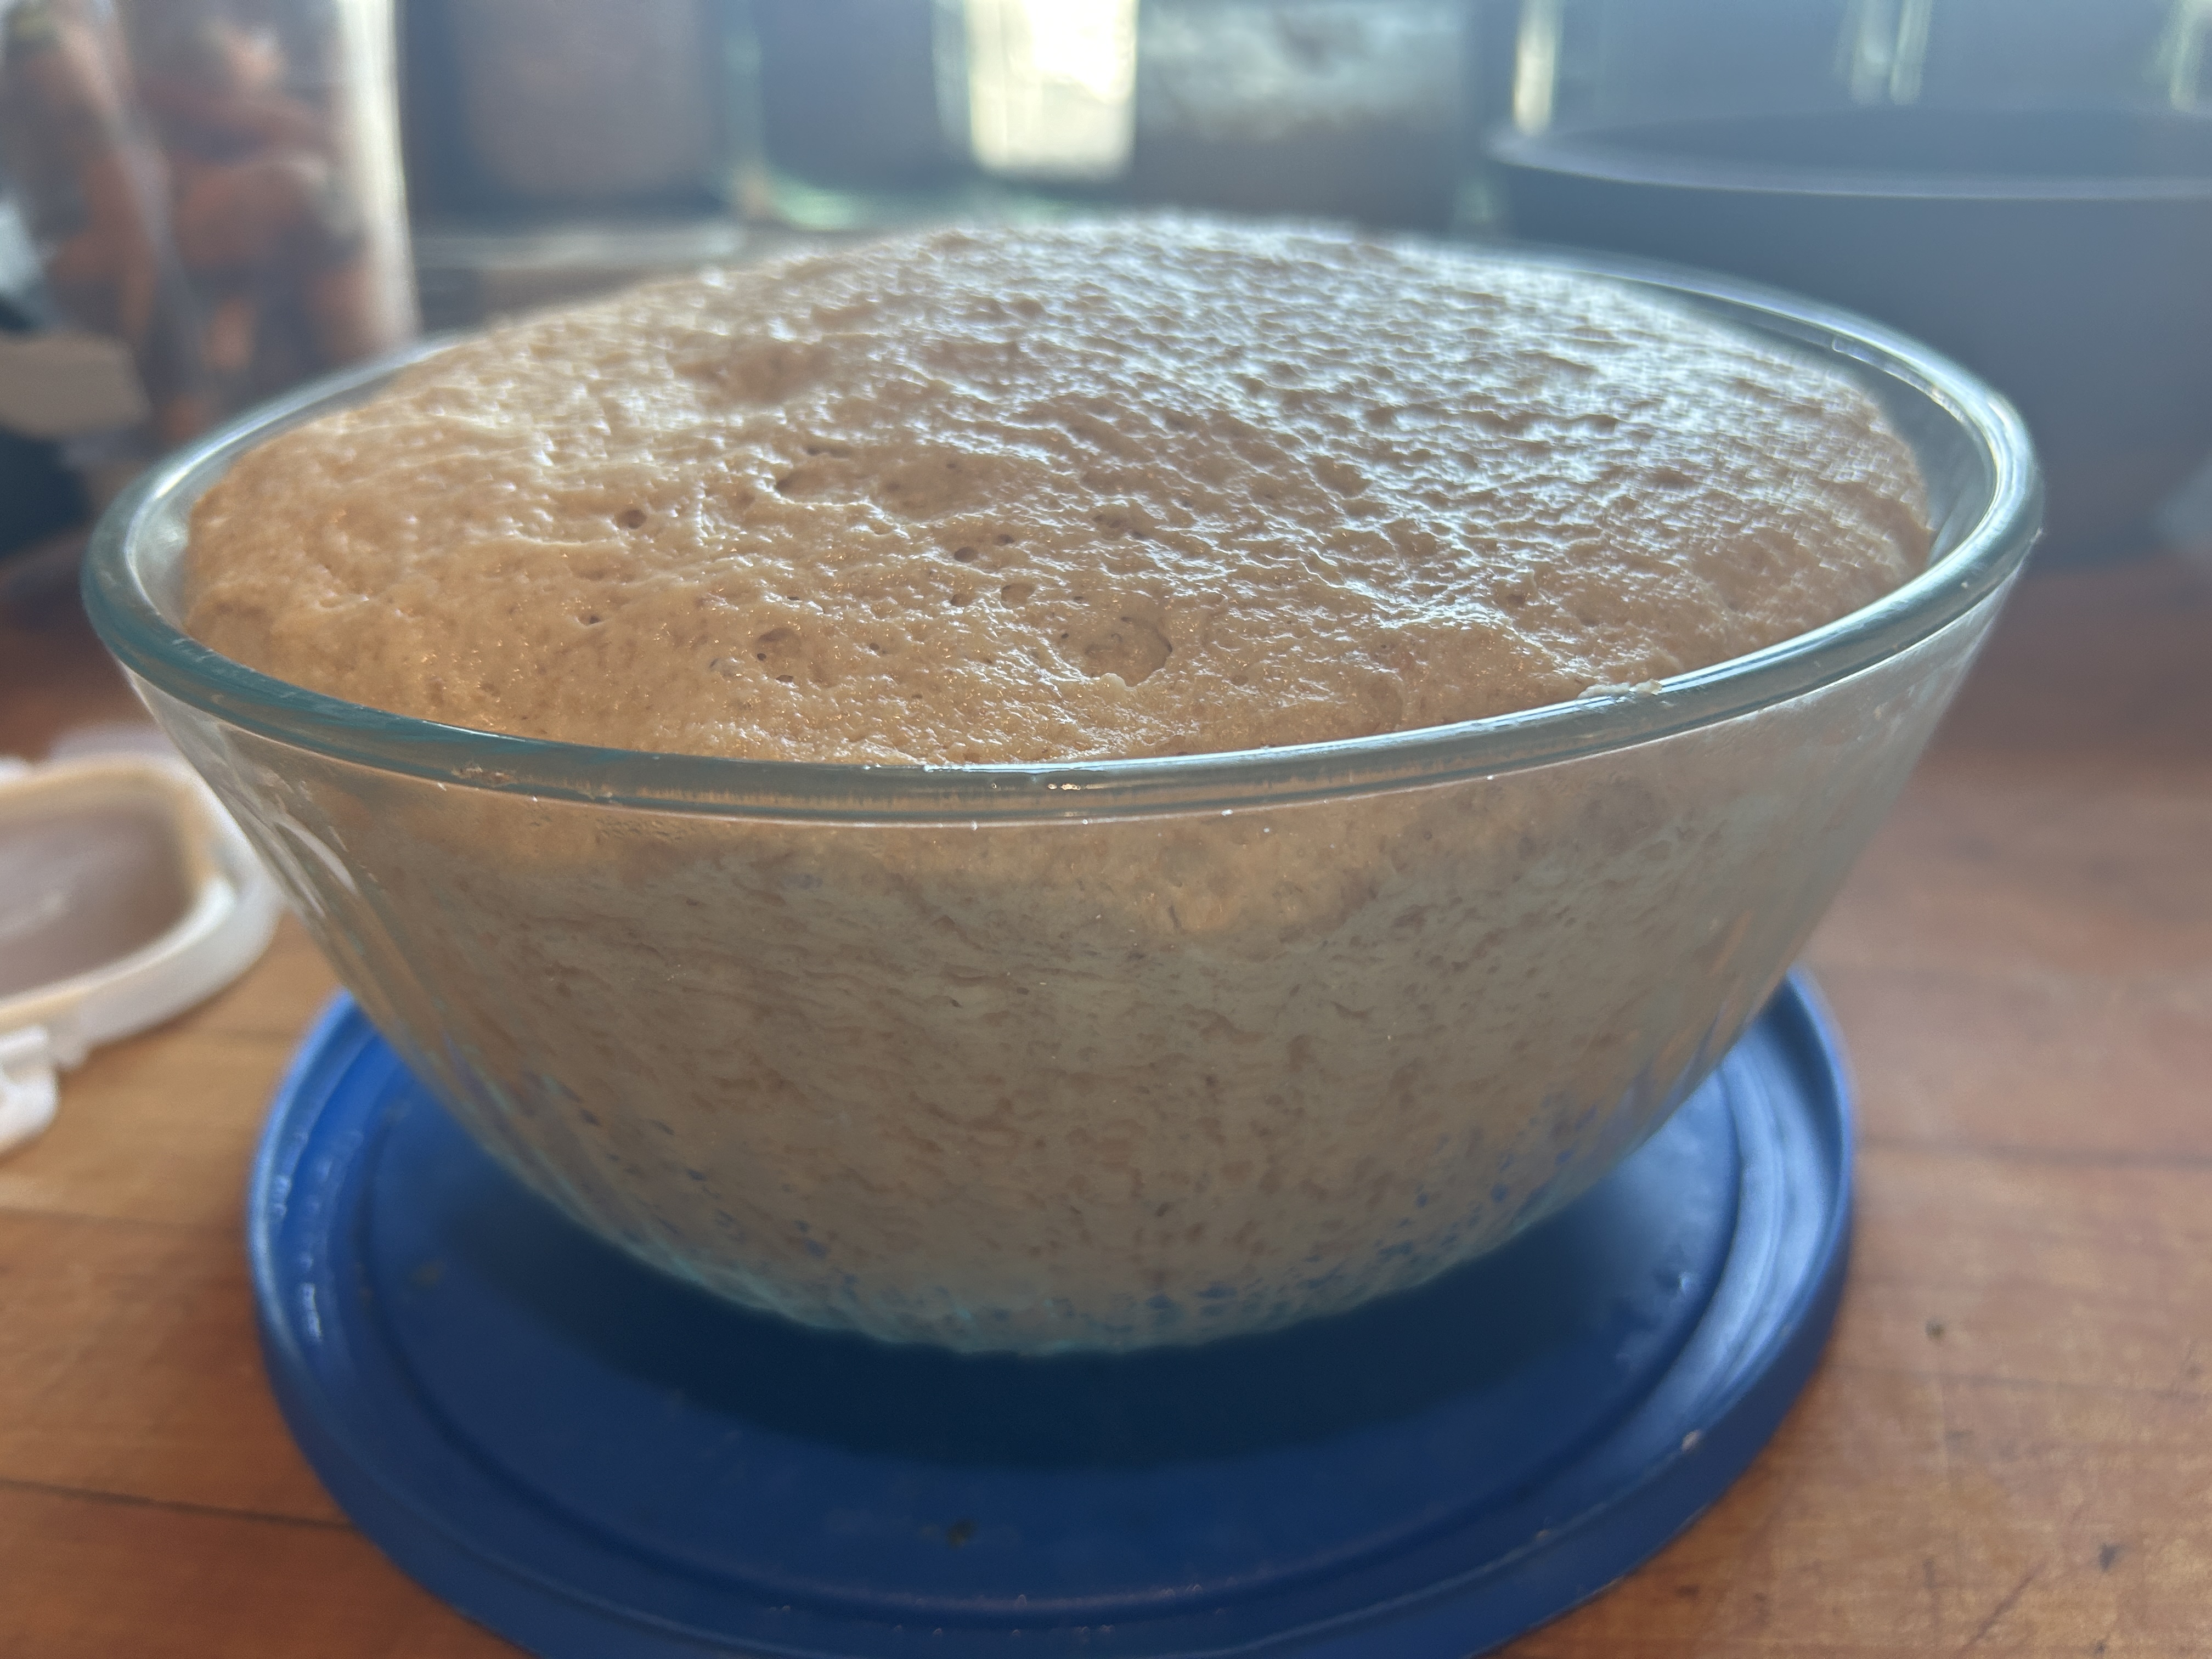
After passing the windowpane test, next up is fermentation. This is also called the “first rise”, where the yeast feed on sugars and starc...
Learn how to properly mix and knead bread dough made with fresh milled flour, including hydration, gluten development, windowpane testing, and common mistakes to avoid.