Tag: Favorites

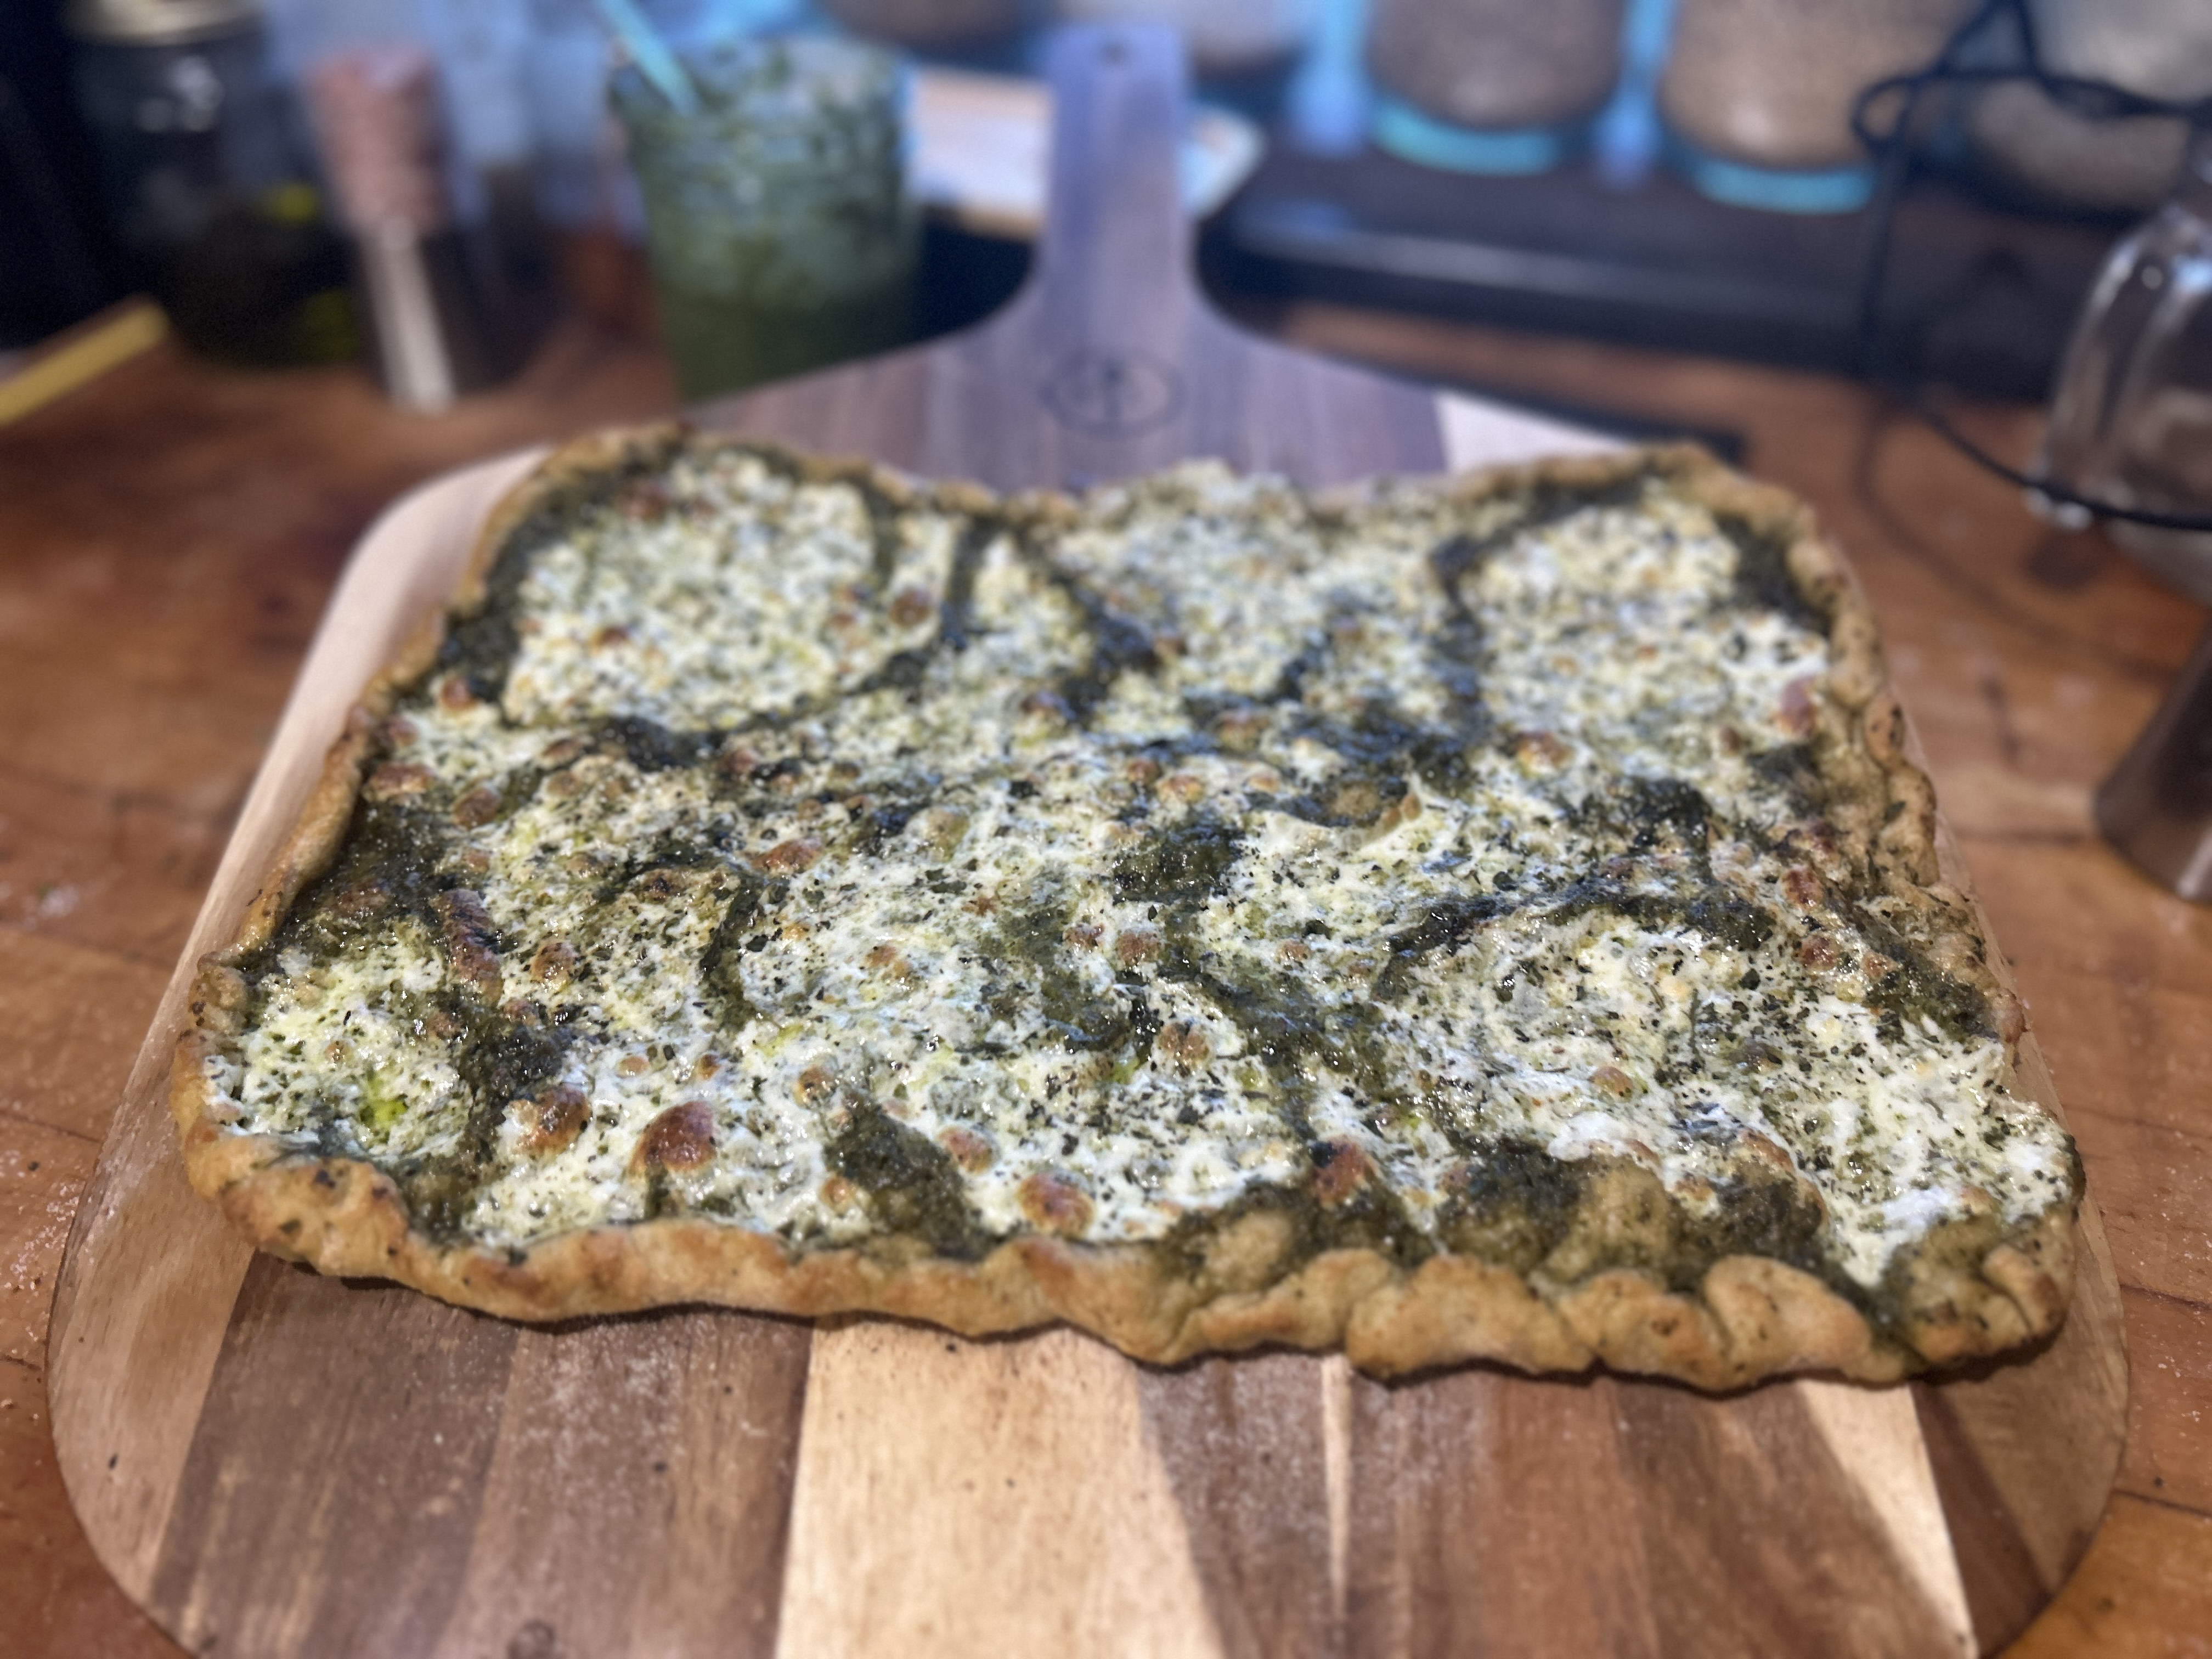
Sourdough pizza

Sourdough pizza

Today, I’m sharing my journey of crafting a crispy yet chewy pizza crust from scratch, using wholesome ingredients and a touch of sourdough magic.

Pumpernickel Whole Grain Pretzel Sticks

Pumpernickel Whole Grain Pretzel Sticks

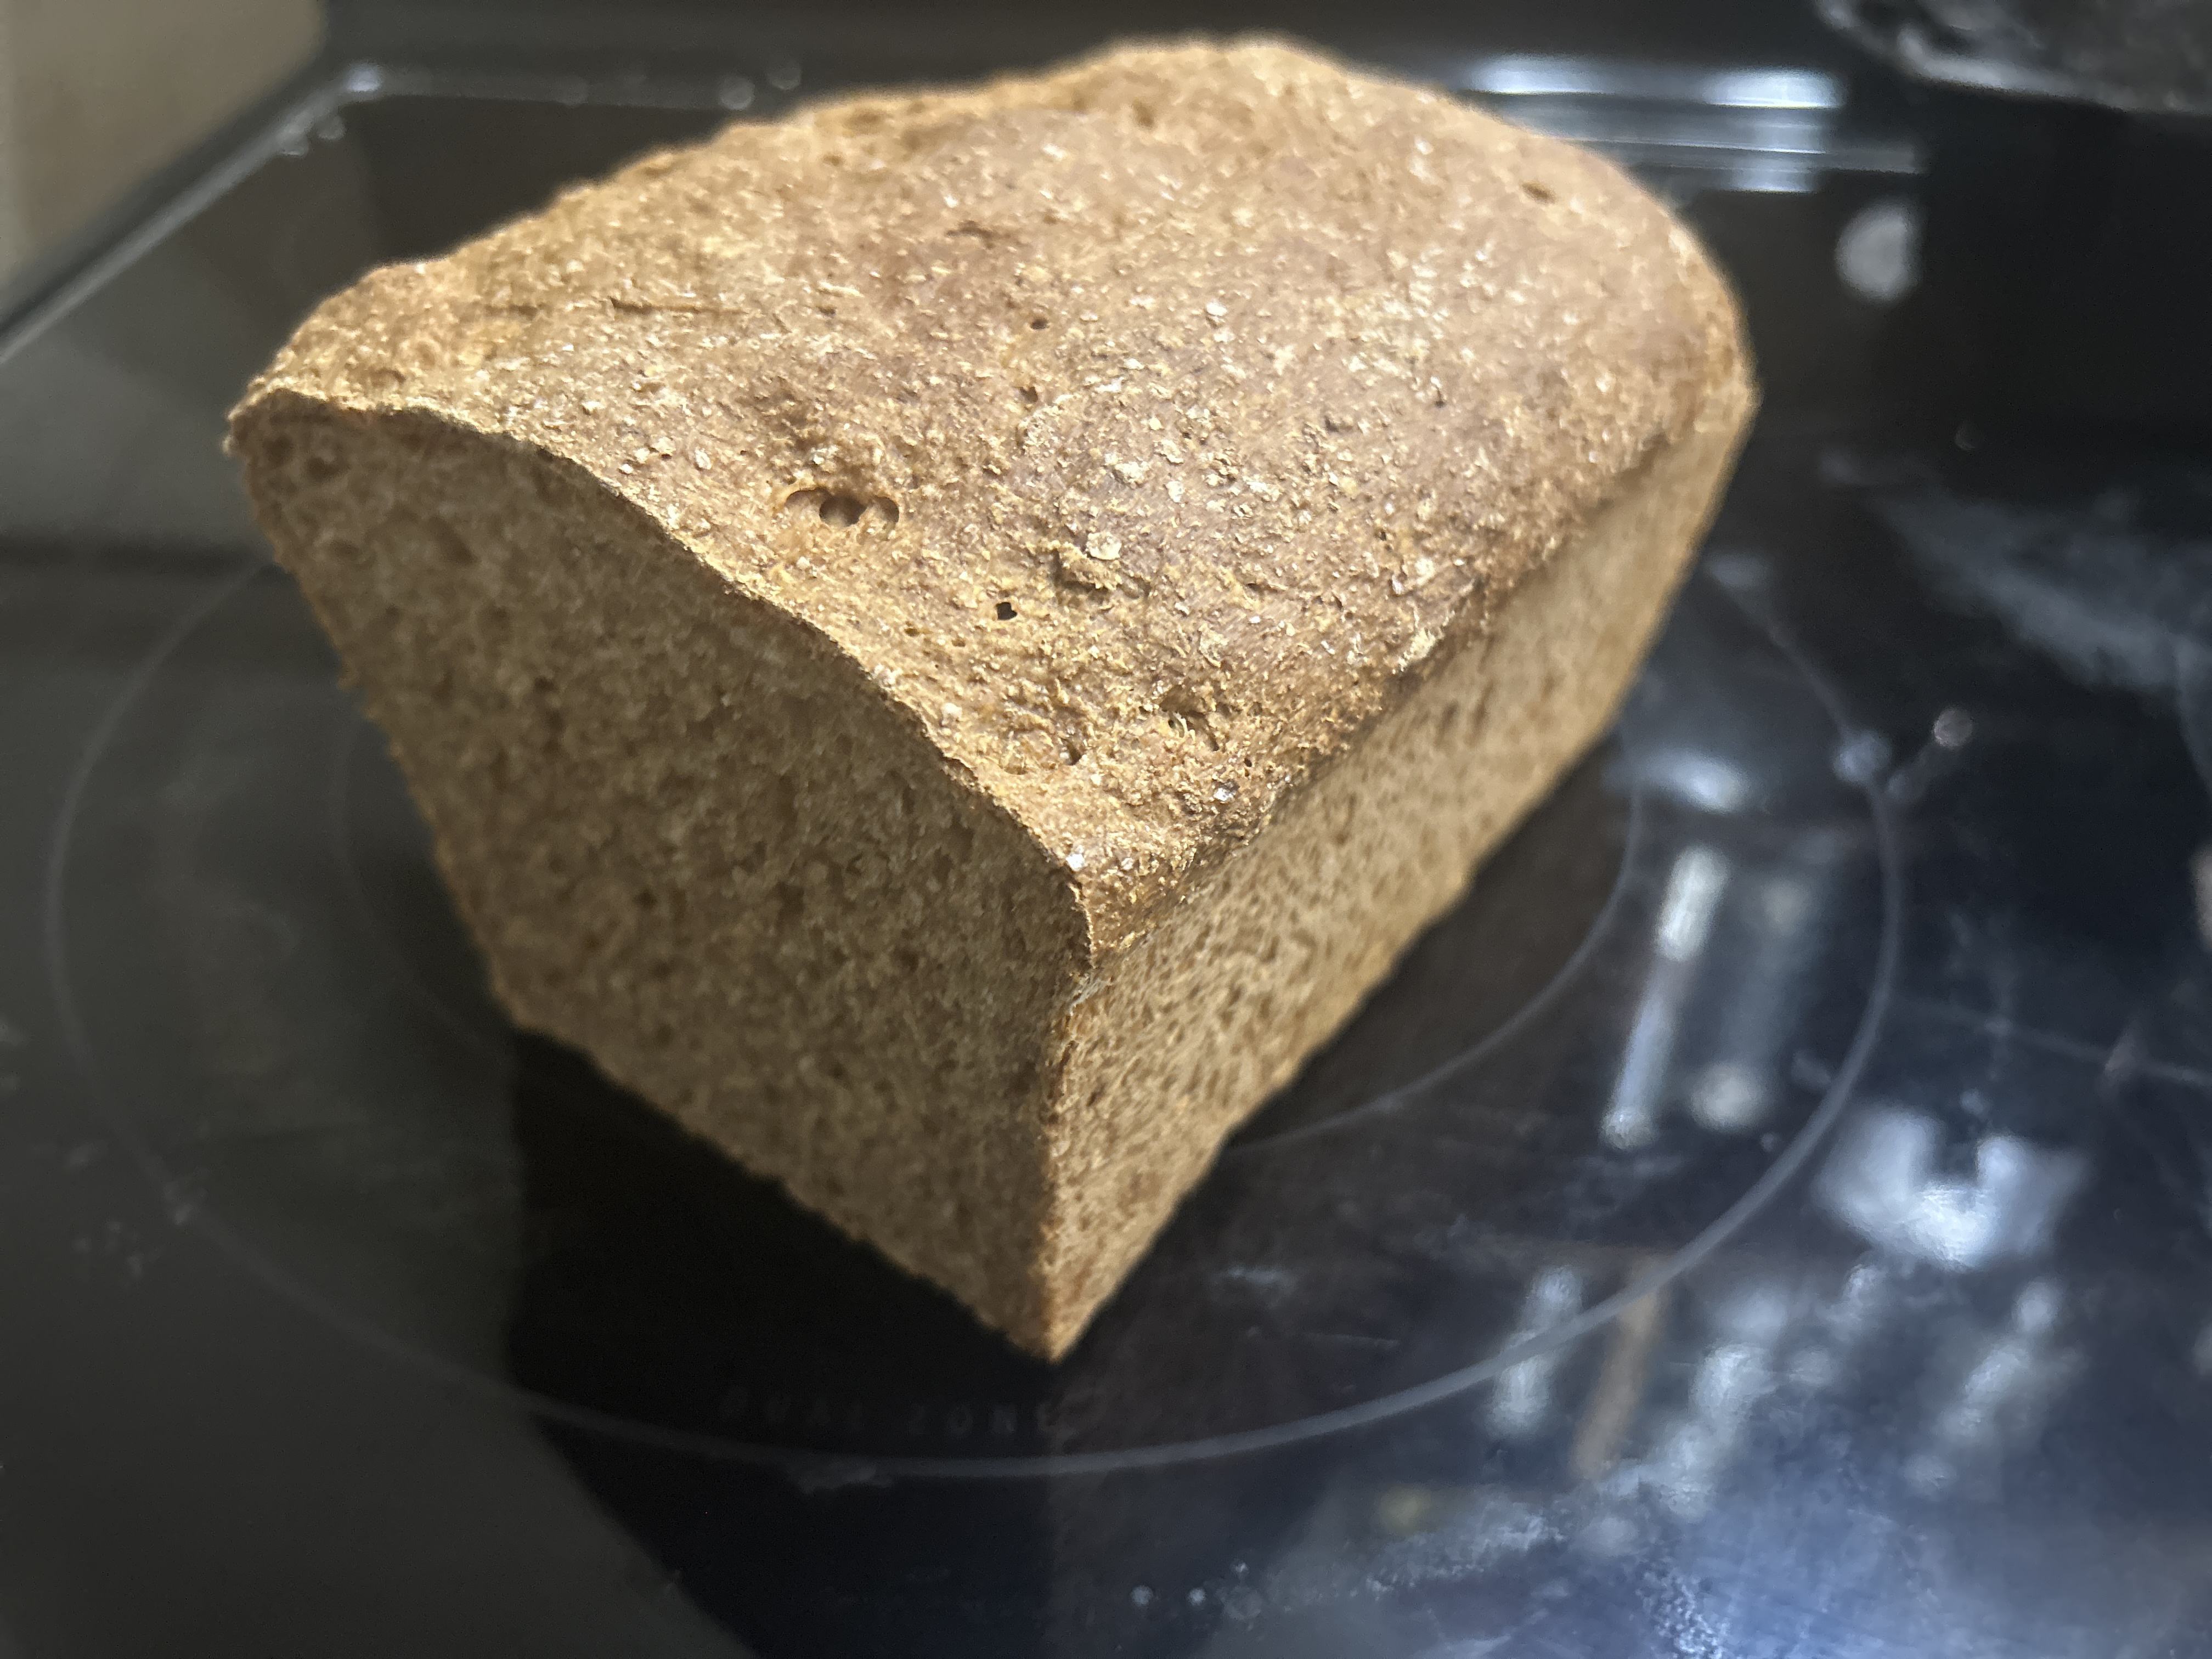
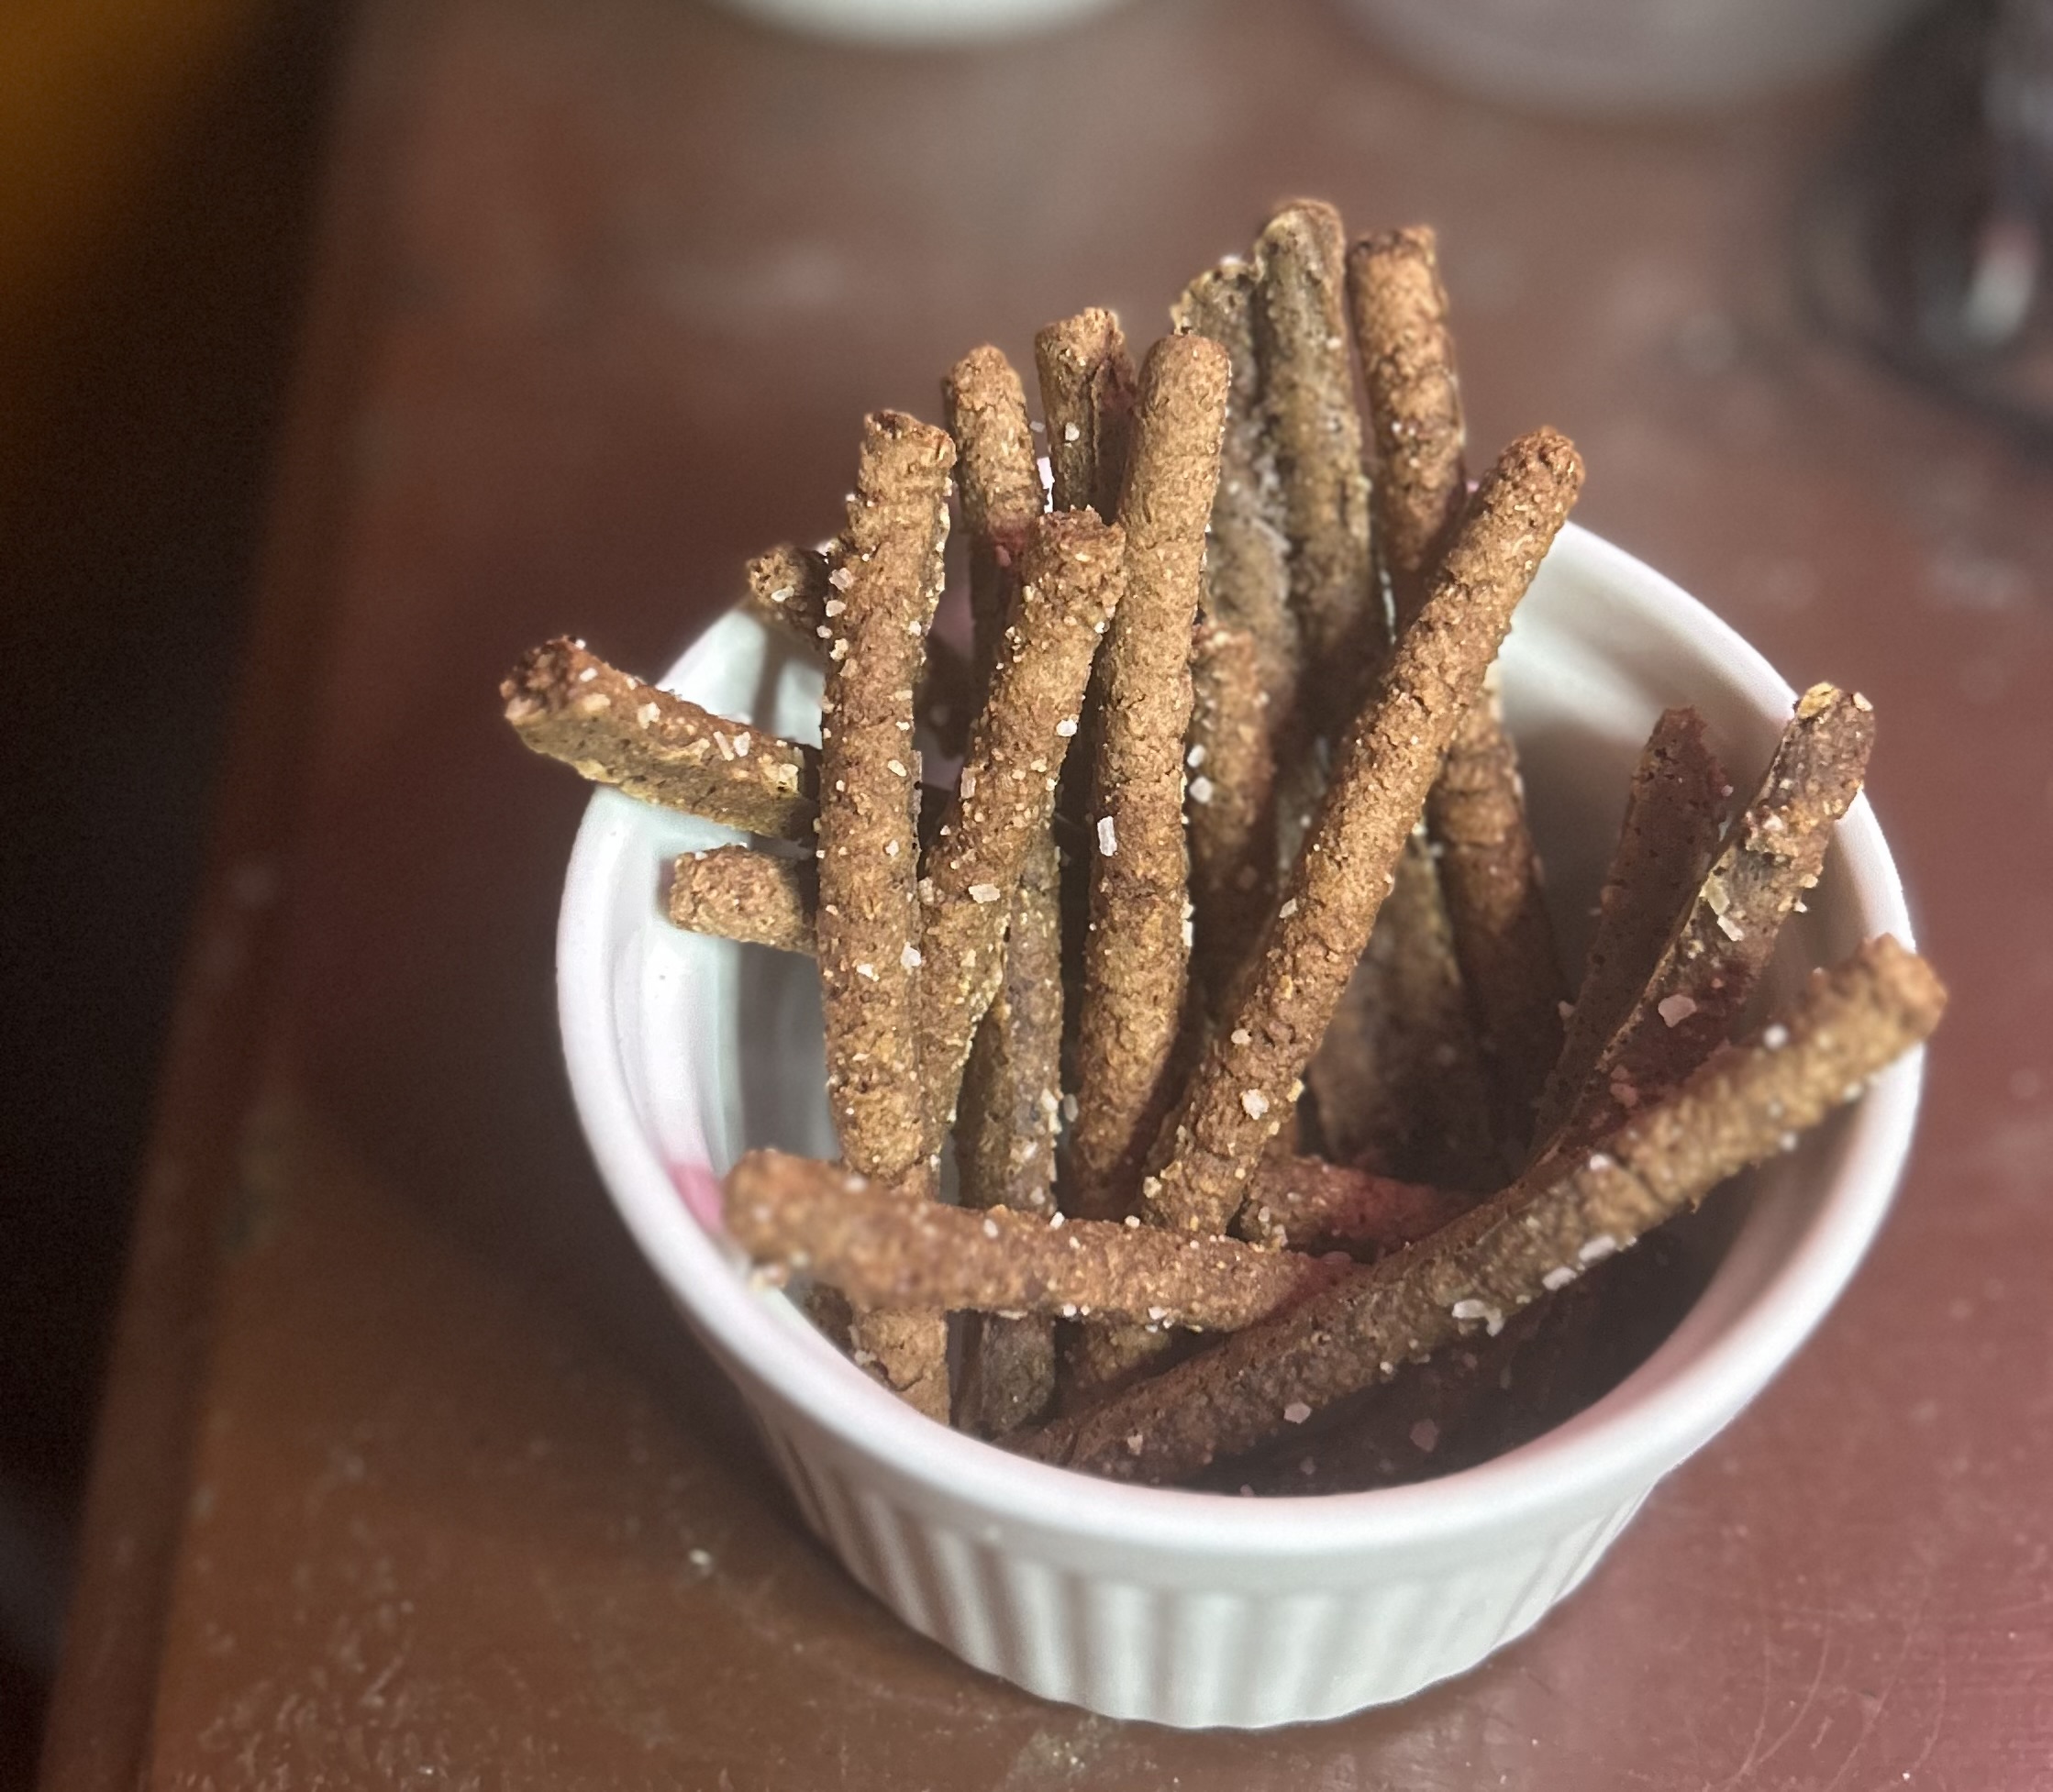
The magic of pumpernickel isn’t just in the rye—it’s a symphony of flavors. Picture this: rich molasses, earthy caraway seeds, and a hint of cocoa powder.

Crunchy Pretzel Sticks: The Ultimate Recipe

Crunchy Pretzel Sticks: The Ultimate Recipe

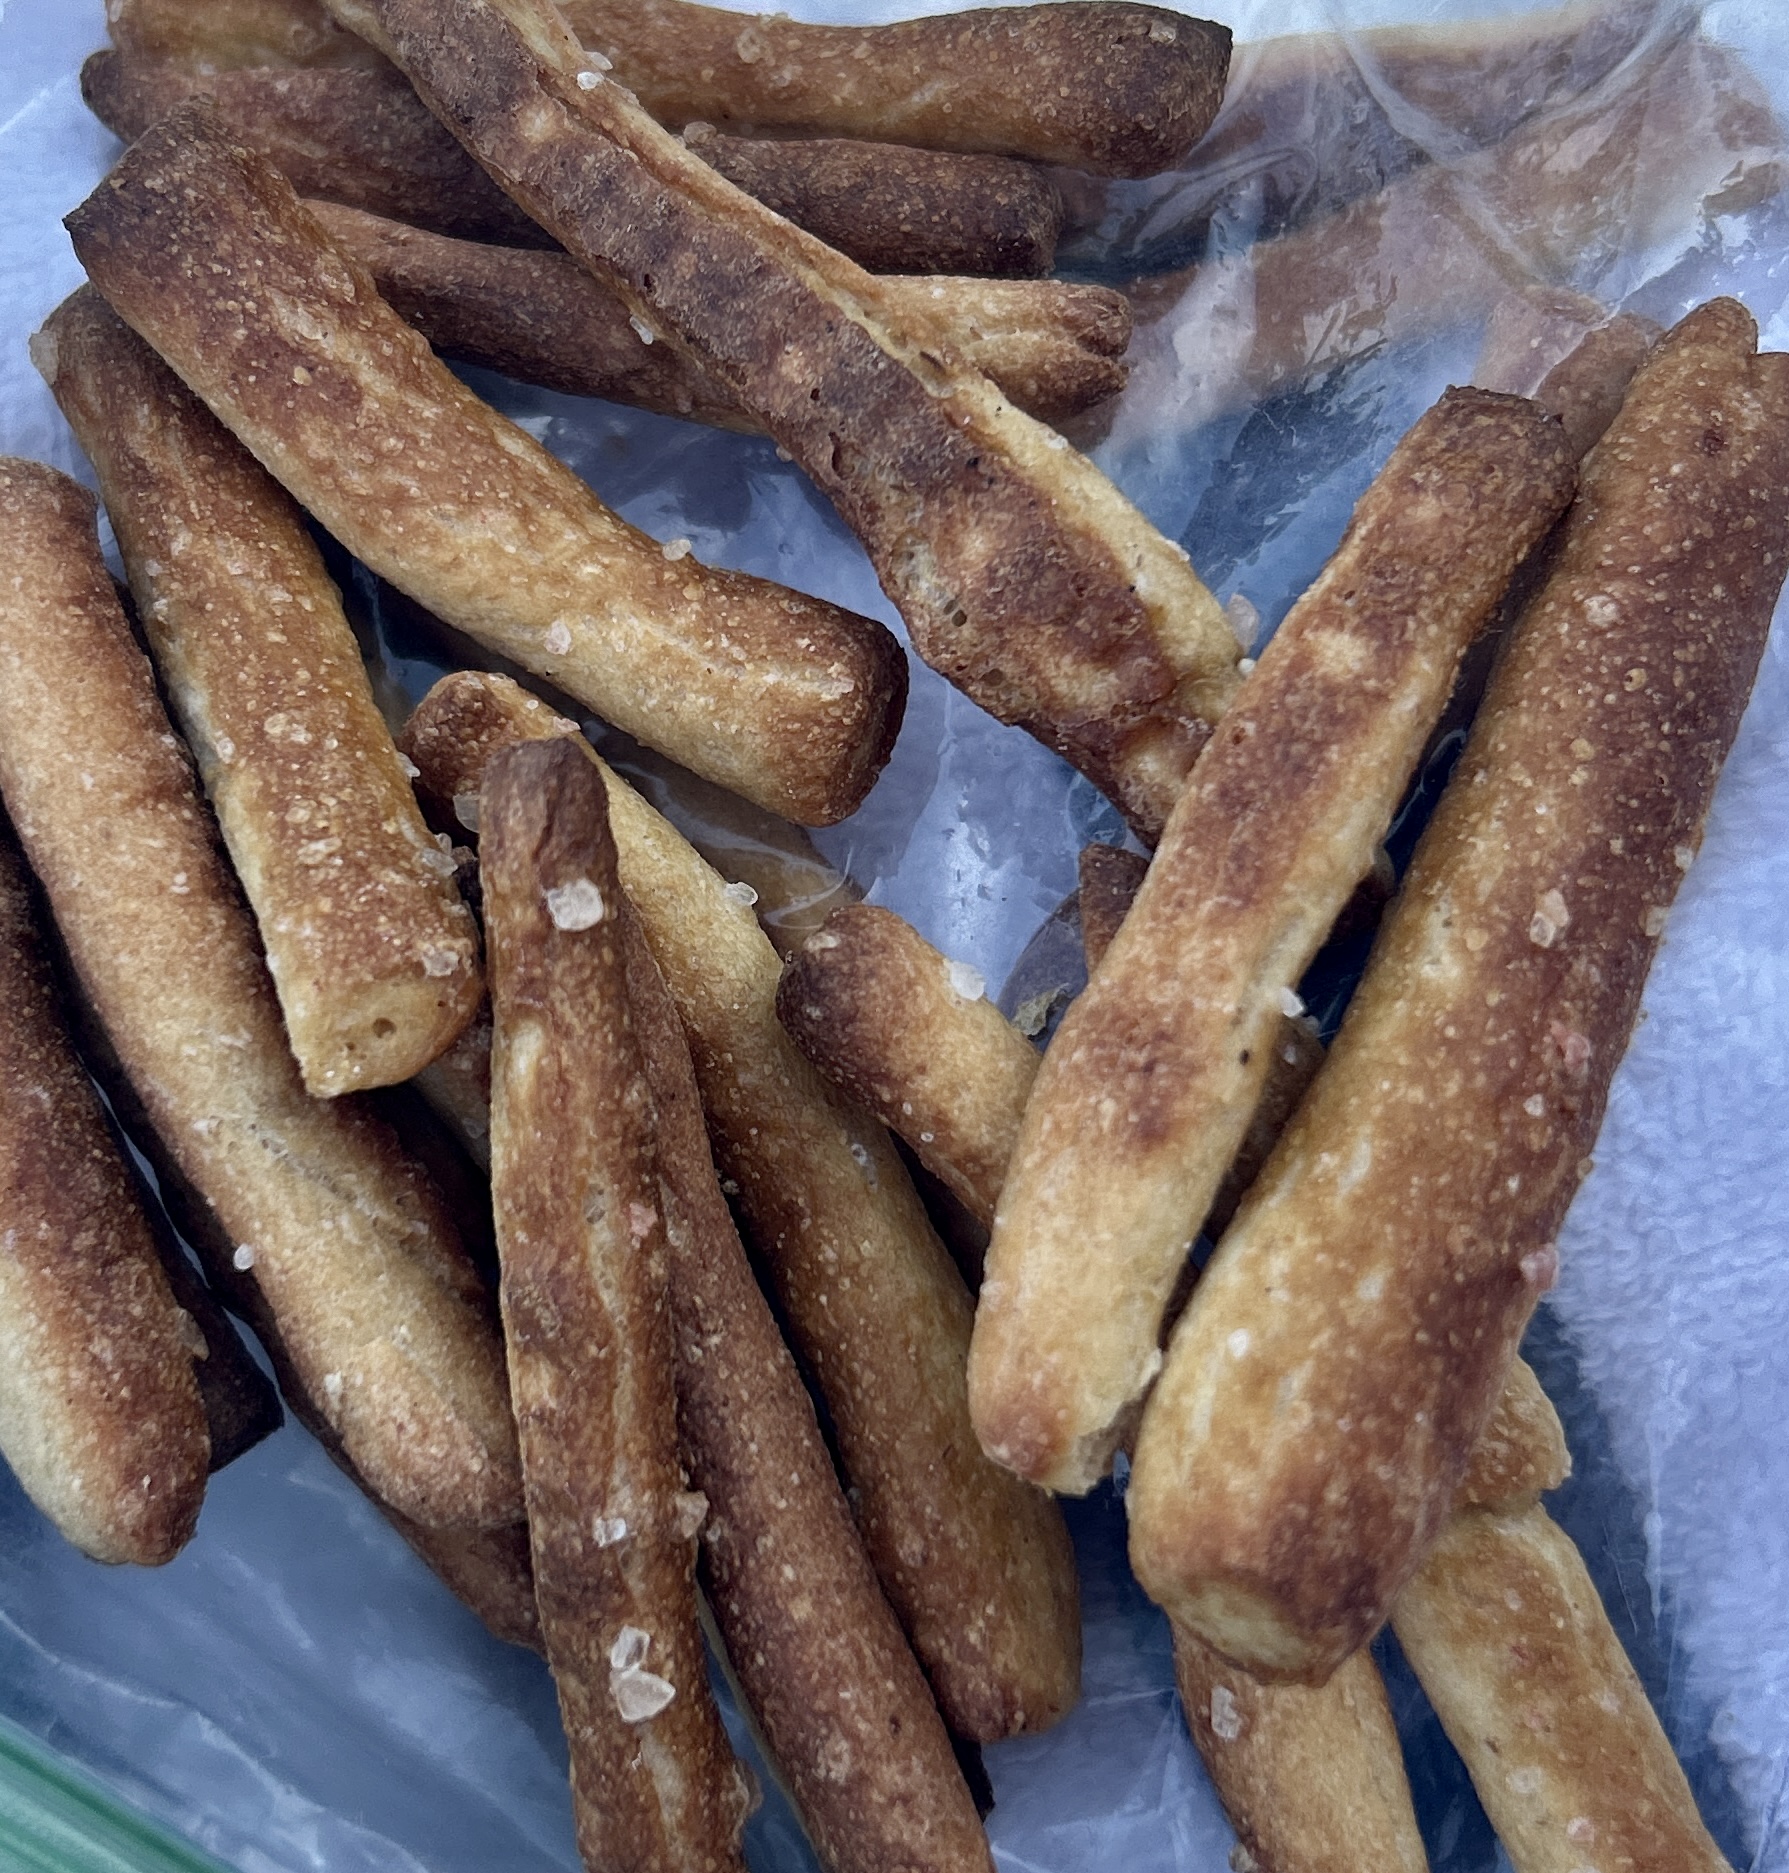
Hey everyone! Guess what? I finally cracked the code on making the perfect Crunchy Pretzel Sticks at home! 🥨 And let me tell you, they’re not just any pretzels—they’re 100% whole grain, freshly milled goodness.

I’ve been on a quest for this recipe for what feels like forever. I’ve tried before, and while they were crunchy initially, they always turned disappointingly soft the next day. Major bummer, right?

Divine Intervention

But then, as if by divine intervention (seriously, God works in mysterious ways!), I met someone who used to work at a beloved local pretzel factory. They spilled the beans on some insider secrets that totally transformed my pretzel game.

Turns out, the dough needs to be super dry for that perfect crunch—hence the extruding method. And get this—the lye bath isn’t a bath at all; it’s a spritz! Mind blown. And after baking, a good dehydrating session ensures they stay crunchy for days. Genius!

Now, I could’ve begged for the original recipe, but I’m all about crafting something special from scratch. Plus, who knows, we might just end up with pretzels even better than the legendary originals.

The Scoop

Here’s the scoop: I use a mix of freshly milled soft white wheat and durum for that ideal crunch, though you can totally experiment with other grains like Kamut or even Einkhorn for a twist. The dough gets extruded using a pasta maker fitted with a breadstick die—perfect for those sleek pretzel sticks. Be sure you get the adapter if your pasta extruder needs one. Mine did!

After that, it’s all about the wet ingredients—honey (or barley malt syrup), extra virgin olive oil, and a touch of water or mustard. Trust me, it’s a combo you’ll want to stick with (pun intended!).

Once they’re extruded, it’s onto a parchment-lined pan, a hearty spray of baking soda mixture, a sprinkle of sea salt, and into the oven they go. After baking, a little dehydration ensures they’re as crunchy as can be—ideal for road trips or beach days.

And voilà! You’ve got yourself a batch of homemade pretzel sticks that are slightly sweet, perfectly salty, and totally wholesome. Want them without any sweetener? Just swap in extra virgin olive oil and water—easy peasy.

Don’t have a dehydrator? No problem. Your oven can finish the job, at it’s lowest temp – just keep an eye on them.

So there you have it—a real mom win that’s sure to satisfy your snack cravings in the best possible way. Can’t wait to hear how your pretzel adventures turn out!

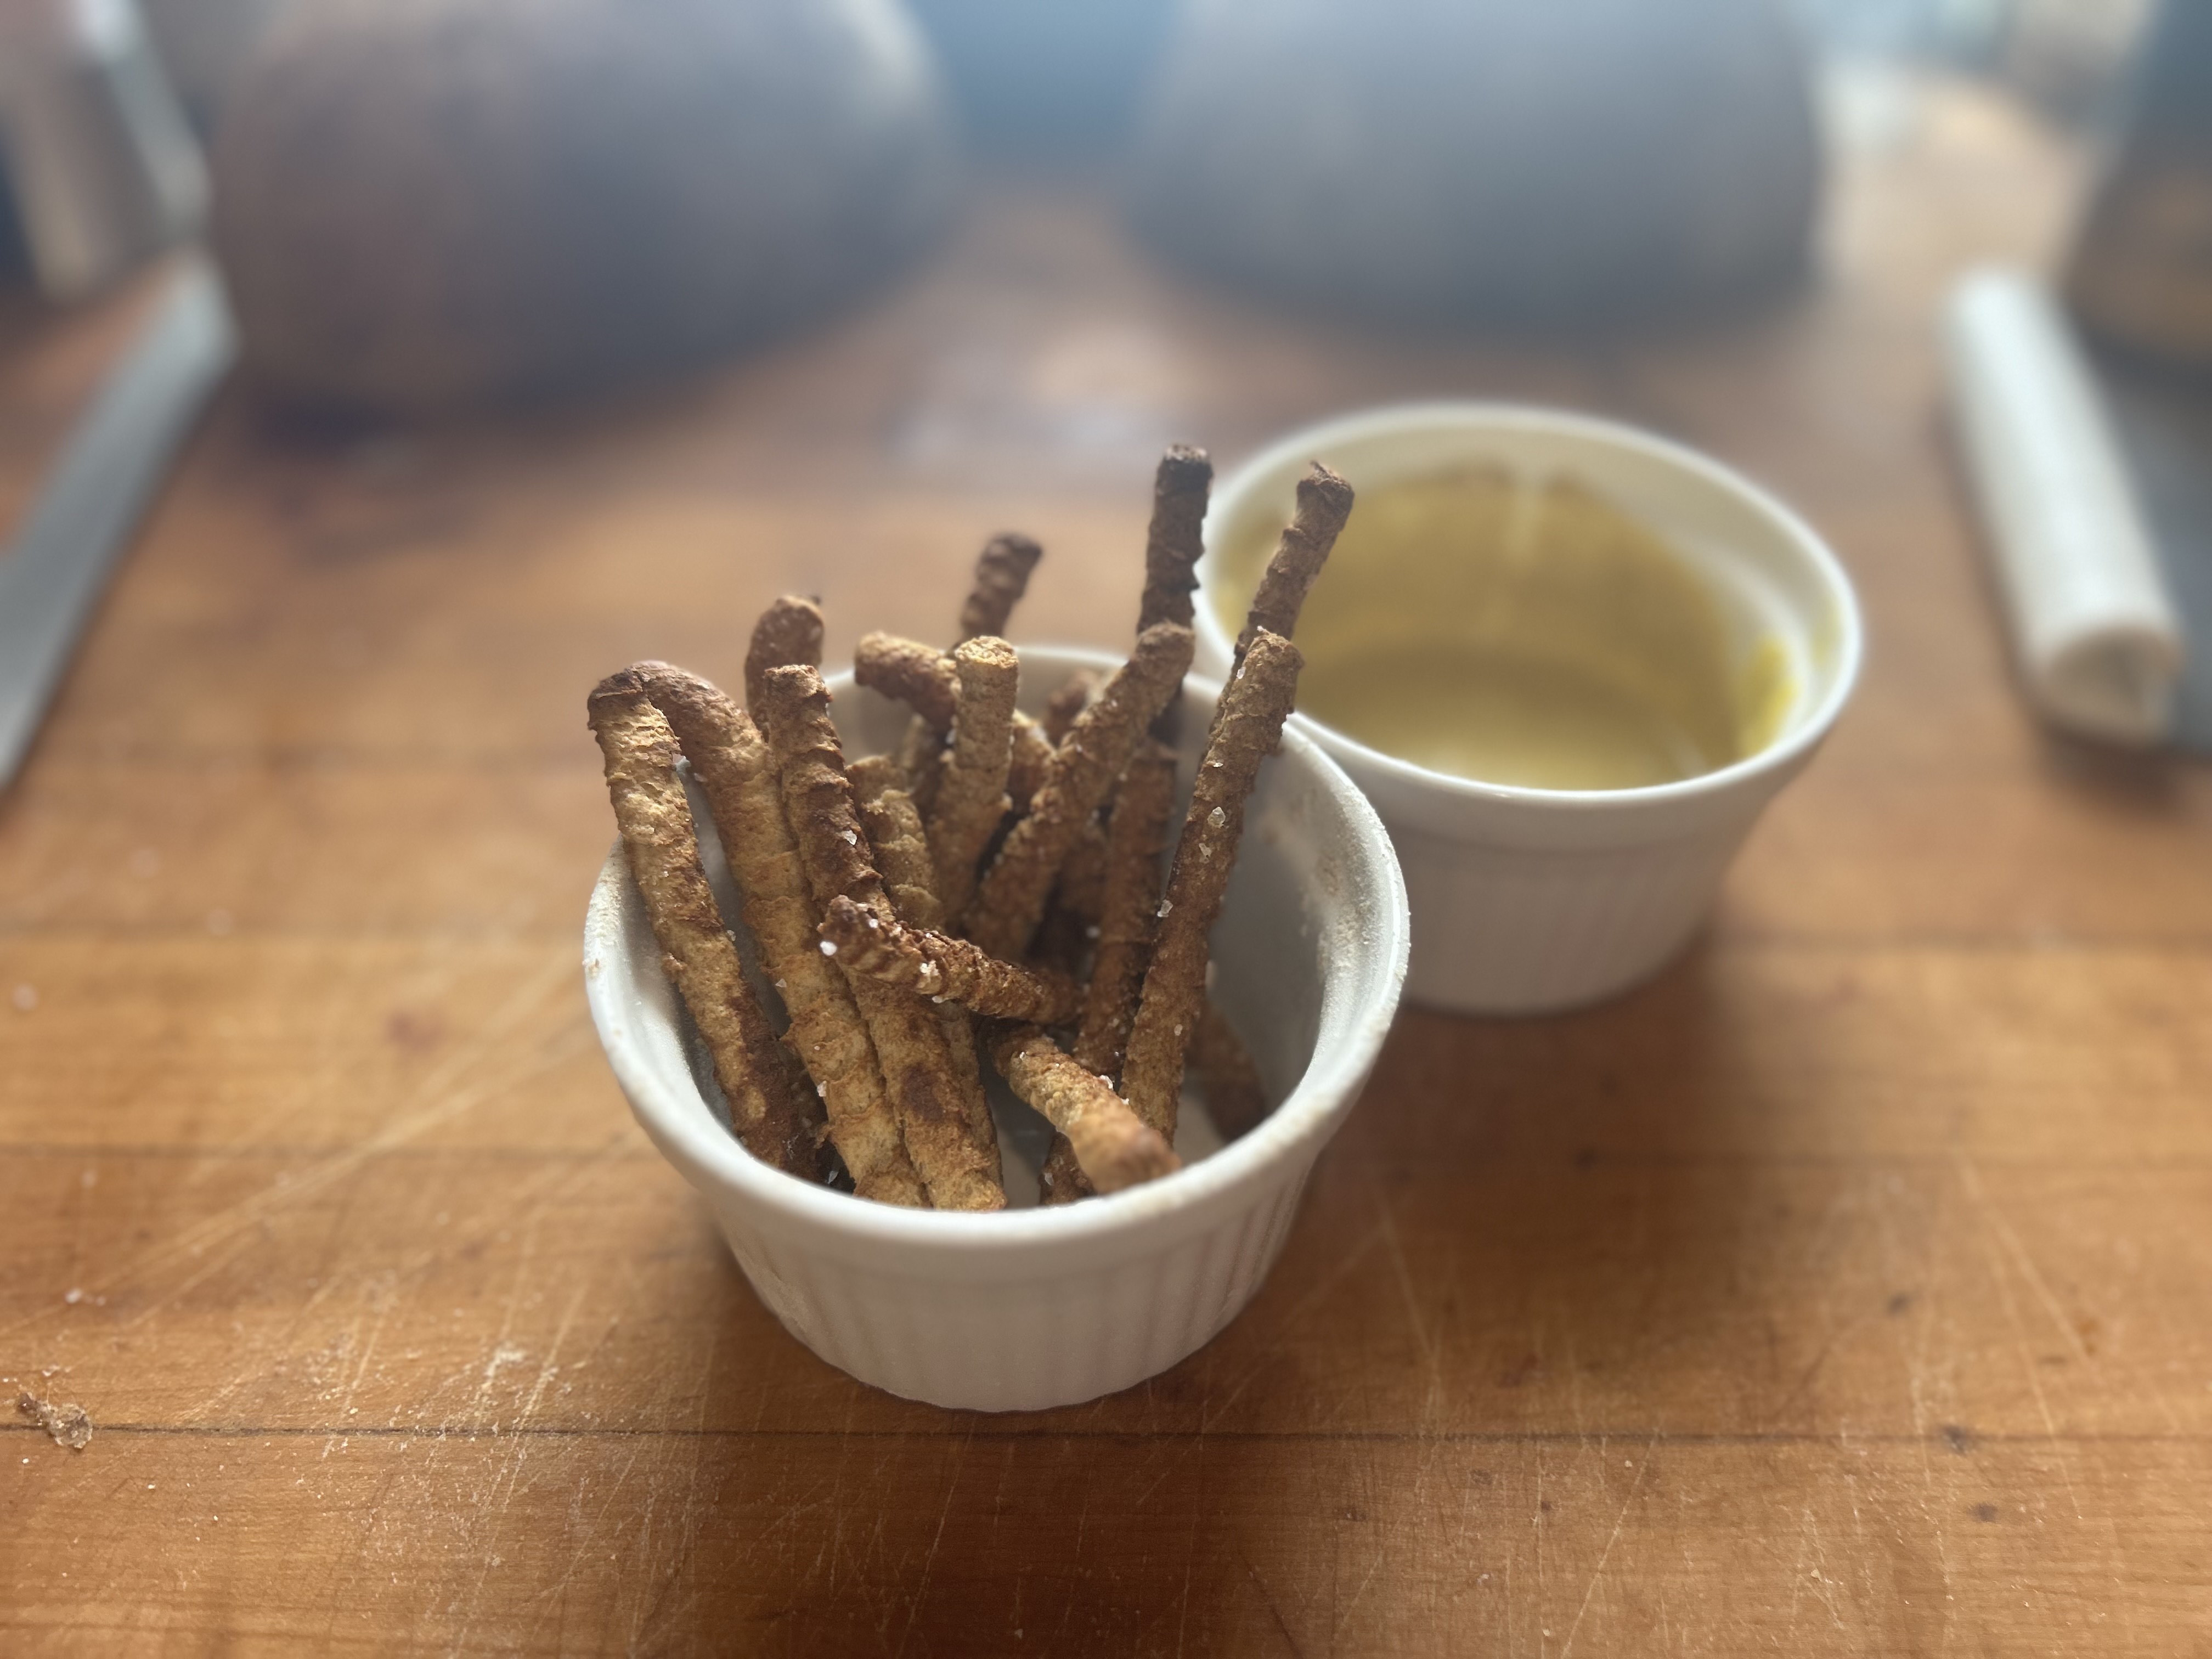
Fresh milled whole grain pretzel sticks and honey mustard snack.

Crunchy Fresh Milled Pretzel Sticks

Just Mill It
Crunchy, fresh milled whole grain pretzel sticks that taste amazing and stay crunchy!
5 from 1 vote
Prep Time 15 minutes
Cook Time 8 minutes
Total Time 23 minutes
Course Snack
Cuisine American
Servings 20
Calories 109 kcal

Equipment

Ingredients
  

Baking Soda Wash

  • 1 tbsp baking soda
  • 1 cup water

Honey Mustard Dressing

  • ½ cup olive oil
  • ¼ cup honey
  • ¼ cup mustard yellow or spicy – choose your fave
  • 2 tsp onion powder
  • 1 tsp garlic powder optional

Instructions
 

  • Mill the grains into flour.
  • Preheat oven to 450 F convection
  • Add baking powder and salt to the flour
  • Measure the remaining ingredients (olive oil, barley malt syrup, and water) into a small measuring cup or jar, mixing to combine.

Extruding Pretzel Dough

  • Remove the front face of the exturder, and place the Grissini die into the adapter for your pasta maker, attaching it to the extruder. Put the pasta machine back together.
  • Add the dry mixture to the mixing container of your pasta extruder
  • Turn on your pasta extruder and pick the larger batch size. Press the Play button.
  • Add the wet mixture through the well on the top lid, which lets the ingredients slowly mix together.
  • Once the extruder stops and changes direction, turn off the machine and then turn it back on again.
  • Select the big batch size, and press the play button.
  • As the dough extrudes, cut the dough to the length you prefer.
  • Set the dough on a parchment lined tray, with space between the pretzel sticks. If they are curled at the ends, gently roll them on the pan and they will straighten out.

Baking Soda Wash

  • Mix together the water and baking soda in a spray bottle.
  • Heavily mist the pretzel dough until it is wet on top. Sprinkle the top with pretzel salt or coarse sea salt. Alternatively, you could use a pastry brush and heavily brush the tops with baking soda – but a sprayer will work best.
  • Place the sheet into the oven, and bake for 8 minutes or until as dark as you like.
  • They will harden slightly as they cool (but will soften if you put them into a container or bag unless you dehydrate them to take out the excess water).

Stay Crunchy Pretzels

  • Dehydrate the pretzel rods at 125 F for a few hours until crunchy when you snap it in half. I put mine in around 2:30 pm and when I got home around 7 pm they were crispy.
  • Store in a plastic bag until ready to eat. These should keep for several weeks if you dehydrated them until fully dry – but they won't last!

Video

Notes

I have also made these REAL honey mustard pretzels by substituting:
barley malt syrup for honey
water for mustard (we enjoyed spicy mustard)
They were delicious and STILL were delicious dipped in dressing, but were excellent without dip.  My six year old chose these as the clear winner over plain pretzels.
To make honey mustard pretzels similar to ones from the store:
After baking, coat the pretzel sticks in the honey mustard sauce, and spread onto a dehydrator tray single layered.  Dehydrate until pretzels are crispy and the outside has dried.
These pretzel sticks are crunchy, but not break your teeth crunchy.

Nutrition

Serving: 34gCalories: 109kcalCarbohydrates: 19gProtein: 3gFat: 3gSaturated Fat: 0.4gPolyunsaturated Fat: 0.3gMonounsaturated Fat: 2gSodium: 466mgPotassium: 22mgFiber: 2gSugar: 4gVitamin A: 1IUVitamin B1: 0.03mgVitamin B2: 0.01mgVitamin B3: 0.3mgVitamin B5: 0.04mgVitamin B6: 0.01mgVitamin E: 0.5mgVitamin K: 2µgCalcium: 48mgIron: 1mg
Keyword extruded, pretzel sticks
Tried this recipe?Let us know how it was!
Super Soft Whole Wheat Sandwich Bread in Your Bread Machine

Super Soft Whole Wheat Sandwich Bread in Your Bread Machine

Exceptionally super soft whole wheat sandwich bread that is also strong enough to hold up. A beautifully even and soft crumb that’s moist and fluffy, and bends in half without breaking.

Extra Virgin Olive Oil

Extra Virgin Olive Oil

All about the high quality, organic extra virgin olive oil I use in almost everything we make and why I chose Kasandrino’s.

Healthy Tortellini Recipe

Healthy Tortellini Recipe

Last August, my sister visited and I prepared whole-grain tortellini, accompanied by balsamic roasted tomato soup I’d preserved from summer. She enjoyed it thoroughly! Then we made freshly milled whole grain bread spelt bread together that was super soft. I enjoyed the moments of surprise at how good it truly could be. Good times awakening the palate and minds of people we love!

My sister raved over the tortellini with my oven roasted balsamic tomato soup, exclaiming I could charge $50 for the meal. We split a pint jar of the soup between us, and I’m pretty sure we each only had 4-6 tortellini. Unconvinced, I told her I thought she was pulling my leg. She INSISTED they were THAT GOOD so I’m sharing the goods with you today.

I recently I recently showed some friends how to make Naan bread and whole wheat tortellini using an Einkhorn-based recipe. Carla Bartolucci’s book ‘Einkhorn’ led me to eventually milling our flour. This healthy tortellini recipe is a spin-off in honor of her.

One day I’ll share the story of how my youngest child went from bloody eczema to smooth, normal skin with fresh milled flour. Every day I thank God for putting me on the difficult path that eventually leads us to better things. I know He put me on this path so I could share with you, and change many more lives with freshly milled whole grain flour.

How to Make Healthy Tortellini

This healthy tortellini recipe is quick and easy, and a load of fun to make with friends or family. Just mix up the dough by hand or with a danish dough whisk, and let it rest covered while you mix the spinach tortellini filling.

We used a rolling pin made by a family member for this one, but I try not to dirty it, so I prefer the french rolling pin.
Healthy Tortellini recipes all start with rolling out the dough

Rolling these out requires no special equipment other than a rolling pin. Everyone always asks what kinds of things I use, and my favorite is this wooden french rolling pin. Don’t worry! I have photos and a video showing how to roll up whole grain tortellini, which can be made with freshly milled Durum or Kamut.

Did I mention you can freeze these little nuggets of goodness? That’s right! If I were you, I’d double the batch of healthy tortellini dough, so you can have some fresh and plenty to freeze on a tray, before piling them up in a ziplock or silicone freezer bag for when you want to drop them into a healthy tortellini soup, salad or other healthy recipes.

If pasta isn’t your thing, how about trying my big-holed, authentic Italian bread. Made with freshly milled flour and no additives, it’s going to knock your socks off! Another fun, and ridiculously quick and easy win is my crescent roll dough with fresh milled flour, of course.

Fresh milled, handmade healthy tortellini recipe

100% whole grain fresh milled tortellini

How to make freshly milled tortellini at home – quick and easy!
5 from 1 vote
Print Pin Rate
Course: Main Course
Cuisine: Italian
Keyword: fresh milled flour, pasta, tortellini
Prep Time: 20 minutes
Cook Time: 2 minutes
Rolling Tortellini: 2 hours
Total Time: 2 hours 22 minutes
Servings: 25
Calories: 100kcal
Author: Just Mill It
Cost: 7.00

Equipment

Ingredients

Dough Ingredients

  • 375 g wheat berries, soft white I used durum but Kamut, Emmer or hard wheat will work just as well.
  • 5 whole egg Vegans: you can replace with 250 g very hot water, and add a tiny bit of olive oil if the dough needs help

Filling Ingredients

Instructions

Make the Pasta Dough

  • Mix the flour with the salt.
  • Add eggs to a well in the center of the flour, and mix until well combined with a spatula or your hands.
  • Let rest 10-15 minutes, covered so it doesn't dry out

Make the Filling

  • Mix the ricotta, egg, and spinach or chard until well combined.

Making the Tortellini

  • Roll the dough very thin on a floured surface, dusting the dough with flour as needed so the rolling pin does not stick. Note: the pasta will swell up and become thicker once cooked, so go thinner than you'd think.
    We used a rolling pin made by a family member for this one, but I try not to dirty it, so I prefer the french rolling pin.
  • Cut the dough into squares, approximately 2.5 – 3" across.
  • Brush the square with water using a pastry brush.
  • Place 1 tsp of filling into the center of the square. Do not overfill, or it will escape when you cook them.
  • Bring opposite corners together to form a triangle and seal the edges with your fingers
  • Roll the longer end of the triangle over, towards the point of the triangle. Wrap the two pointed sides around your finger and seal them together.
  • Set the tortellini on a tray not touching each other so they can dry as you make the rest.
    Fresh milled, handmade healthy tortellini recipe

Cooking and Storing

  • Cook the tortellini for a minute or two in salted, boiling water and remove with a slotted spoon.
  • You may freeze the tortellini uncooked, individually on a tray, and then together in a bag once frozen so they don't stick together. Cook directly from frozen for a few minutes longer.

Video

Nutrition

Serving: 4 g | Calories: 100 kcal (5%) | Carbohydrates: 12 g (4%) | Protein: 6 g (12%) | Fat: 4 g (6%) | Saturated Fat: 2 g (13%) | Polyunsaturated Fat: 0.1 g | Monounsaturated Fat: 1 g | Cholesterol: 15 mg (5%) | Sodium: 180 mg (8%) | Potassium: 45 mg (1%) | Fiber: 2 g (8%) | Sugar: 0.1 g | Vitamin A: 464 IU (9%) | Vitamin C: 2 mg (2%) | Calcium: 98 mg (10%) | Iron: 1 mg (6%)
The Secret to Whole Wheat Italian Bread without Additives

The Secret to Whole Wheat Italian Bread without Additives

This is the ultimate freshly milled bakery-style Italian bread loaf. It’s an open bake, totally unsifted, and uses NO ADDITIVES! Best of all, it is BETTER than the bakery – because it’s better for you. Give this one a try!

High Hydration Italian Bread with Fresh Flour

High Hydration Italian Bread with Fresh Flour

This Italian bread dough is by far the best I’ve made, at over 120% hydration.  Thanks to using yudane, which is a paste formed by mixing flour with boiling water, I get these really big holes reminiscent of refined flour bakery bread yet enjoy the read more…

100% Spelt Italian Bread (fresh milled)

100% Spelt Italian Bread (fresh milled)

I did not expect to love the freshly milled Italian Bread as much as I do. We are now out of hard wheat berries, so I’m making 100% spelt Italian bread today! Spelt is one of my all-time favorite grains because it’s a grain superhero! It works well in ANY of the grain categories, getting great results even though it counts as a soft grain.

I really hope you enjoy the distinct flavor change that comes from using fresh milled spelt grain instead of hard white wheat. You know it’s great because we are eating the remaining half of the loaf and it has barely cooled.

Can I make 100% Spelt Italian Bread without the Vital Wheat Gluten?

Absolutely! When I first perfected my rustic, crusty Italian bread with fresh milled flour, I didn’t think I could do it without the vwg (vital wheat gluten). I couldn’t have been more wrong! To make this SAME recipe without the vwg:

  • Make yudane by boiling some water. Put 25 grams of your spelt flour into a small container on your scale. Zero out the scale, then pour 50 grams of boiling water over the flour. Mix well.
  • Use 380 grams of water instead of 420 grams.
  • Add the yudane to the water in your recipe, and carry on.

Can I use my KitchenAid Mixer?

Absolutely! This recipe is higher hydration, so use the wire whisks and your mixer’s highest speed to mix the ingredients without the yeast. Once the dough climbs to the top of the whisks, it’s time to switch to your dough hook to finish by adding the yeast and kneading for a few minutes to incorporate (like, 2 minutes).

Can I Get Better Dough Structure?

You bet! After the first rise, do your stretch and folds, and let the dough rise the second time IN THE FRIDGE! The cold will help the dough have better structure. When you take the dough out of the fridge, you may gently shape it some more before transferring to the oven. Silicone bread slings help so much in being gentle with your dough – along with parchment paper.

Cooling after the bake
Nice bigger holes and a chewy crumb.
100% spelt italian bread

100% Spelt Italian Bread, whole grain

Just Mill It
Makes: 1 loaf / 16 slicesPrep Time: 1 hour 25 minutes (mostly inactive)Bake Time: 50 minutesTotal Time: 2 hours 15 minutes
No ratings yet
Prep Time 15 minutes
Cook Time 50 minutes
Resting Time 1 hour
Total Time 2 hours 5 minutes
Course Appetizer
Cuisine French
Servings 16 slices
Calories 101 kcal

Ingredients
  

Instructions
 

  • Mix together all ingredients EXCEPT THE YEAST for 5 minutes, in mixer or by hand. It will be wet and sticky!
  • Sprinkle the yeast into the dough, and mix or knead for another 5 minutes. Your dough will be VERY WET.
  • Transfer the dough into an oiled bowl with plenty of room to rise and a lid. Do one set of stretch and folds, as described in the next step.
  • Stretch and folds: Stretch one side of the dough up, and fold it over onto the opposite side of the dough ball. Turn the bowl one-quarter. Repeat 3 more times.
  • Every 30 minutes, do a set of stretch and folds (optional if using a mixer)
  • After the 2nd set of stretch and folds, preheat your oven and your dutch oven, by setting the oven to 450 F.
  • Once the oven gets to temperature, quickly remove the dutch oven and close the door.
  • Sprinkle flour to line the bottom of your dutch oven, then gently place the dough into it, and sprinkle the top of the loaf with flour.
  • Score the top of the loaf with a sharp knife, razor, or snip it with scissors
  • Place the lid on your dutch oven, and put it into the oven for 30 minutes
  • Remove the lid and lower the oven temperature to 400 F, baking for another 20 minutes
  • Remove from the oven, and place on a cooling rack with air flow all around the loaf
  • Allow to cool before slicing

Video

Notes

If you want to keep crunchy crust, store on the counter or in a paper bag once fully cooled.

Nutrition

Serving: 50gCalories: 101kcalCarbohydrates: 19gProtein: 6gFat: 1gSaturated Fat: 0.1gPolyunsaturated Fat: 0.3gMonounsaturated Fat: 0.1gSodium: 271mgPotassium: 110mgFiber: 3gSugar: 2gVitamin A: 3IUVitamin C: 0.002mgCalcium: 12mgIron: 1mg
Keyword bread
Tried this recipe?Let us know how it was!
Whip Up Homemade Crescent Rolls with Freshly Milled Dough

Whip Up Homemade Crescent Rolls with Freshly Milled Dough

This fresh milled crescent dough can be used for pigs in a blanket, or cold veggie pizza. Quick and easy to make.