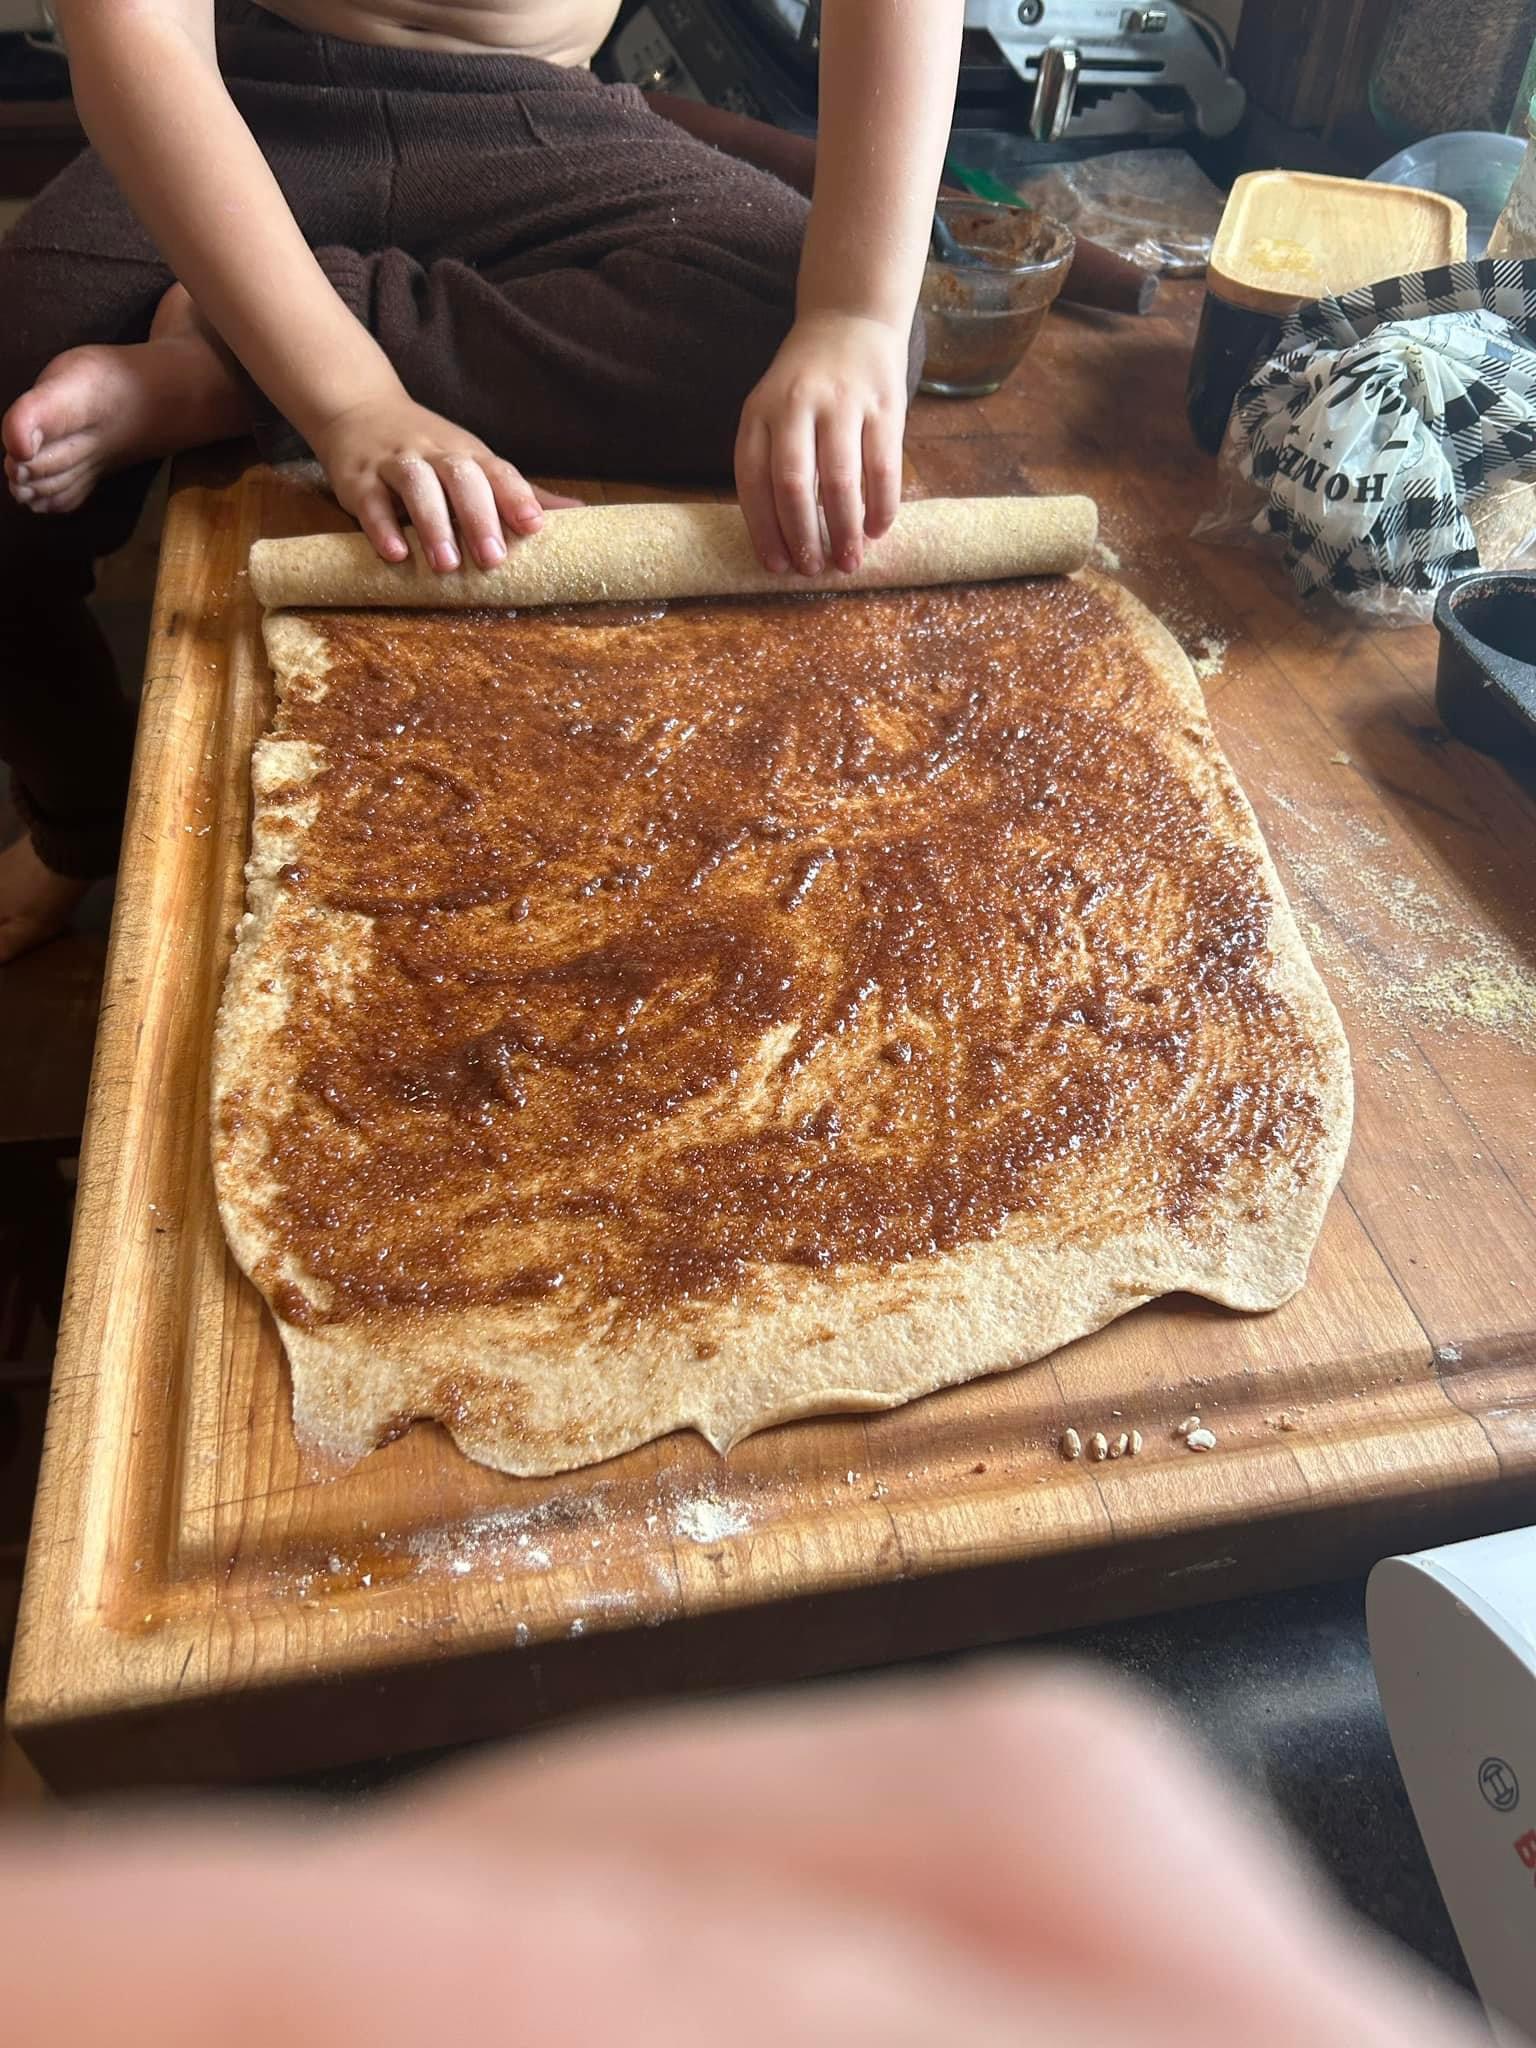
Fresh Milled Cinnamon Rolls (No-Wait Quick Yudane Method)
Who doesn’t love the warm, sweet aroma of freshly baked cinnamon rolls wafting through the kitchen? But what if I told you that you could enjoy these heavenly treats without the long wait?
Welcome to the world of fresh milled cinnamon rolls made with my no-wait, quick Yudane method. These rolls are super soft, fluffy, and incredibly delicious — without the traditional long fermentation schedule. Let’s jump into this fast (and very rewarding) baking adventure.
The Magic of Fresh Milled Flour
Using fresh milled flour brings a whole new level of flavor and nutrition to your baking. The natural oils and nutrients are at their peak, which means your baked goods don’t just taste better — they are better.
For these cinnamon rolls, I used freshly milled whole wheat flour. It adds a rich, nutty flavor that perfectly balances the sweetness of the cinnamon filling.
Why the Quick Yudane Method Rocks
Yudane is a Japanese baking technique that involves mixing boiling water with flour to gelatinize the starches. This dramatically improves moisture retention, giving you an incredibly soft and fluffy final product.
My quick Yudane method skips the traditional waiting time, so you get all the benefits — tenderness, structure, and moisture — without slowing you down. Faster cinnamon rolls, same amazing texture.
Why This Recipe Works
No first rise required — perfect for busy days
Fresh milled flour flavor without heaviness
Ultra-soft texture thanks to Yudane
Flexible sweeteners (honey or maple syrup)
No additives needed
This recipe is essentially my enriched bread dough, adapted with Yudane and slightly higher hydration so you get tender rolls without relying on conditioners or commercial softeners.
A Note on Technique
You’ll notice this dough is very forgiving. Depending on your mixer, flour, and temperature, mixing time can vary widely — and that’s okay. Focus on feel, not the clock. When the dough is smooth, elastic, and passes the windowpane test, you’re ready to roll.
Join our Online Community
Ready to ditch recipes and learn more about baking with fresh milled flour using methods and your imagination? Join my Fresh milled Flour Methods group. You can ask questions, share your wins, and more with an expectation of honesty and friendly interaction. I hear it’s the best place to be on Facebook.
