When a Really Good Bread Can Still Get Softer
If you’ve made my beginner bread loaf, you already know this:
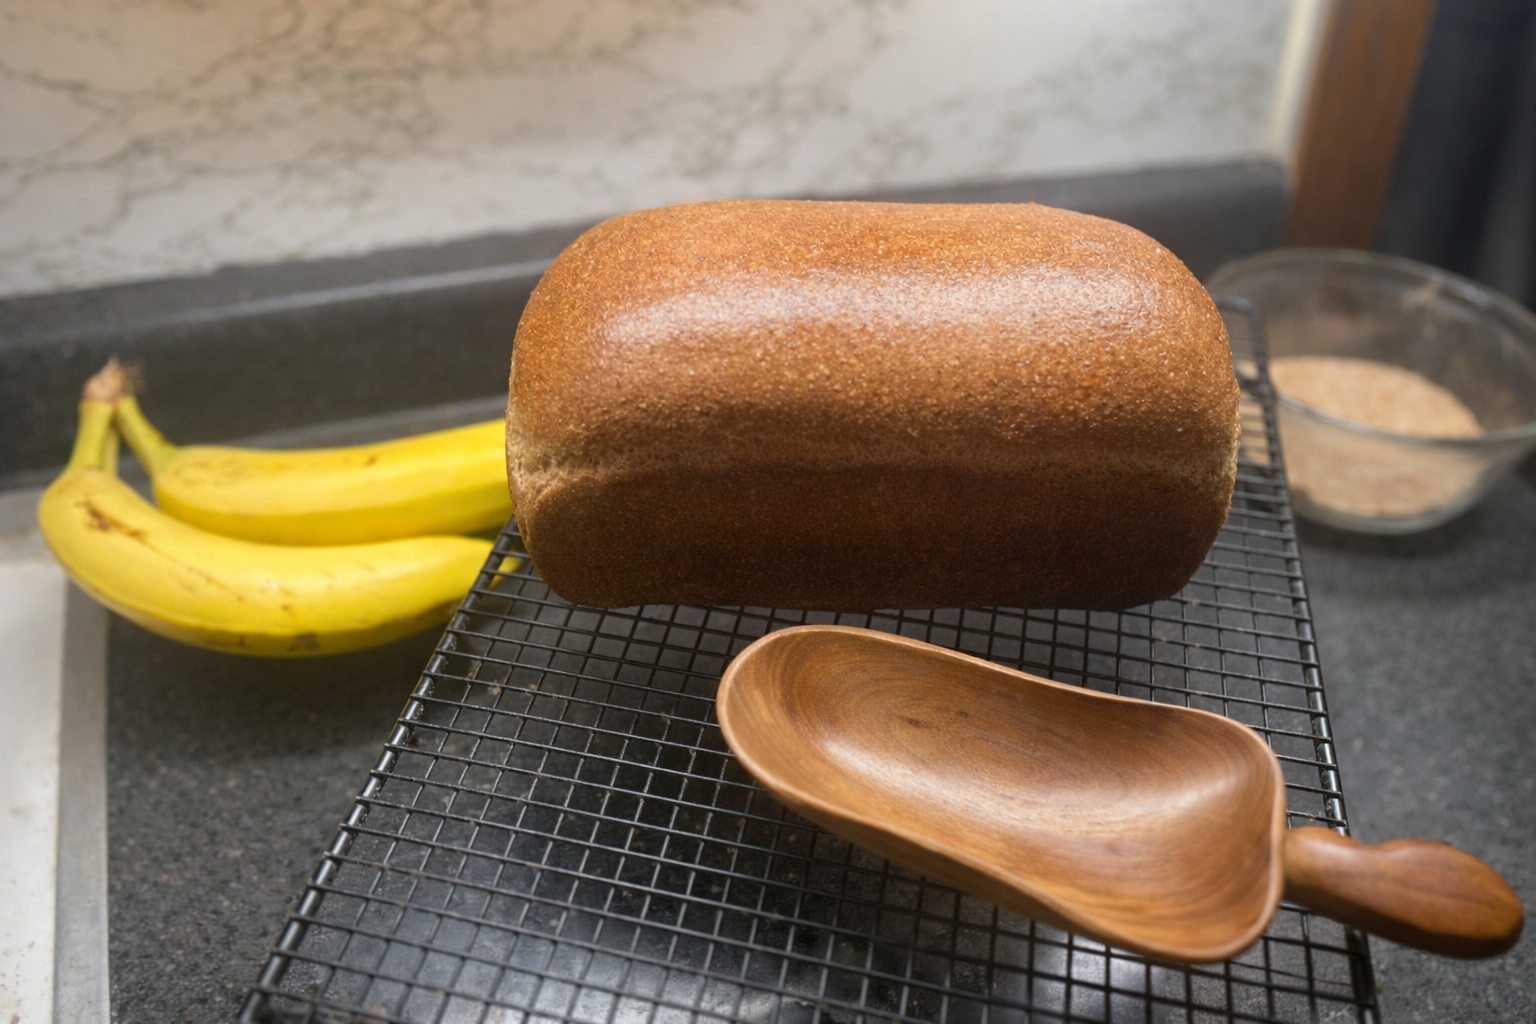
Freshly milled bread does not have to be dense.
That loaf is soft, flexible, and strong enough to slice thin without falling apart. It’s tender, it bends instead of cracking, and it holds together beautifully — all without added sugar or fat. That softness comes from higher hydration for whole grain flour, the yudane technique, and a little lemon juice for strength.
For most people, that bread already feels like, “Wow… I didn’t think whole grain bread could do this.”
And honestly?
Most days, that loaf is exactly what I want to eat.
But sometimes… it’s fun (and useful) to see just how far softness can go.
A Little Context We Lost Along the Way
Before the 1900's, lean bread was the everyday bread. Flour, water, salt, yeast. Simple. Nourishing. Eaten daily.
Enriched bread — with eggs, milk, butter, and sugar — wasn’t everyday food. It was made for holidays, celebrations, and special meals.
Somewhere along the way, that flipped. Now added sugar shows up everywhere, even where it doesn’t belong, and a lot of people feel the effects of that every day.
That’s why I’m very intentional with enriched dough.
It’s not “better” bread.
It’s special-occasion bread.
Why Change a Bread That’s Already Really Good?
Not because the beginner loaf needs fixing — it doesn’t.
This recipe exists to teach you something important:
once you understand the base, you can change the outcome on purpose.
Same flour.
Same techniques.
A few thoughtful adjustments.
That’s the difference between following recipes and actually understanding bread.
“I Know What to Change” — How This Dough Gets Even Softer
This is the part I want you to really notice.
We’re not starting over.
We’re not chasing a brand-new formula.
We’re taking a solid beginner bread base and making a few intentional swaps.
Beginner's Fresh Milled Bread Dough
A beginner-friendly fresh milled bread dough with increased hydration and a no-wait yudane method for soft, sliceable whole grain bread.
Here’s exactly what changed — and why it works:
We swap the water for whole milk
Milk softens both the crumb and the crust, giving the bread a more tender bite.We pull back a little on the liquid and add an egg
The egg adds richness and tenderness without making the dough heavy, and it helps the loaf stay flexible when sliced.We add a bit of butter
Fat limits how tightly gluten forms, which is a big reason this bread feels plush instead of chewy.And maybe a little sweetener
Not much. Just enough to help hold moisture and give that classic “celebration bread” softness.
None of these changes are dramatic on their own.
Together, they take bread that’s already soft — and make it superbly soft.
This is the skill I want you to walk away with:
If I want a softer loaf, I know exactly what to adjust.
Once you have that, you can apply it anywhere — sandwich bread, rolls, buns, or your own favorite bread base.
This Isn’t an Everyday Bread — and That’s the Point
If I were making this loaf every single day, I’d leave the added sugar out and call it done. The beginner loaf already checks all the boxes for daily eating.
But for holidays, gatherings, or when you want bread that feels a little extra special?
That’s when this dough shines.
The goal isn’t to enrich everything.
The goal is to choose enrichment intentionally.
The Real Takeaway
I don’t want you memorizing recipes.
I want you to look at a dough and think,
“Okay… if I want this softer, I know what to change.”
That’s when baking stops feeling rigid and starts feeling intuitive. You’re not guessing. You’re not copying. You’re making informed choices based on what you want that bread to do.
And once you have that skill?
You can make whatever bread fits your day — and your body — on purpose.
That’s what this site is really about.
I'm Dr. Mel, here to remind you — everything is better when you Just Mill It.
Join our Online Community
Ready to ditch recipes and learn more about baking with fresh milled flour using methods and your imagination? Join my Fresh milled Flour Methods group. You can ask questions, share your wins, and more with an expectation of honesty and friendly interaction. I hear it’s the best place to be on Facebook.