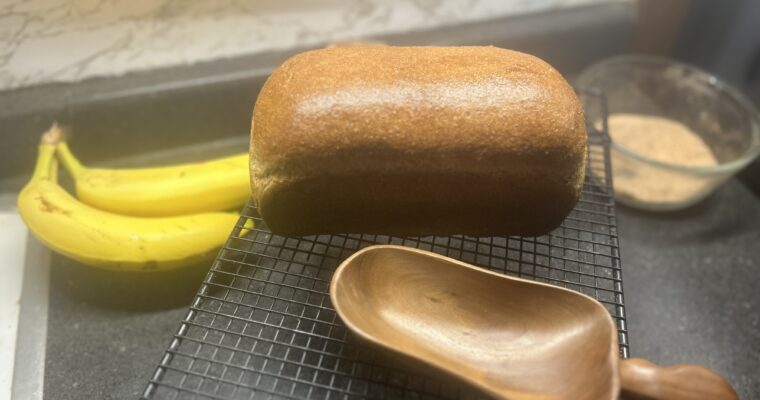
Update: This was a decent bread, but it was made even better by WHISKING the dough with my mixer’s wire whisk for three minutes without the salt and the yeast, followed by a 15-30 minute rest. Add the salt and yeast, and then WHISK again, until the dough climbs the hooks or 3 minutes has passed. The dough will get too hot whisked longer than that, and can result in the bread not coming together.
If you add yudane to this recipe, by taking 25 grams of the flour and mixing it with 50 grams of boiling water (from the main water or in addition – it depends on how adventurous you are), it will make it even better.
Soft and chewy, crusty Italian bread is a delight once you’ve mastered the art of baking it. That thick, crunchy yet chewy crust paired with a moist, soft interior—it’s what dreams are made of!
Cultural Significance of Italian Bread:
Crusty Italian bread is deeply embedded in Italian culture, where bread holds a sacred place at the dining table. Throughout history, Italian bread has symbolized sustenance, community, and tradition. Families gather around crusty loaves to share meals, dip into olive oil and balsamic vinegar, or sop up rich pasta sauces. It’s not just a food item but a cultural emblem that connects generations through its timeless appeal and artisanal craftsmanship.
Regional Varieties:
Italy’s diverse regions boast a spectrum of bread varieties, each with its unique characteristics. From the chewy ciabatta of Tuscany to the hearty pane di Altamura from Puglia and the airy focaccia of Liguria, Italian bread showcases regional ingredients and baking techniques. Crusty Italian bread, often characterized by its rustic appearance and robust flavor, varies in shape and texture across the country, reflecting local culinary traditions and agricultural practices.
What Took You So Long?
My family enjoys the basics: sandwich bread, rolls, flatbread, pizza, and sweet treats. While I experiment with special loaves like jalapeno and cheddar sourdough, they prefer simple pleasures. Cinnamon rolls? They’re all in. But what they truly crave is plain, fluffy bread with a soft crust.
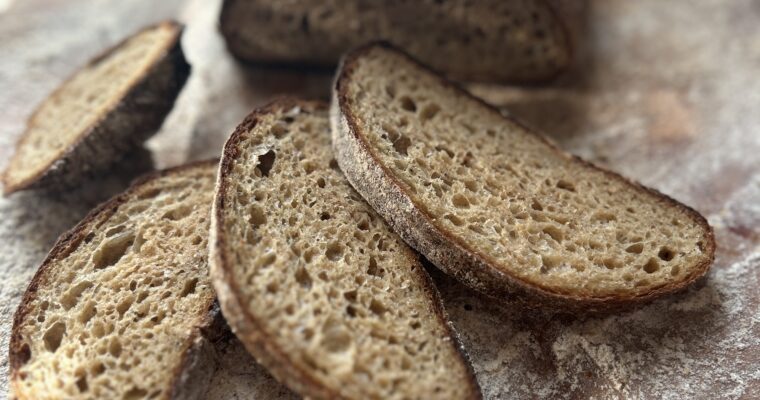
This rustic Italian bread is different—it features larger holes and a soft, almost chewy crumb encased in a thicker, crunchy crust. Perfect for dipping into soups or pairing with pasta as garlic bread.
Inspirational Friends
My friends Eric and Lisa were eager for this crusty Italian bread after seeing a video using refined all-purpose flour. I adapted my approach, like preheating the Dutch oven and extending baking time even after the bread reaches 190°F, which helps remove excess moisture and enhances texture. I expect to refine this recipe further, but it’s already a winner.
If you’re short on time for stretch and folds, mix the rustic Italian bread dough in a mixer and refrigerate until convenient. Preheat the oven, possibly perform one set of stretch and folds, then bake—the process is mostly hands-off.
Baking without a Dutch oven (AKA Open Bake):
Special thanks to Monique from Lovely Bell Bakes for sharing her method of shaping and baking this Italian bread recipe without a Dutch oven:
- Preheat oven to 450°F with a baking steel or pizza stone inside. Place a metal pan on the bottom rack and pour in boiling water once preheated.
- Place loaves on parchment paper, score them, then place in the oven and generously spray with water before closing.
- Bake at 450°F for 20 minutes, remove the water pan, then bake at 425°F for an additional 20 minutes.
Monique also shared a helpful video demonstrating shaping techniques for this high hydration crusty Italian bread dough.
Crusty, Rustic Italian Bread without Vital Wheat Gluten
If you’re in the mood for a super soft daily bread, try our Basic Bread Dough recipe. Never baked bread before? Check out my guide on The Freshly Milled Bread Method.
Italian Bread (fresh milled)
Ingredients
- 420 g wheat berries, hard white I used a mixture of hard red and white wheat
- 20 g vital wheat gluten
- 400 g water
- 12 g sea salt, celtic grey
- 8 g yeast (instant)
- 10 g barley malt syrup
Instructions
- Mix together all ingredients EXCEPT the yeast for 5 minutes, in mixer or by hand. It will be wet and sticky!
- Let the dough rest 15 – 30 minutes to better absorb the liquids.
- Sprinkle the yeast into the dough, and mix or knead for another 3 minutes
- Transfer the dough into an oiled bowl with plenty of room to rise and a lid.
- Every 30 minutes, do a set of stretch and folds (optional if using a mixer)
- After the 3rd set of stretch and folds, preheat your oven and your dutch oven, by setting the oven to 420 F.
- Once the oven gets to temperature, quickly remove the dutch oven and close the door.
- Sprinkle flour to line the bottom of your dutch oven, then gently place the dough into it, and sprinkle the top of the loaf with flour.
- Score the top of the loaf with a sharp knife, razor, or snip it with scissors
- Place the lid on your dutch oven, and put it into the oven for 30 minutes
- Remove the lid and lower the oven temperature to 400 F, baking for another 20 minutes
- Remove from the oven, and place on a cooling rack with air flow all around the loaf
- Allow to cool before slicing
