
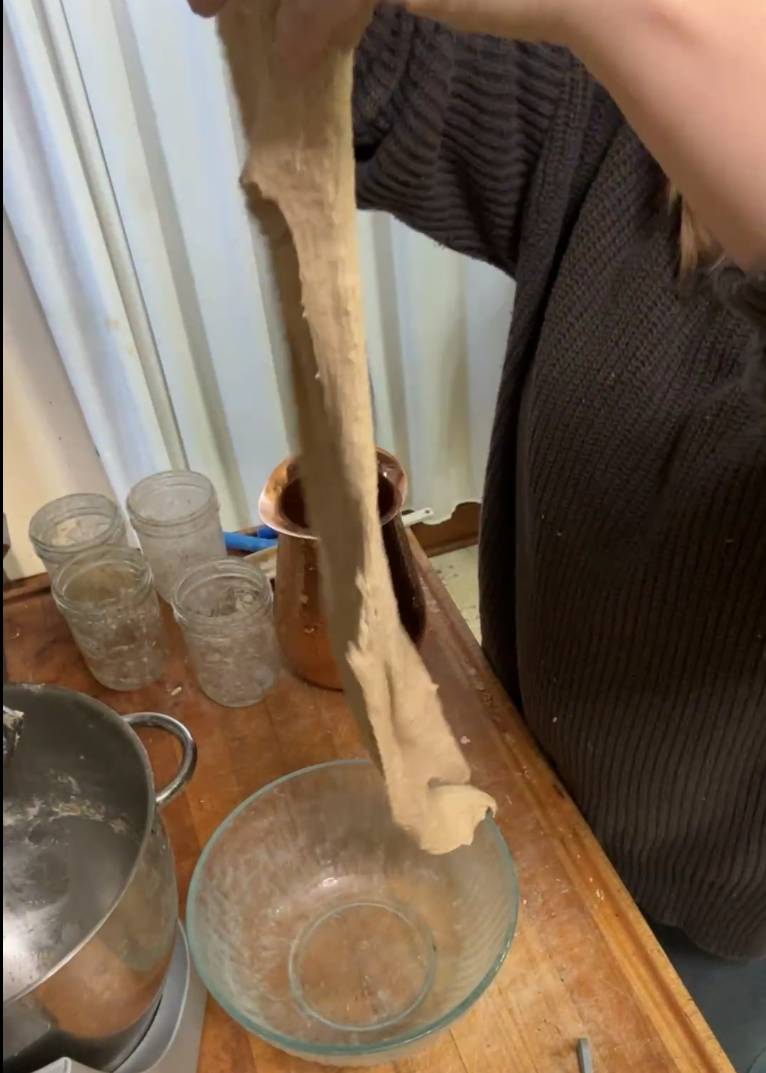
Today I decided to test the absorption rate of my grains. I got a new batch, and they aren't performing the same way my old batch of grains did. It's been an unusually wet year, so I have to wonder if that has anything to do with it. Today I'll cover what I did, exactly, so you can try it if you want. I'll stop along the way to explain what caused me to make the decisions I did along the way, and how I got a beautiful 92% hydration bread dough that really didn't need a mixer at all - with fresh milled flour.
If that sounds difficult - please stick with me because it's pretty cool, and will help you make great bread every time - even without a mixer or a scale (but please use a scale today).
The Test Setup
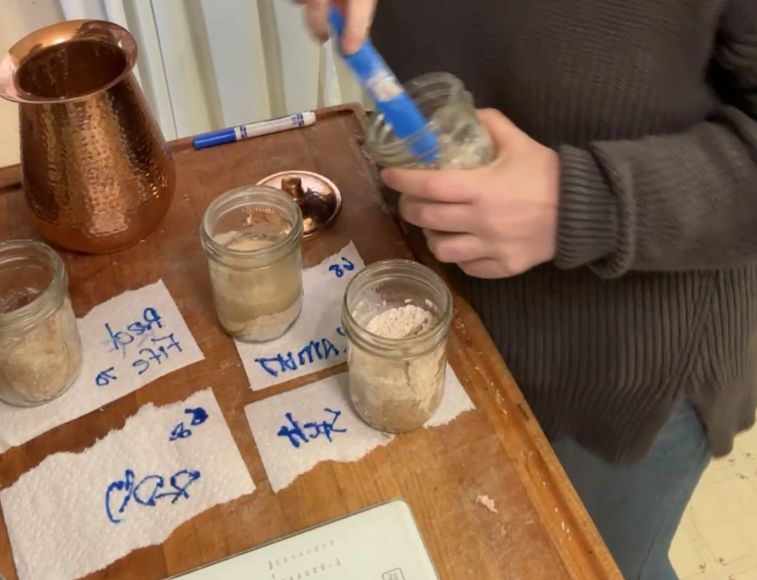
Grains I Used:
Red fife (hard red wheat)
Rouge de Bordeaux (hard red wheat)
Spelt
Kamut
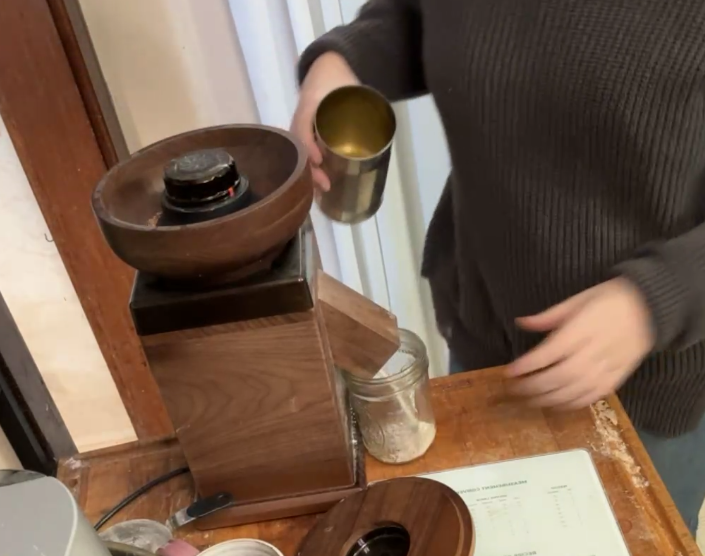
Step 1: Mill 100 grams of grain into flour - each in its own jar.

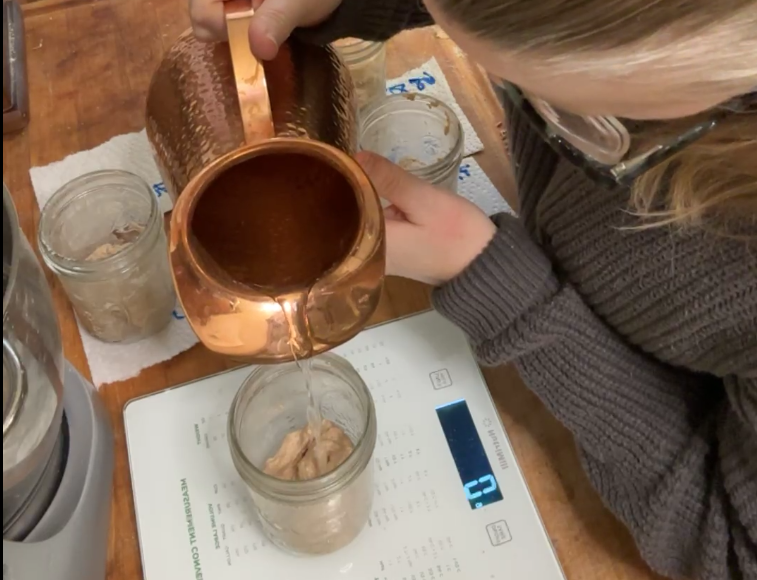
Step 2: Place the jar onto your scale and zero it out. Add 68 grams of water to the jar (the absorption rate of bagged flour), and log that amount of water on paper.
Step 3: Mix the flour and water together with a spatula or spurtle. Does it look or feel dry? If so, add 5 grams of water to the jar, log that amount of water on paper, and mix again.
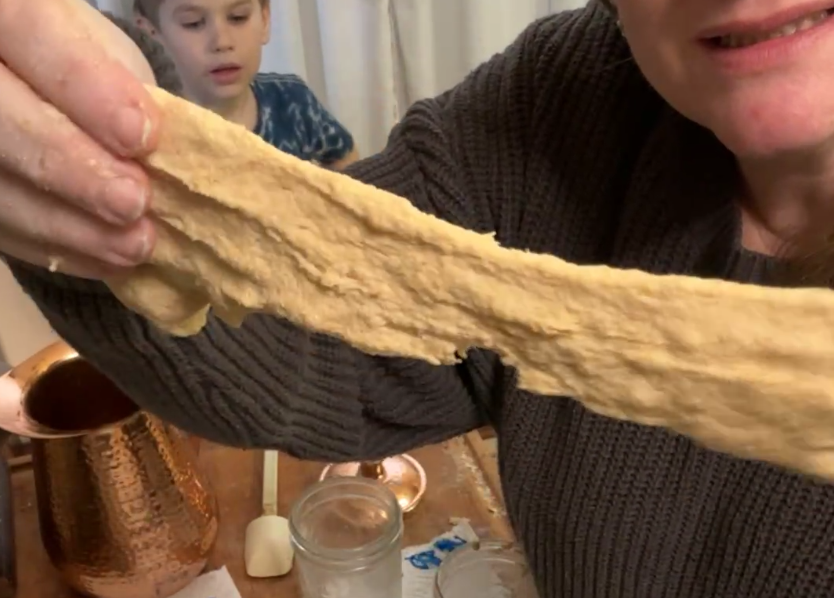
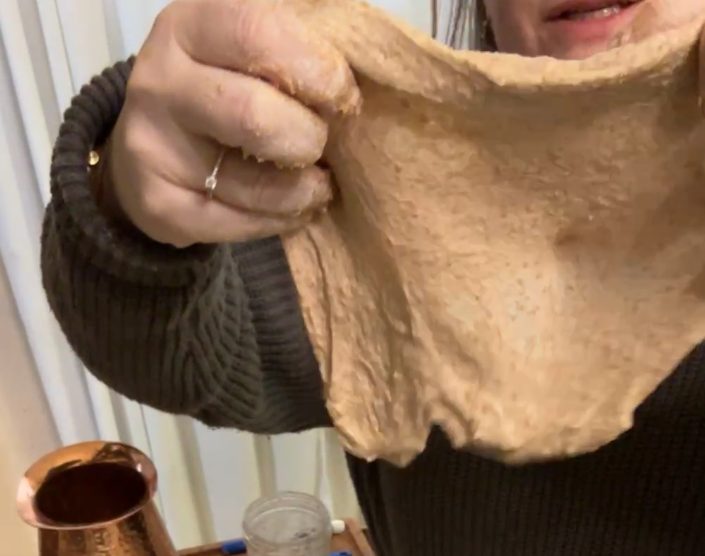
Step 4: If the dough did not look or feel dry, take it out of the jar and play with it. We want to notice a few things here:
is it strong or stretchy? Awesome - try for a windowpane. If not, let the dough sit a few minutes before playing with it again.
Can you get a windowpane from the dough? Note that.
If you tried to get a windowpane, did it fall apart easily - almost like over-proofed dough? If YES, move on to Step 5.
If it didn't fall apart, does it feel like maybe there are some spots in the dough that could hold onto a little more water? If so, go back to step 3. If no, move on to Step 5.
Step 5:
If the dough fell apart before you got here, log the ideal hydration as the amount of water in your jar BEFORE the last addition of water.
If the dough did not fall apart, log the full amount of water in the jar as your ideal hydration for that flour.
Step 6: Make the bread
When all the jars have been tested, dump the contents of each jar into a mixing bowl.
Add lemon juice, sea salt, sourdough starter, and if you like yeast (or just use yeast and skip the sourdough - either way works).
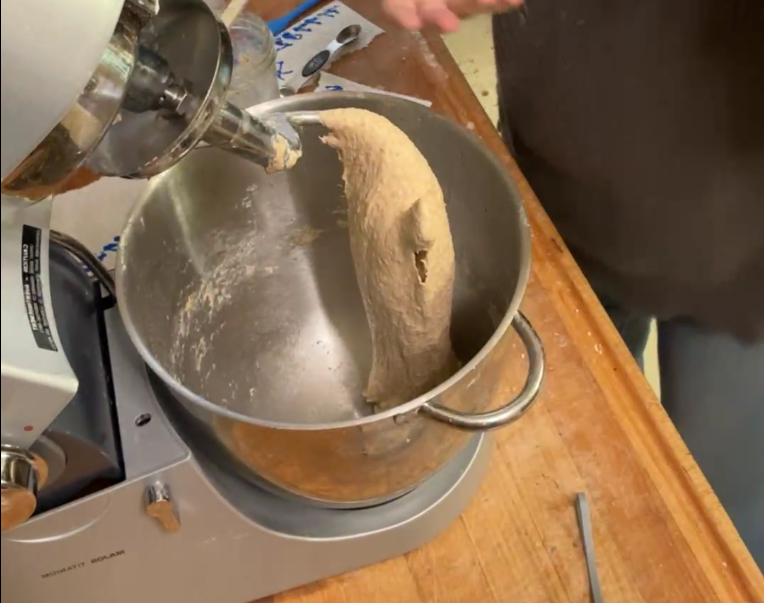
Knead the dough, by hand or by mixer, to make sure the ingredients are well-mixed together.
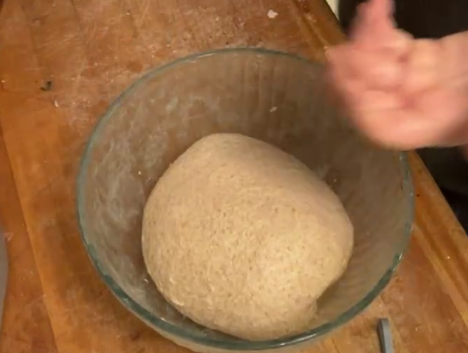
Let the dough rise until doubled if doing yeast only or by 50% if doing sourdough bread. Preheat oven to 450 F.
Shape the dough into a loaf, and let rise in a greased or lined bread pan.
Bake covered for 30 minutes, and uncovered after that until the dough is 190 F or above in the absolute middle of the loaf.
Remove from the oven, bread pan, and let cool on a rack.
Join our Online Community
Ready to ditch recipes and learn more about baking with fresh milled flour using methods and your imagination? Join my Fresh milled Flour Methods group. You can ask questions, share your wins, and more with an expectation of honesty and friendly interaction. I hear it’s the best place to be on Facebook.