This is actually the SAME thing as fermentation, but they call the 2nd rise proofing so you can differentiate between the two steps. This is where shaped bread is allowed to rise in a warm place before baking. It’s done rising when the dough slowly springs back – exactly like the first rise – using the finger poke test.
Tip:
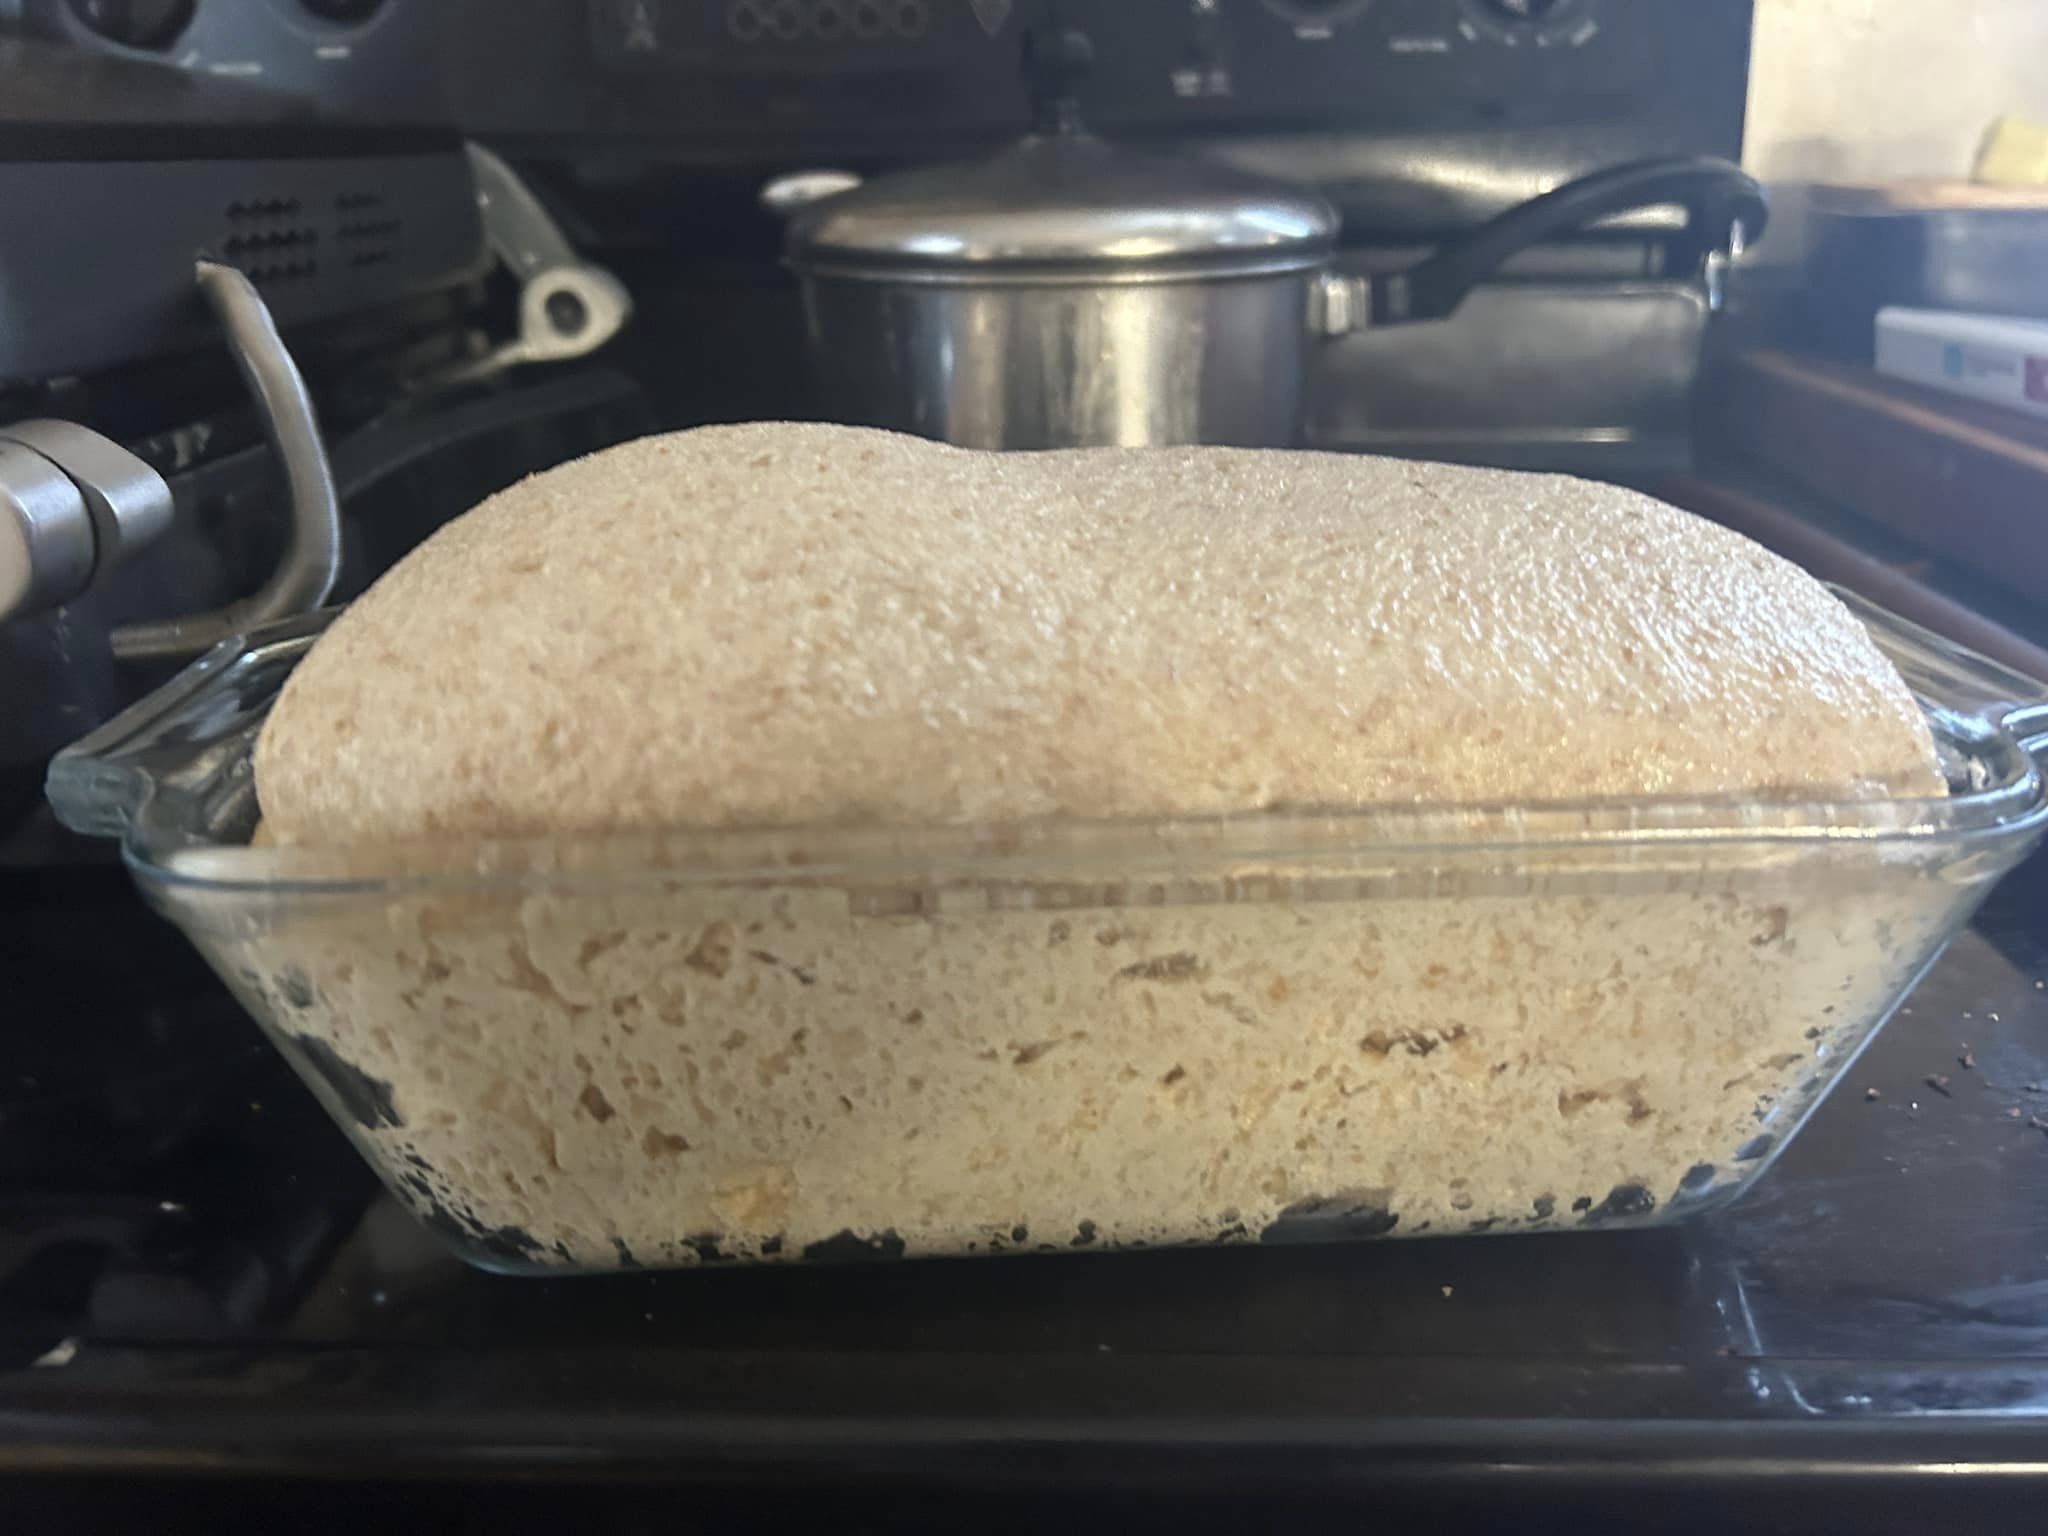
I tend to let my dough rise on top of my oven while it’s heating, with a warm, damp tea towel covering it. This helps keep the dough warm and prevent the crust from hardening.
Gadget alert:
A dehydrator or proofing box is a great place to shorten your rise time. So long as the dough is in a container with a lid (preventing the dough from drying out), you can place it in one of these boxes. I set my dehydrator to 110 degrees, and check it in 20 minutes.
Under-proofed springs back quickly – give it a little more time to rise.
Dough slowly comes back or dent remains – ready to bake!
Dough deflates a bit when pressed means it’s over-proofed. You can still bake it but it may deflated or turn out dense. Alternatively, you could make flatbread or focaccia with the dough.
Sometimes, you cane-shape the dough and let it rise a third time. It’s a gamble, though.
Now that you've covered all the steps of the freshly milled bread method, how about getting started with our soft basic bread dough recipe. If you're feeling MUCH more adventurous, give our crunchy crusted Italian loaf a try.
Join our Online Community
Ready to ditch recipes and learn more about baking with fresh milled flour using methods and your imagination? Join my Fresh milled Flour Methods group. You can ask questions, share your wins, and more with an expectation of honesty and friendly interaction. I hear it’s the best place to be on Facebook.